irq=18 worked for me for anyone who comes along wondering
This small GPIO interface board allows using the NRF24L01+ radio (standard version with PCB antenna or external antenna with power amplifier) on a Raspberry PI GPIO interface.
I use this as my controller running Domoticz and it interfaces with the MySensor network via software also running on the Raspberry Pi2.
There is a small solder jumper on the bottom side.
If the middle contact and the contact marked with 3V3 are bridged, then 3V3 DC is taken from the GPIO via the 2x4 GPIO header. Use this setup when plugging the small standard radio's.
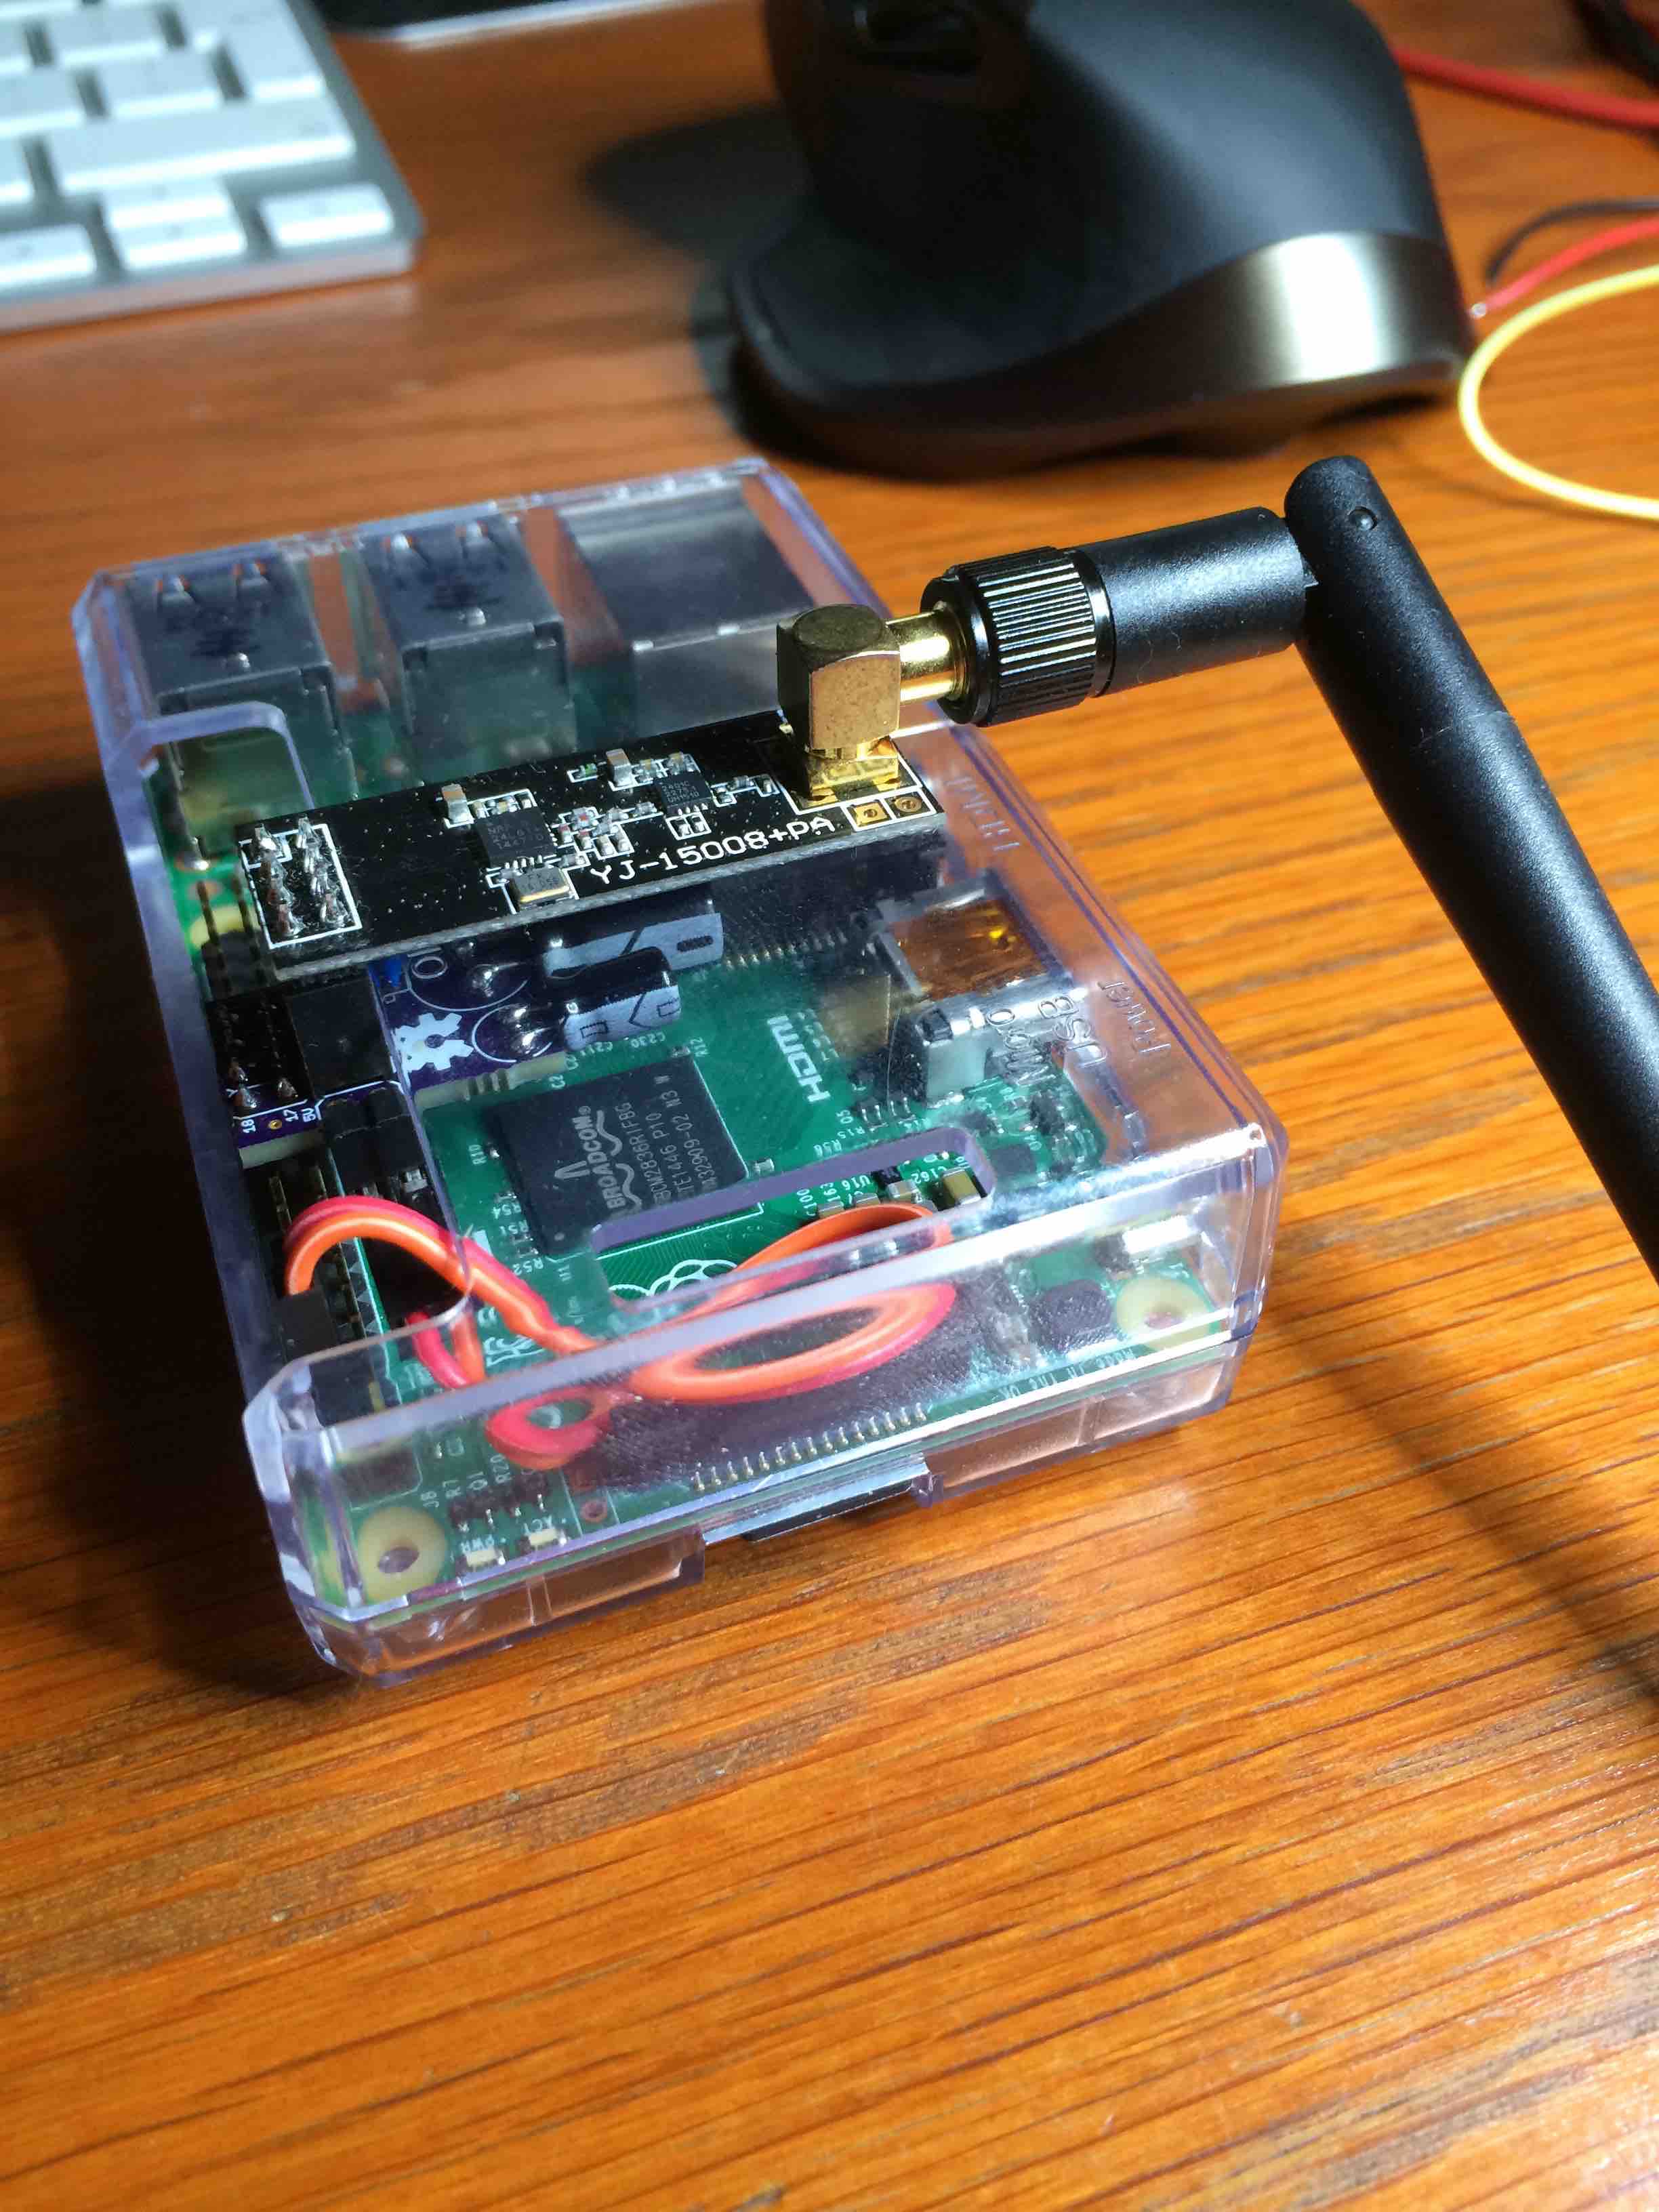
If the middle and 5V contacts of the jumper are bridged, then you need to add a two wire to connect the 1x2 pin male header to the two 5V pins of the GPIO. This second case is because the 3V3 pin on the GPIO can not carry enough power for the larger NRF24L01+ modules with power amplifier. So this board then takes power from the 5V input and steps that down to 3V3.
On the software side, install the Raspberry Mysensors gateway as per instructions below.
Wiring the NRF 24L01+ radio
This is taken care of by the small board.
NRF24l01+      Rpi Header Pin
GND            25
VCC            17
CE            22
CSN            24
SCK            23
MOSI           19
MISO           21
IRQ            20
Building & Installing
RF24 library
Download the library from https://github.com/TMRh20/RF24
Either an official release(tested with 1.1.3) or clone the master branch. Decompress(if needed) and change to the library directory
Run make all
followed by
sudo make install
Serial Gateway
The standard configuration will build the Serial Gateway with a tty name of '/dev/ttyMySensorsGateway' and PTS group ownership of 'tty' the PTS will be group read and write. The default install location will be /usr/local/sbin. If you want to change that edit the variables in the head of the Makefile.
Build the Gateway
Clone this repository
Change to the Raspberry directory
Run make all
followed by
sudo make install
(if you want to start daemon at boot) sudo make enable-gwserial
For some controllers, a more recognisable name needs to be used: e.g. /dev/ttyUSB020 (check if this is free).
sudo ln -s /dev/ttyMySensorsGateway /dev/ttyUSB20
To automatically create the link on startup, add
ln -s /dev/ttyMySensorsGateway /dev/ttyUSB20
just before exit0 in /etc/rc.local
Uninstalling Change to Raspberry directory
Run sudo make uninstall
Support: http://forum.mysensors.org
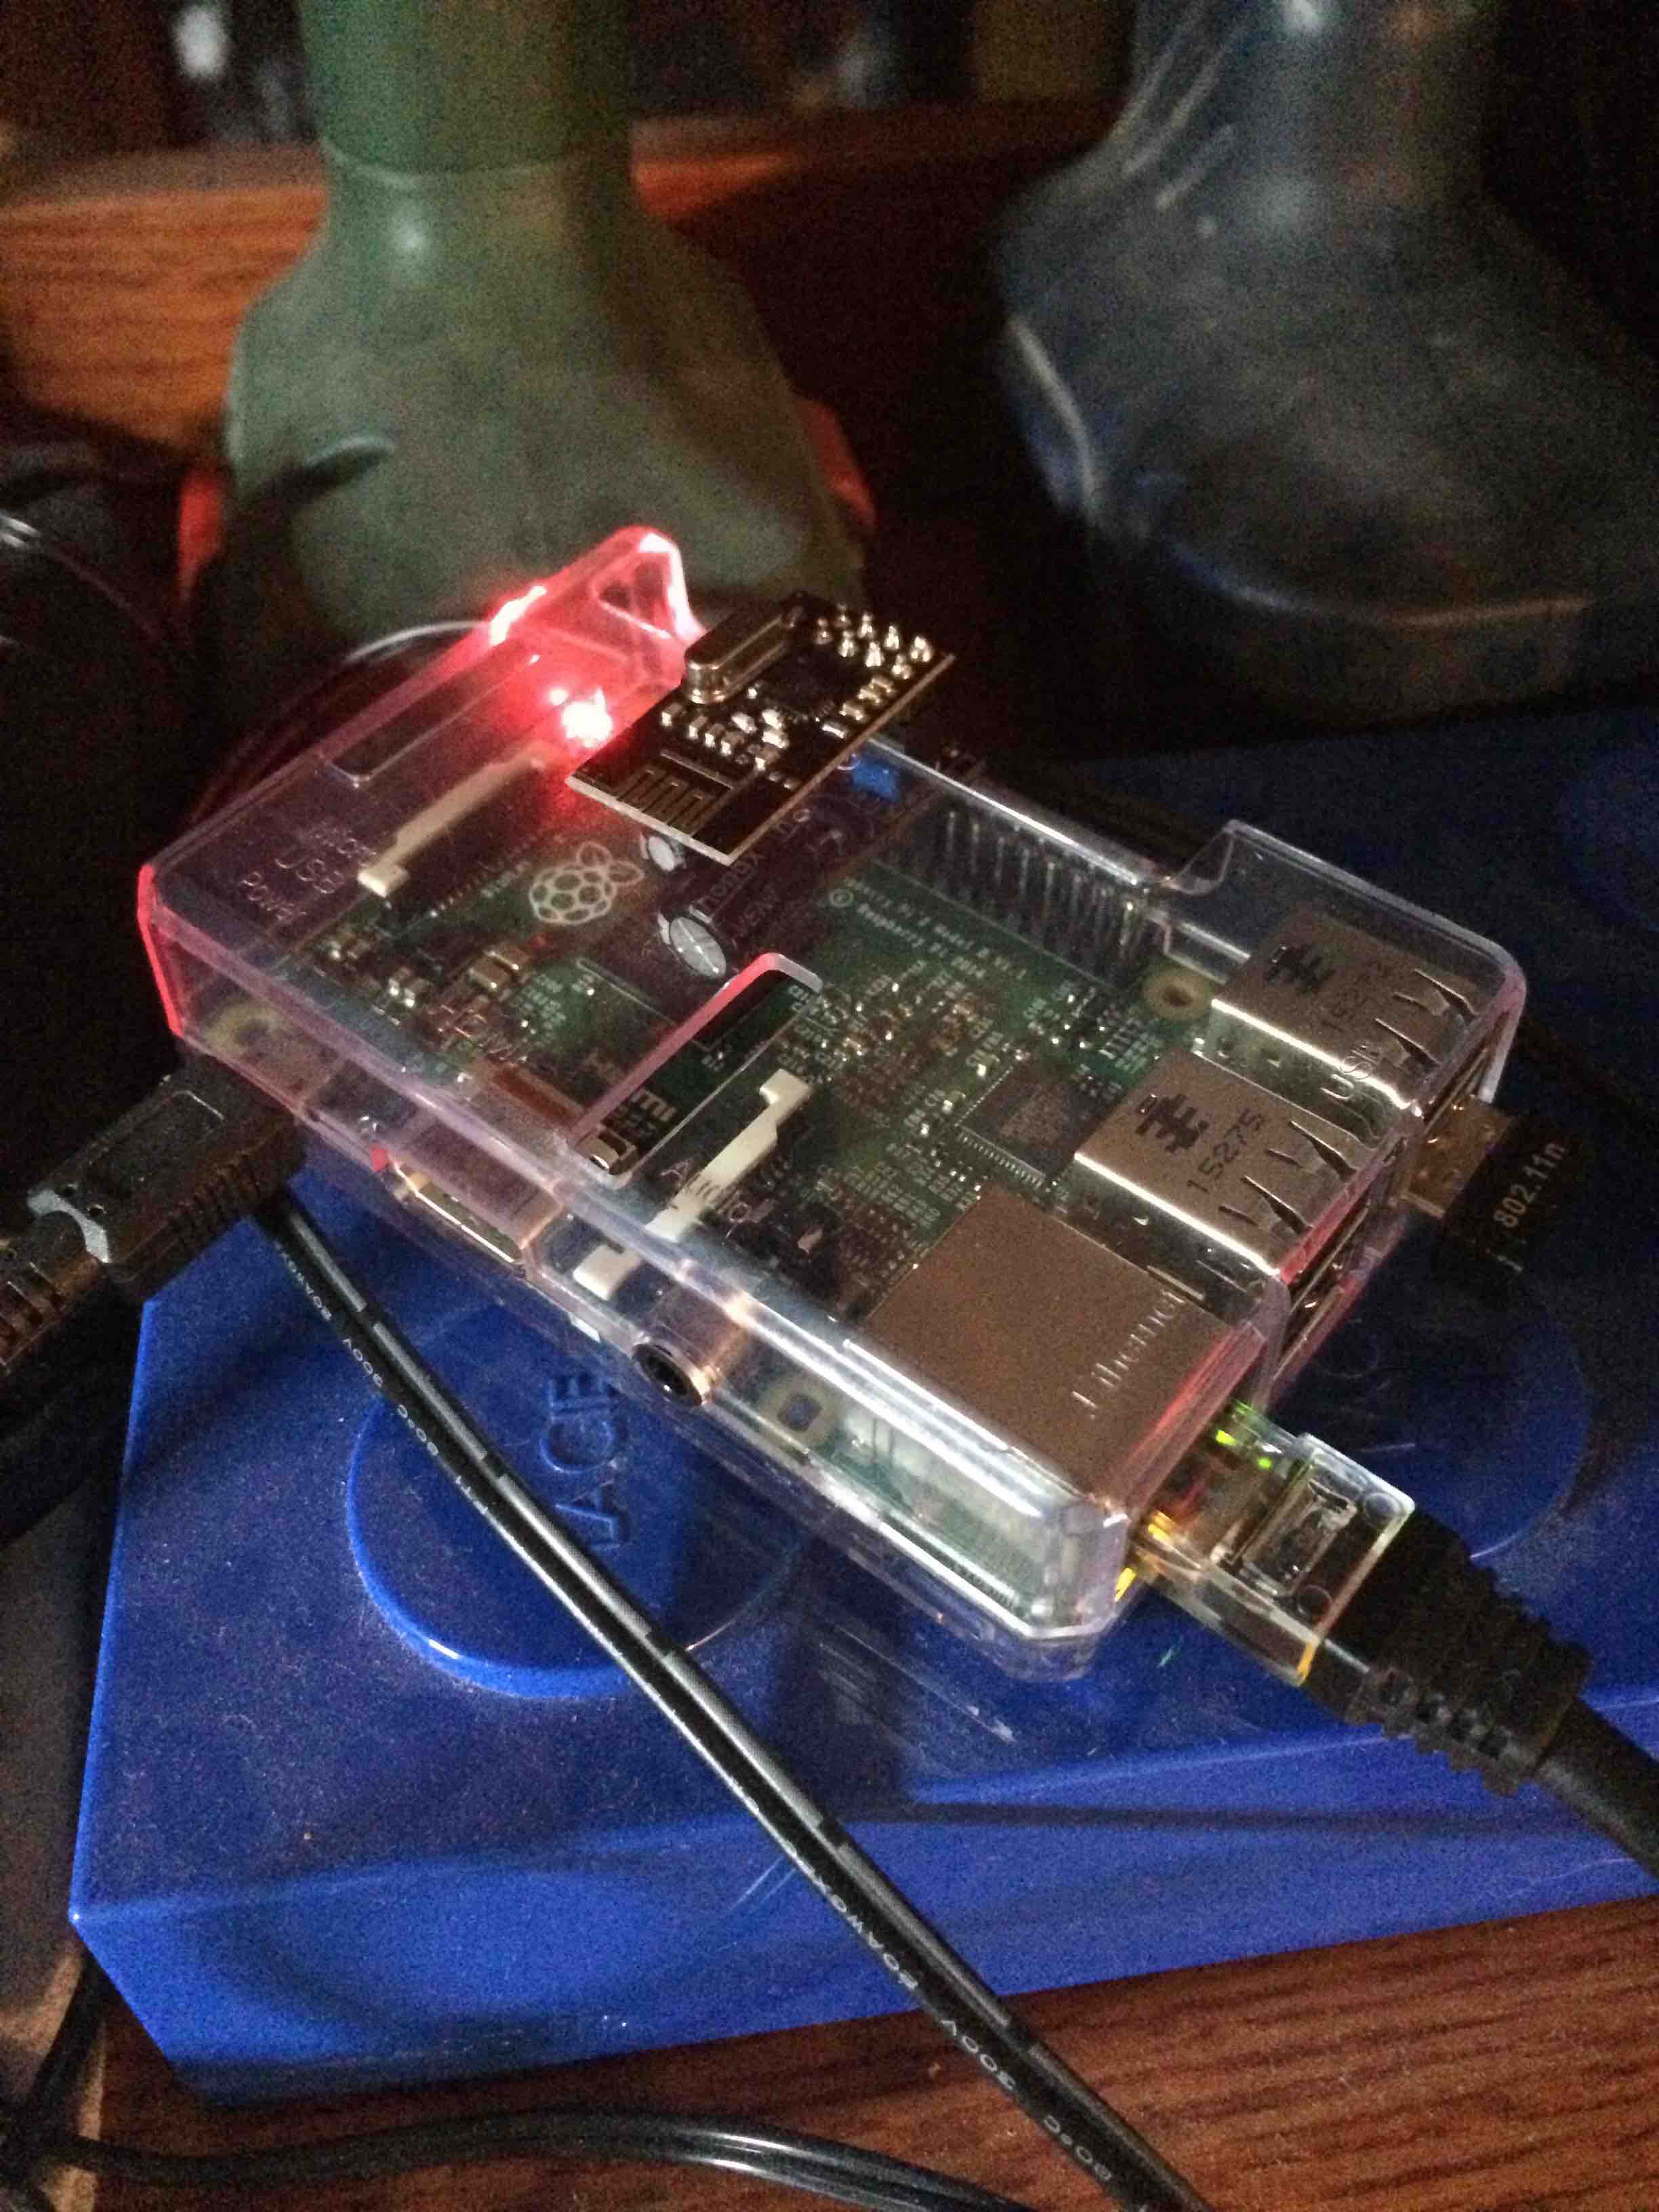
The interface equipped with the small radio and using 3V3 from the GPIO via the header:

The same interface board, but now jumper so it uses 5V from via the small cable, for the larger radio:

The board is available here: https://oshpark.com/shared_projects/aXLXBO3f
