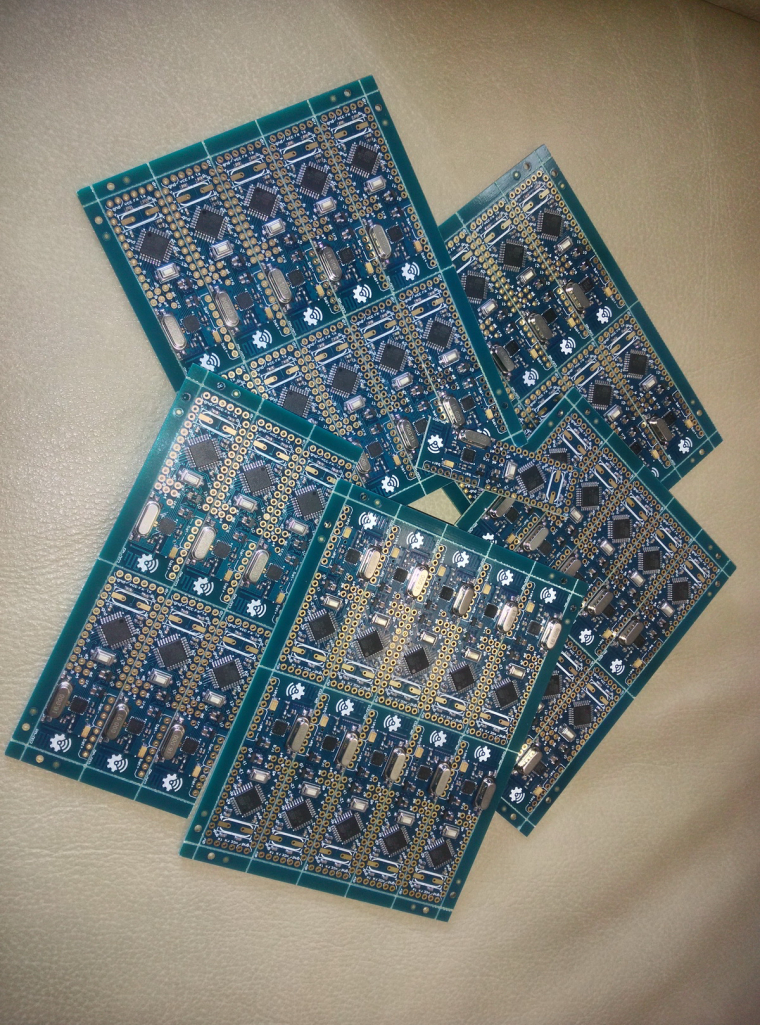
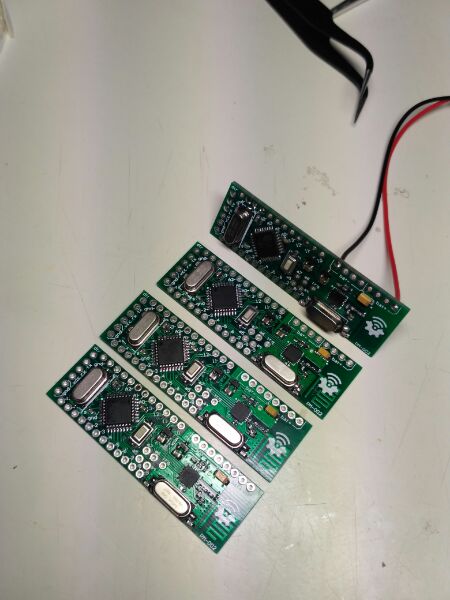
I'm wondering what the minimum input voltage is. The description only says max. 6.5V input voltage from the battery, but does not say what the minimum is. Both the nrf24l01+ as well as the atmega328P work with 3.3V, so if I use three AA batteries, that should be fine, right? I suppose using two AA batteries is not enough?
Unfortunately I can't open my ebay shop right now. While I'm trying to open it, you can buy this board here: https://www.ebid.net/eu/for-sale/arduino-ide-compatible-controller-with-the-nordic-nrf24l01-radio-transceiver-156695123.htm
The StableNode is a low cost wireless Arduino IDE compatible (the Atmel ATMega328P 8MHz) microcontroller with The Nordic nRF24L01+ 2.4 GHz Radio transceiver on board.
Best sutable for Home Automation, IOT. Could be used as core board for radio controlling any DIY project. Accurate designed RF subsystem based on NRF24L01+ chip with optimal tunned pcb antenna
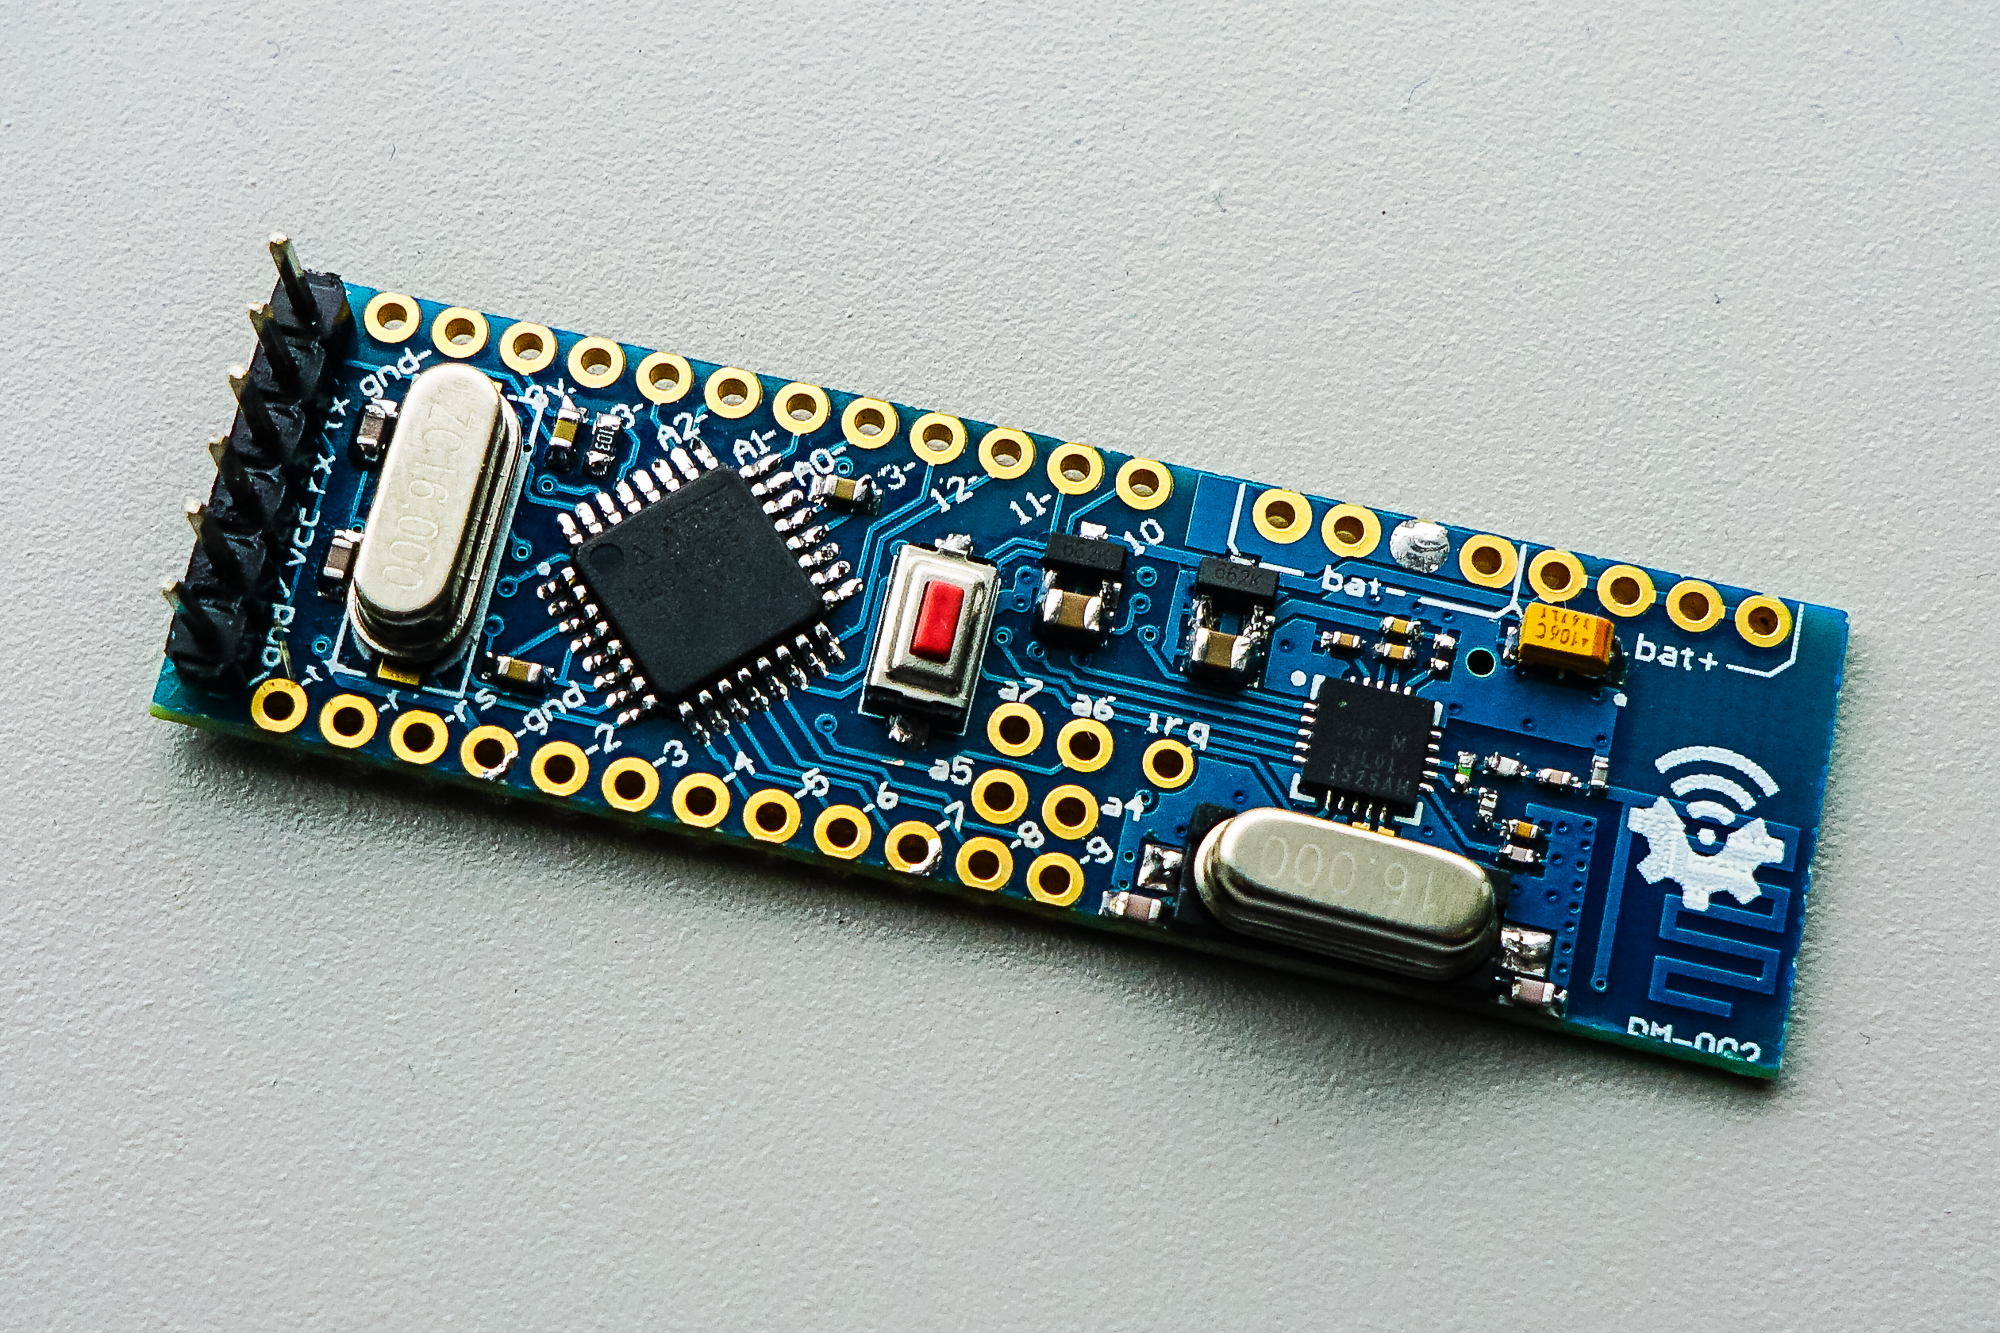
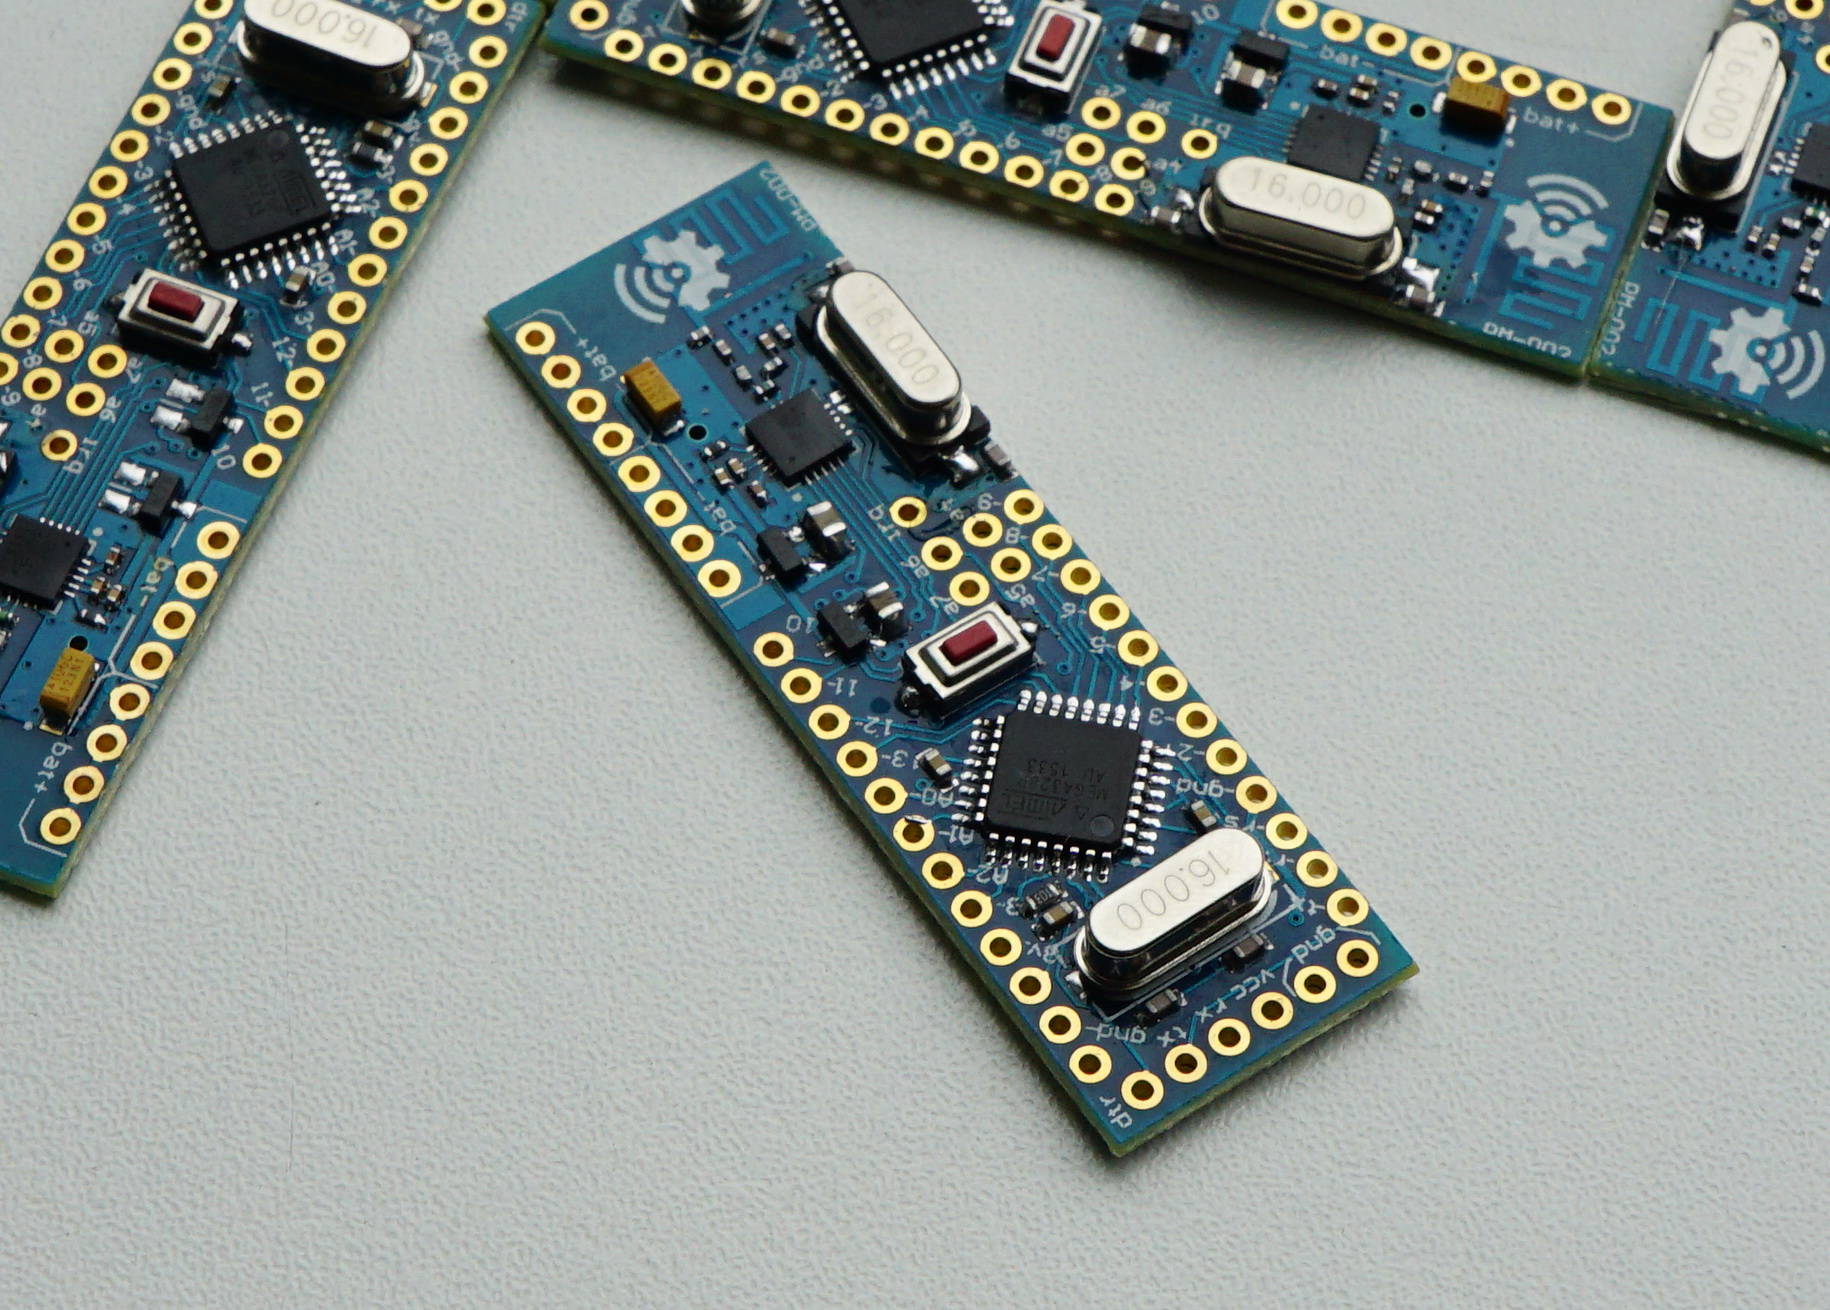
Specification:
- Dimensions 59mm x 18mm
- The Nordic nRF24L01+ 2.4 GHz Radio transceiver on board
- Supply voltage up to 6.5 Volts
- The Digital and Analog pins are 5 volts
- 4 battery connector pins
- FTDI header for programming
Pin out:
| Arduino Pins | Description |
|---|---|
| A0, A2, A3, A4, A5, A6, A7 | Available ARDUINO analog GPIO / DIGITAL GPIO |
| D2, D9, D10, D11,D12, D13 | Connected to nRF24L01+ 2.4 GHz Radio |
| D3, D4, D5, D6, D7, D8 | Available ARDUINO digital GPIO |
| Bat+ | Unregulated power up to 6.5 Volts |
| Bat- | Ground |
Arduino IDE Settings
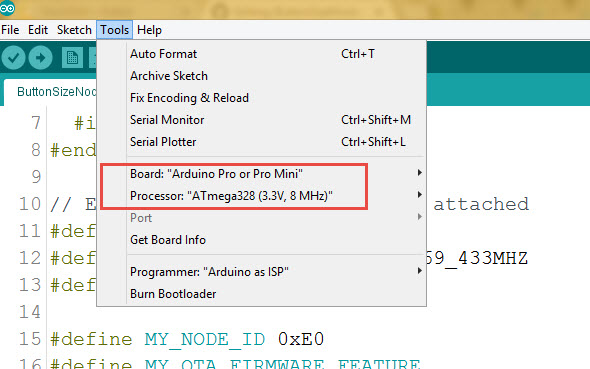
How to use it as home automation (IOT) node controller
StableNode.ino is the Arduino example sketch using MySensors API.
Controller Setup.
Burn the StableNode.ino sketch into the board and it will became one of the MySensors home automation network Sensor's Node. To create the home automation network you need smarthome controller and at least two Nodes one as a Sensor, a Relay or an Actuator Node and the other one as the “Gateway Serial” connected to a smarthome controller. I personally love Domoticz as a smarthome controller. Please check this HowTo to install Domoticz.No Controller setup. However, for no-controller setup, as example, you can use 3 nodes - first node as the “Gateway Serial”, second node as a Relay and last one as a Switch for that Relay. No controller needed then, keep the Switch and the Relay on the same address and the switch will operate the relay.
Things worth mentioning about the MySensors Arduino sketch:
| Arduino Pins | Description |
|---|---|
| #define MY_RADIO_NRF24 | Define the radio we use – here is nRF24L01+ 2.4 GHz Radio |
| #define MY_NODE_ID 0xE0 | Define Node address (0xE0 here). I prefer to use static addresses and in Hexadecimal since it is easier to identify the node address in Domoticz devices list after it will be discovered by controller ( Domoticz). However, you can use AUTO instead of the hardcoded number (like 0xE0) though. Domoticz will automatically assign node ID then. |
Connect the Node to FTDI USB adaptor, Select Pro Mini 8MHz board in Arduino IDE and upload the StableNode.ino sketch.
Done
The board is created by Koresh
Schematic:
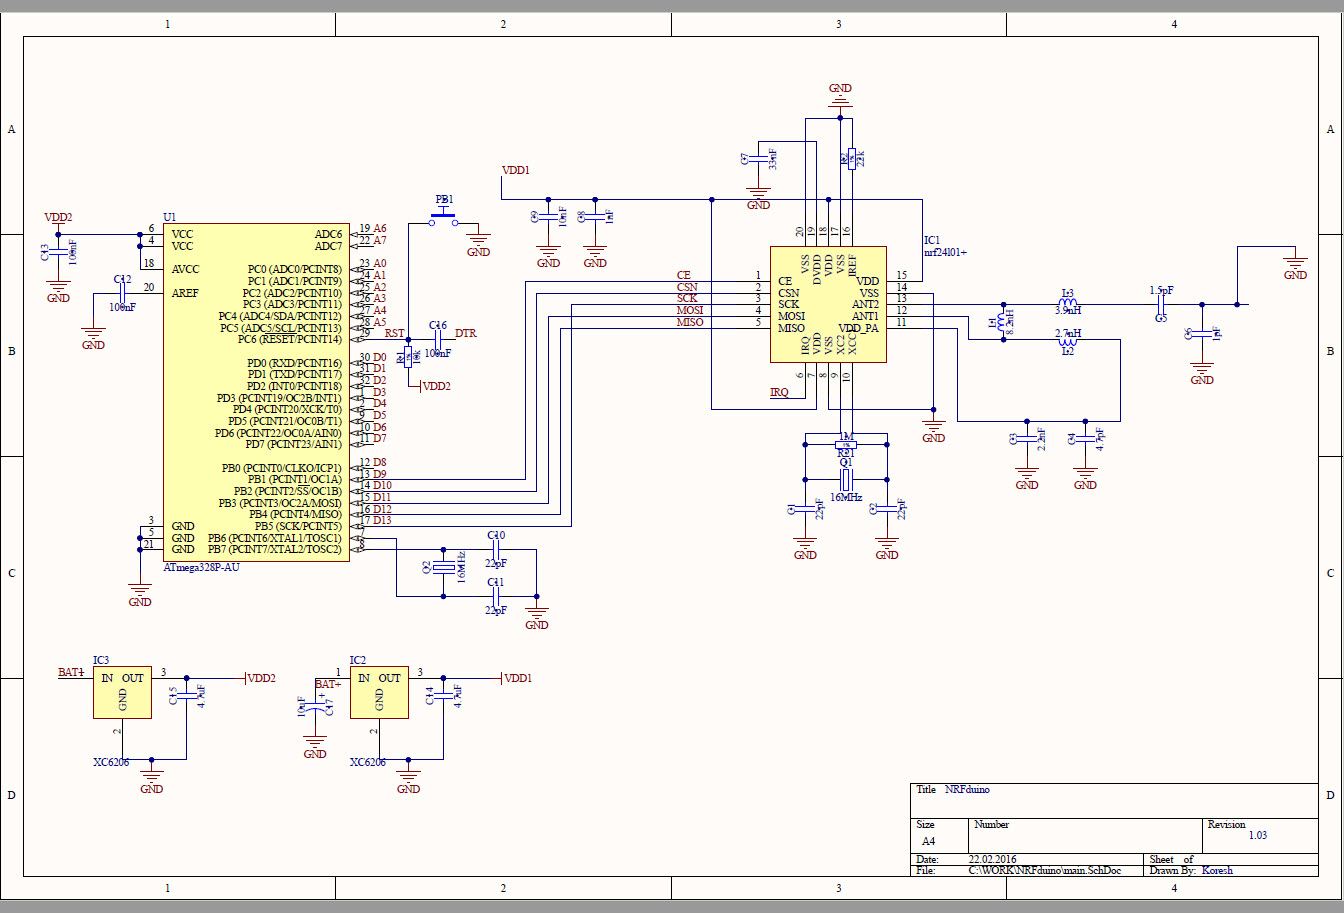
P.S. Always mind! if your Arduino code fails you need some backup plan. Put some candles and matches in your bathroom )))))... hope you understand. Start your automation wisely. Like auotomate your doghouse first. Then checkenshed and so on!!!

 MySensors Stable Node
 )
)

 but hope to solve them soon. Otherwise you will be able to buy them via paypal directly soon
