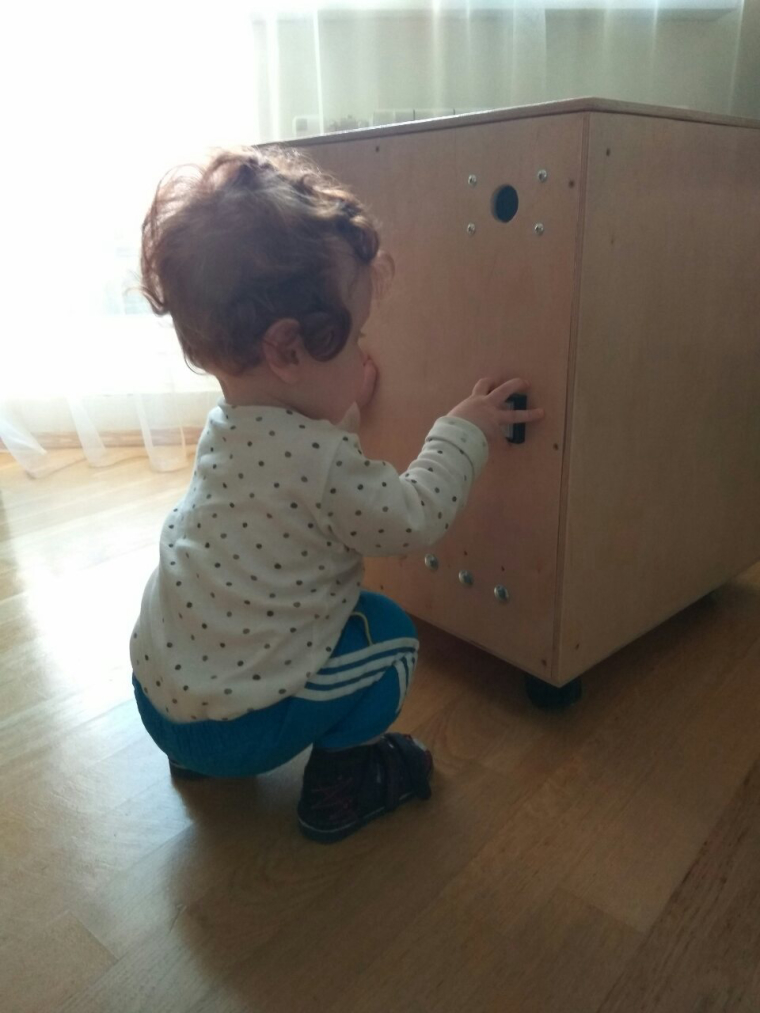
Smart spinner 
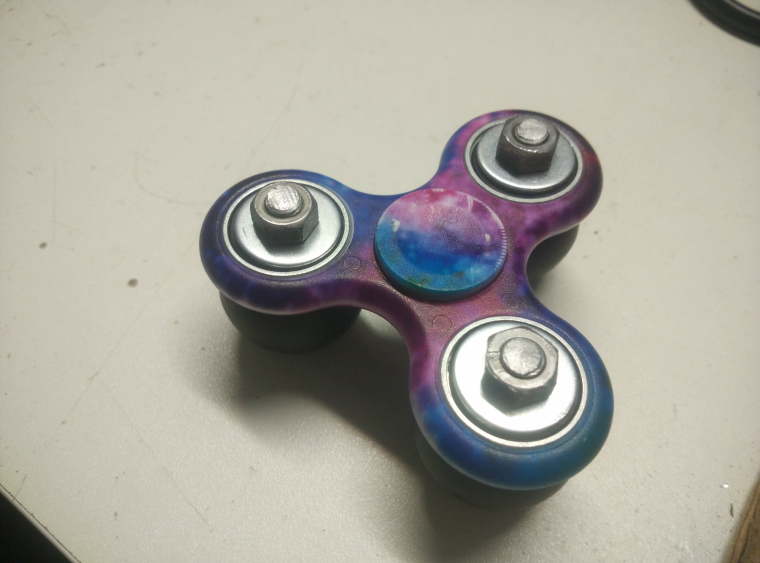
Smart Spinner at the Baby BusyBox – 00:33
— Жэка
What is BusyCube? It is a small box (not very small in my case :)) with a lot of toys for a baby. I decided to make them some months ago and now I almost finish the first stage. It is very long time project and I really have no time to realize it very fast. I even do not know how many of electronics I will put into this box. So I will post ideas and solutions during design process.
The box
The box is the main stage of this project I think.
If you are woodworker or you are Jack of all trades it is not problem for you but it is not my case. I decided to make the box from 8mm plywood. Not so easy but I saw off almost equal cube planes (50x50cm)
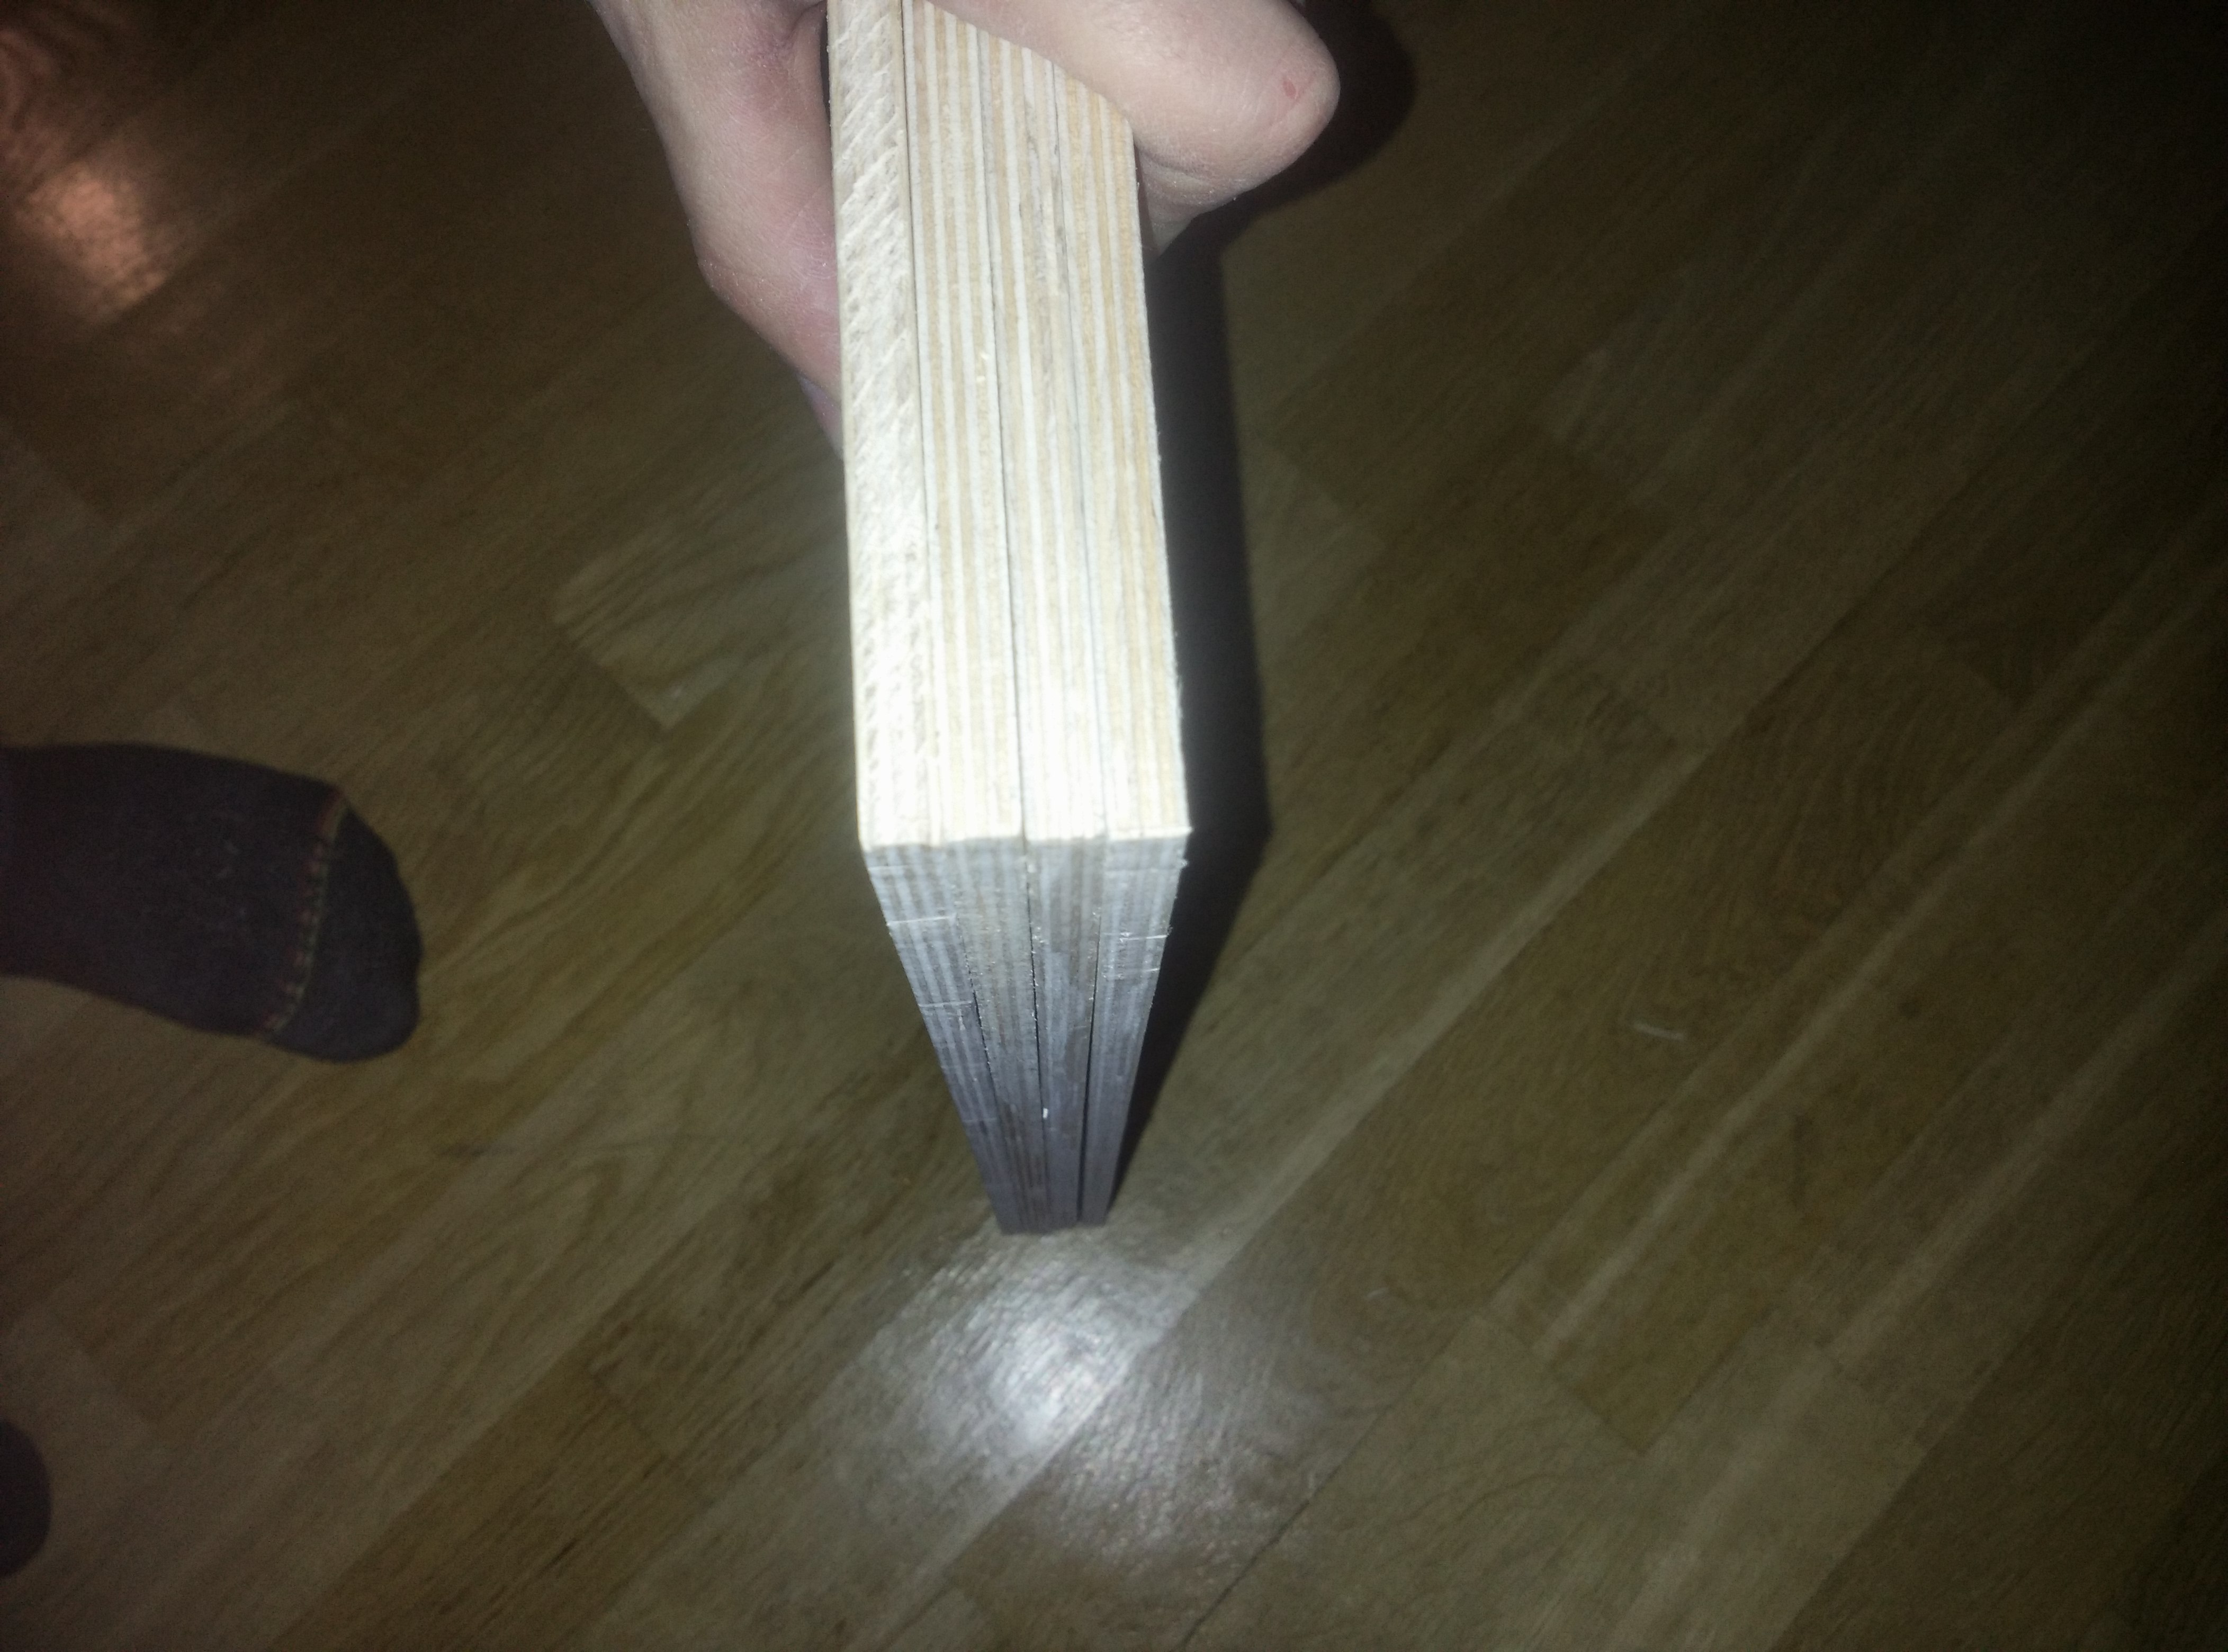 grainded the edges and join them into the cube
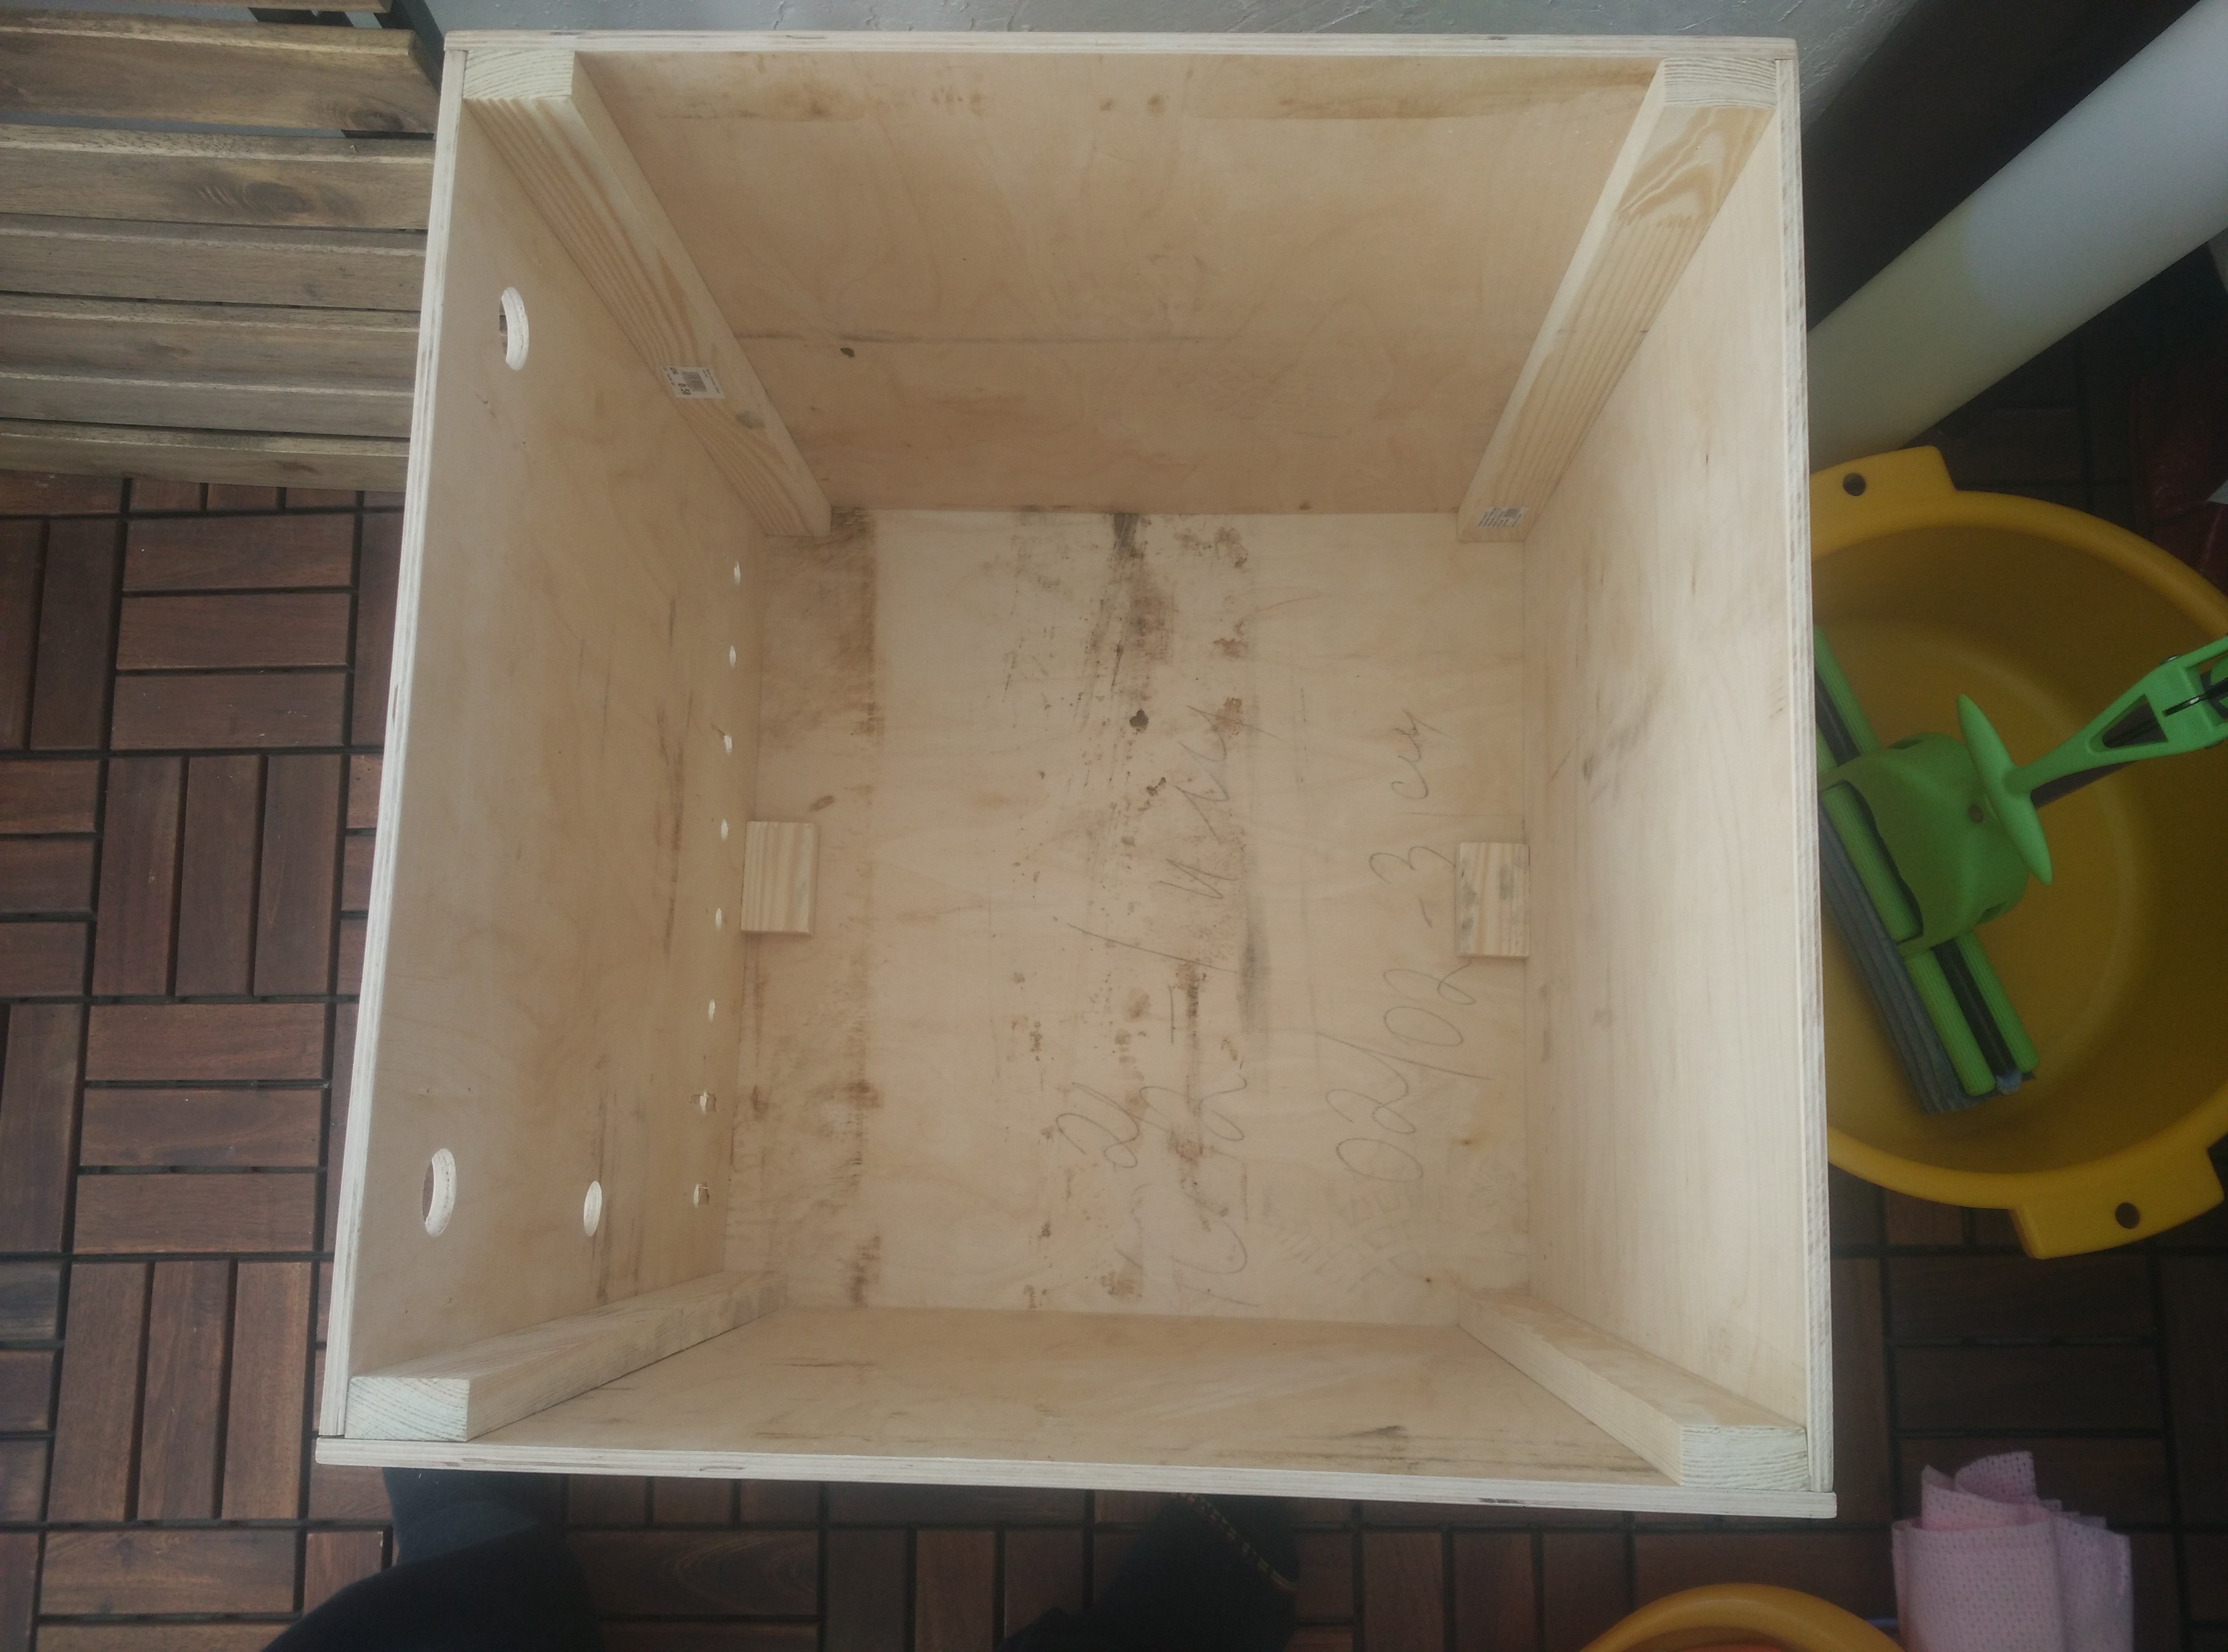
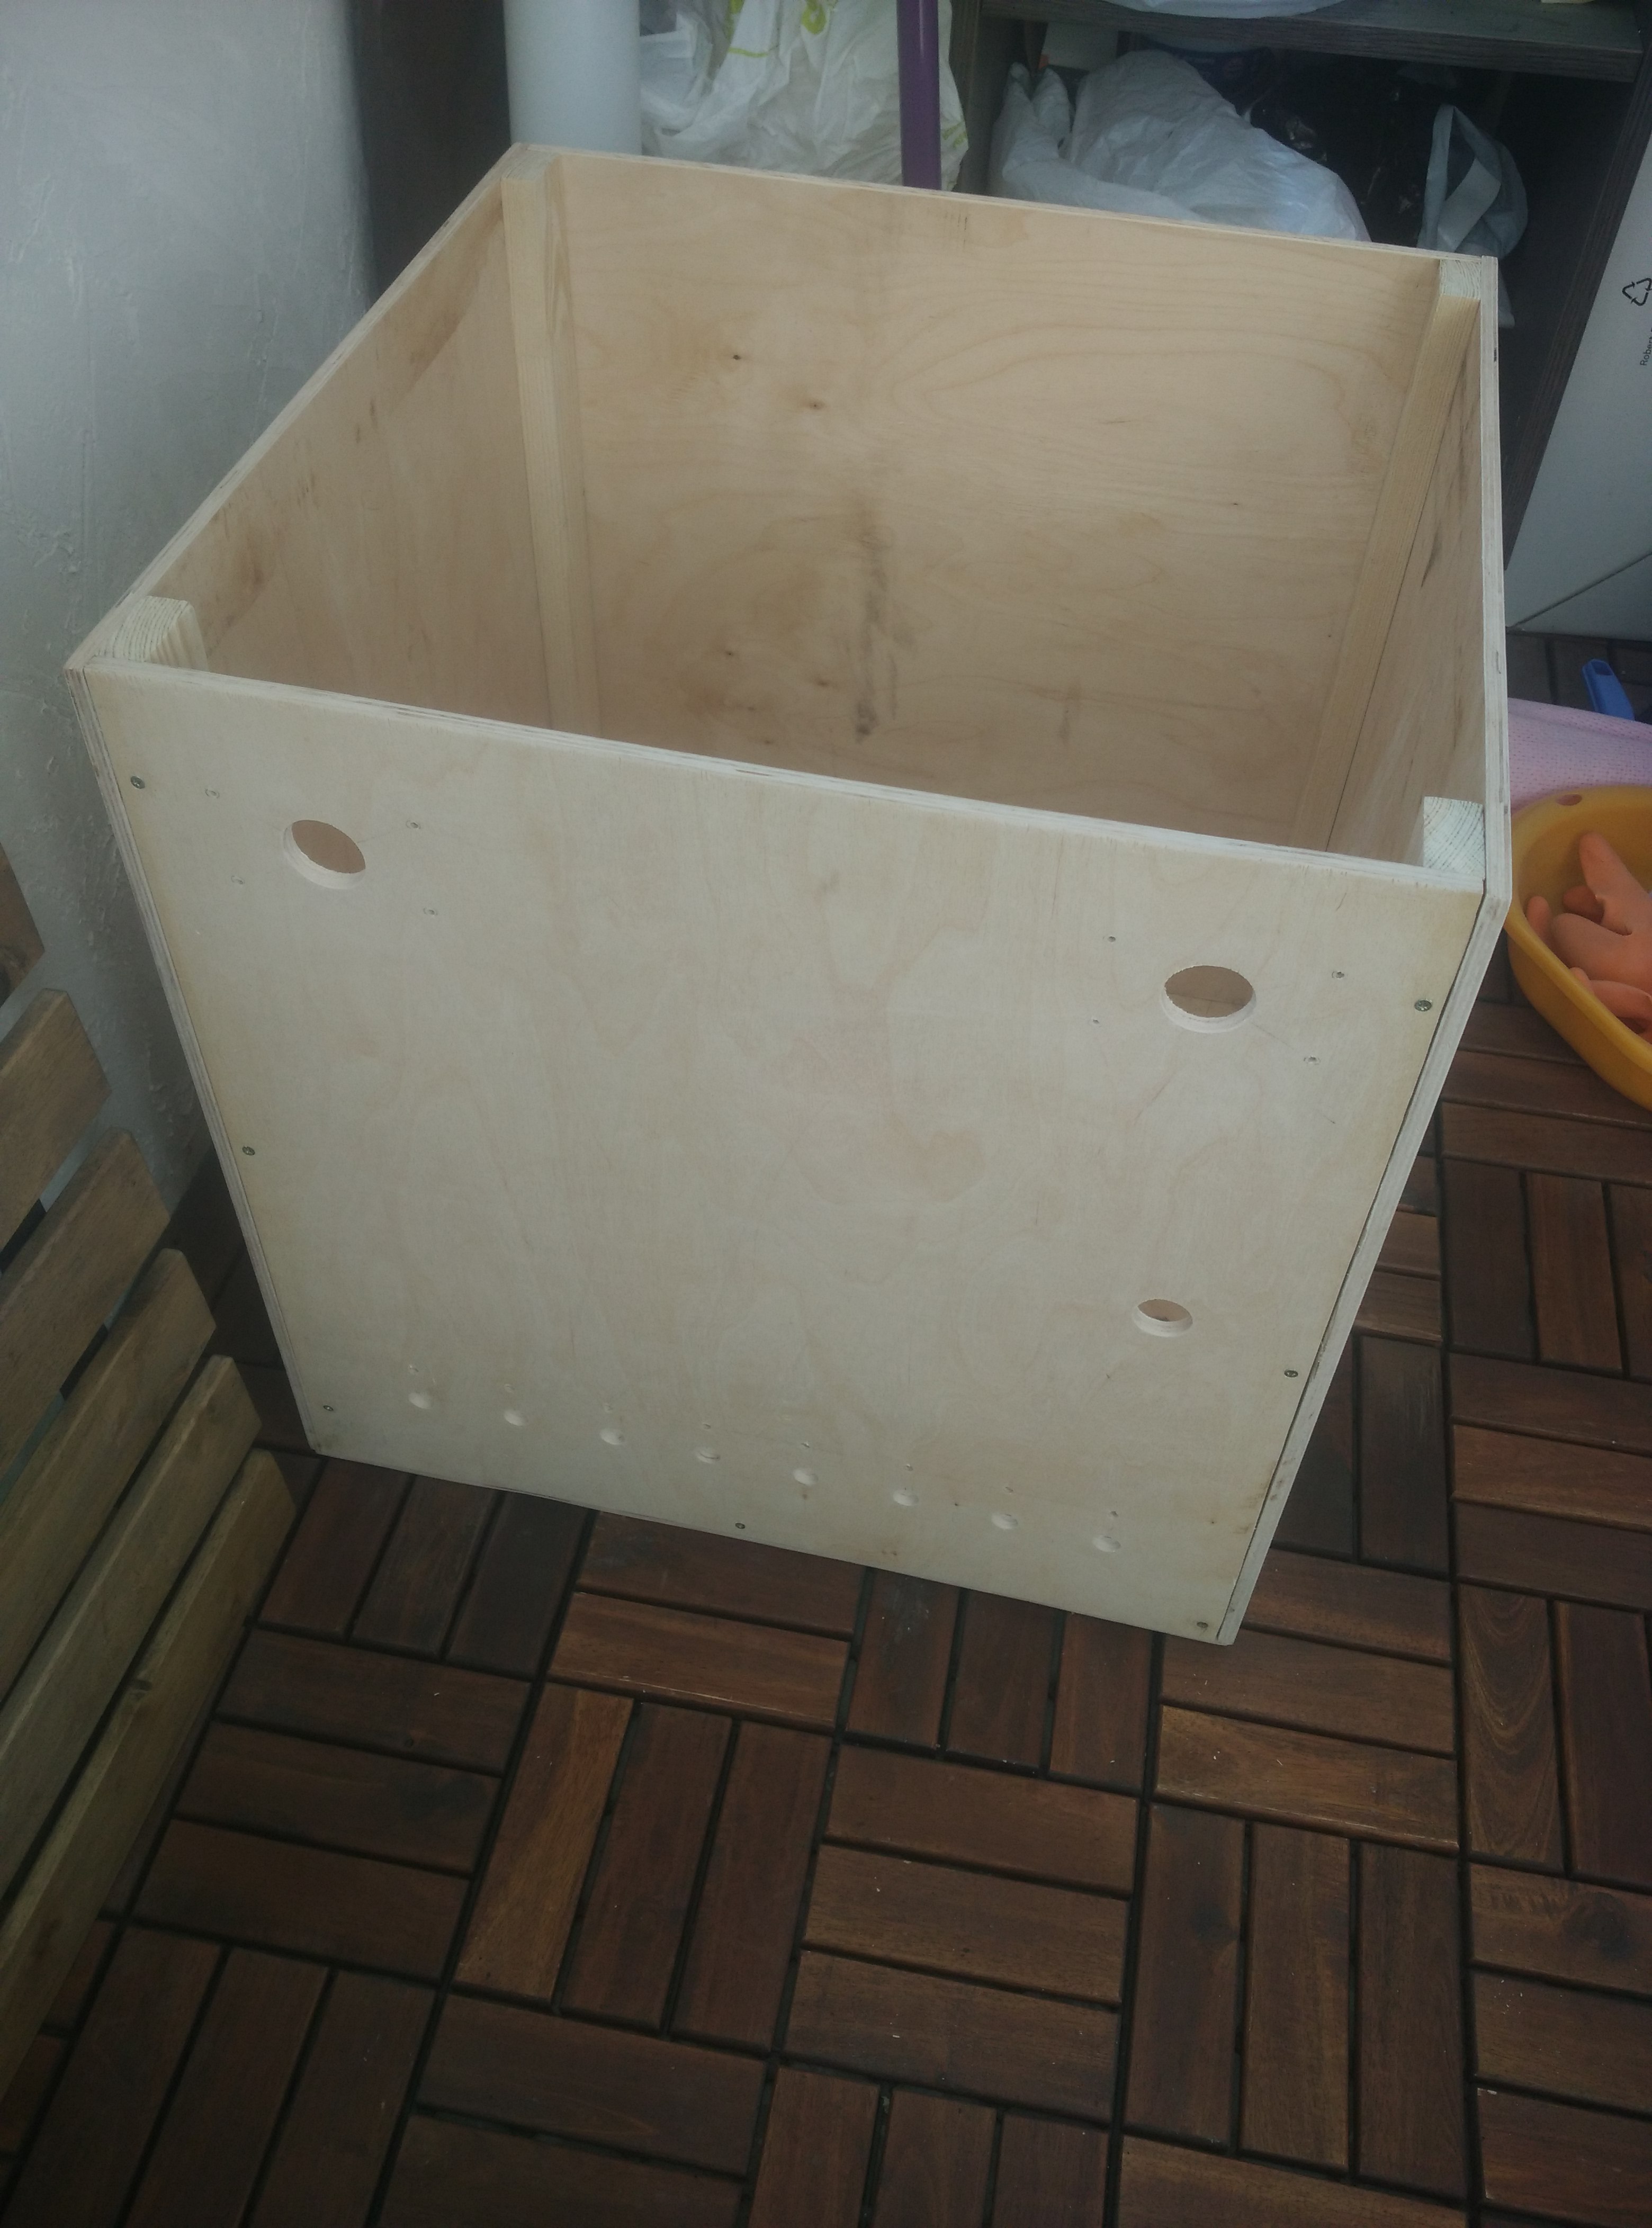 (have no the old photo without the holes)
The cover with vintage hinges :)
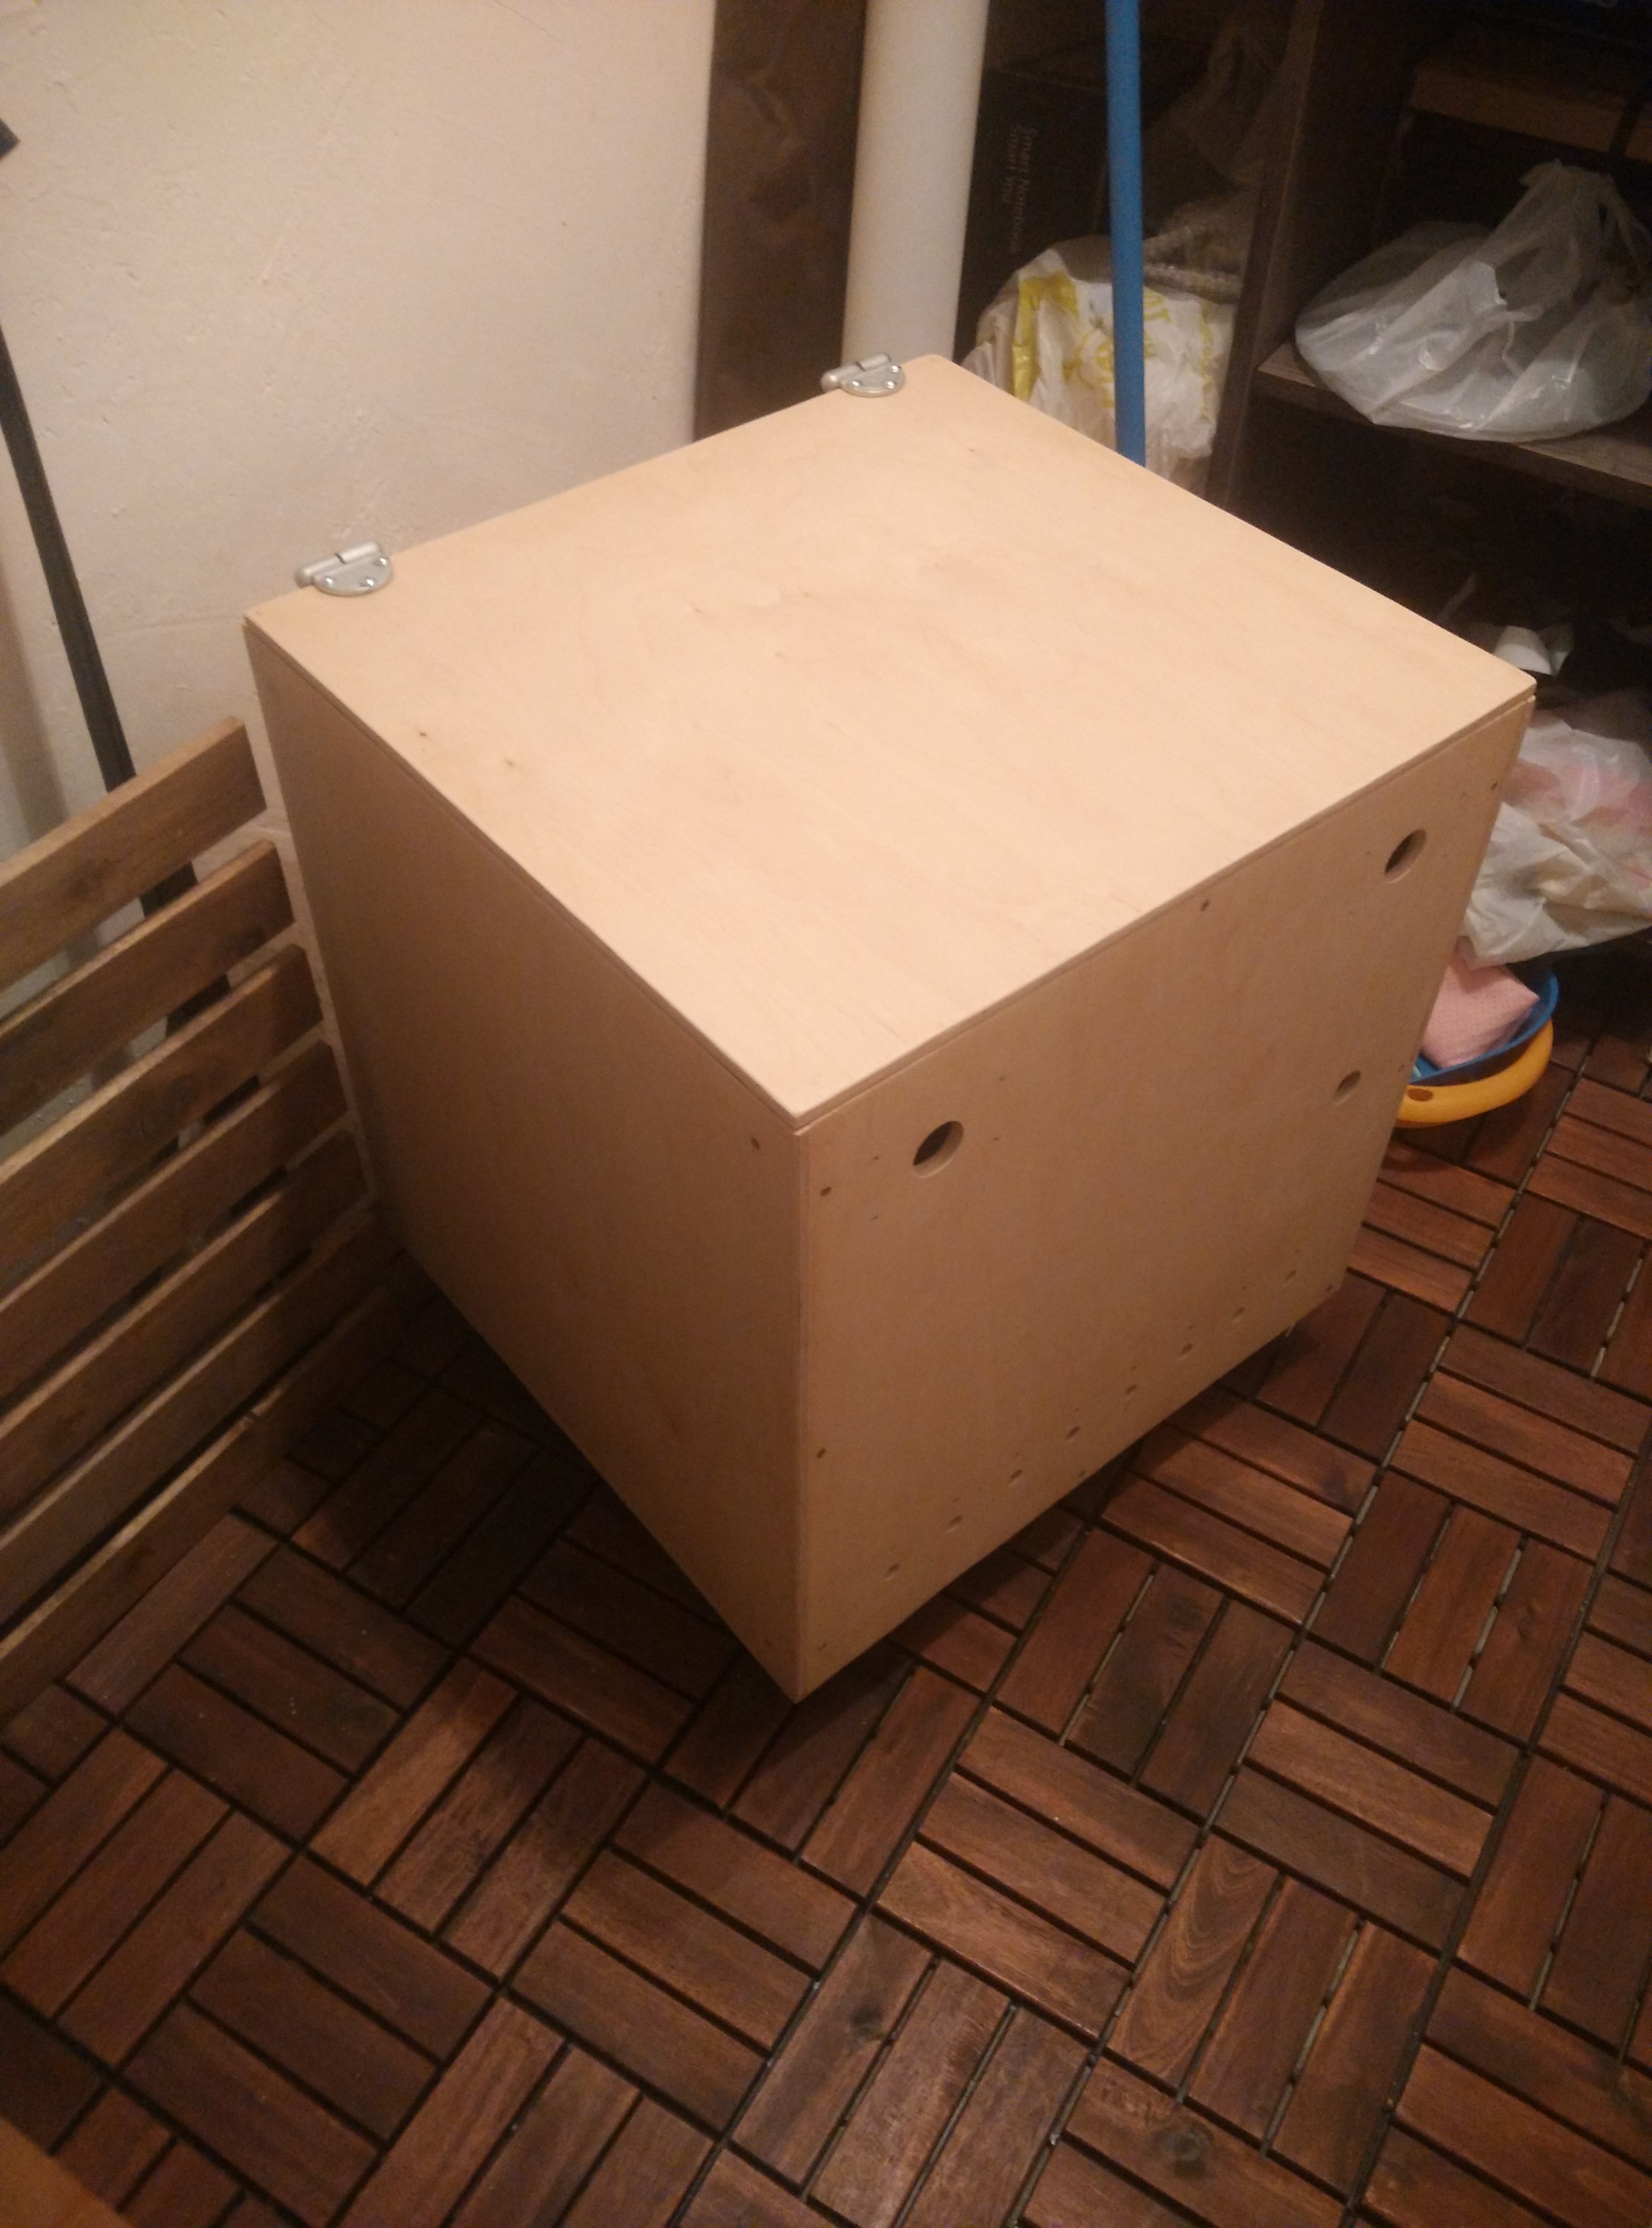
Than I very long polished surfaces... But result was not perfect. Only after I assembled first version of the cube and saw how strong my baby touched the wood I understand.... The plywood is very bad material and it is very dangerous to leave it without painting. So I disassembled it. At the end (yesterday) I painted the box by the varnish.
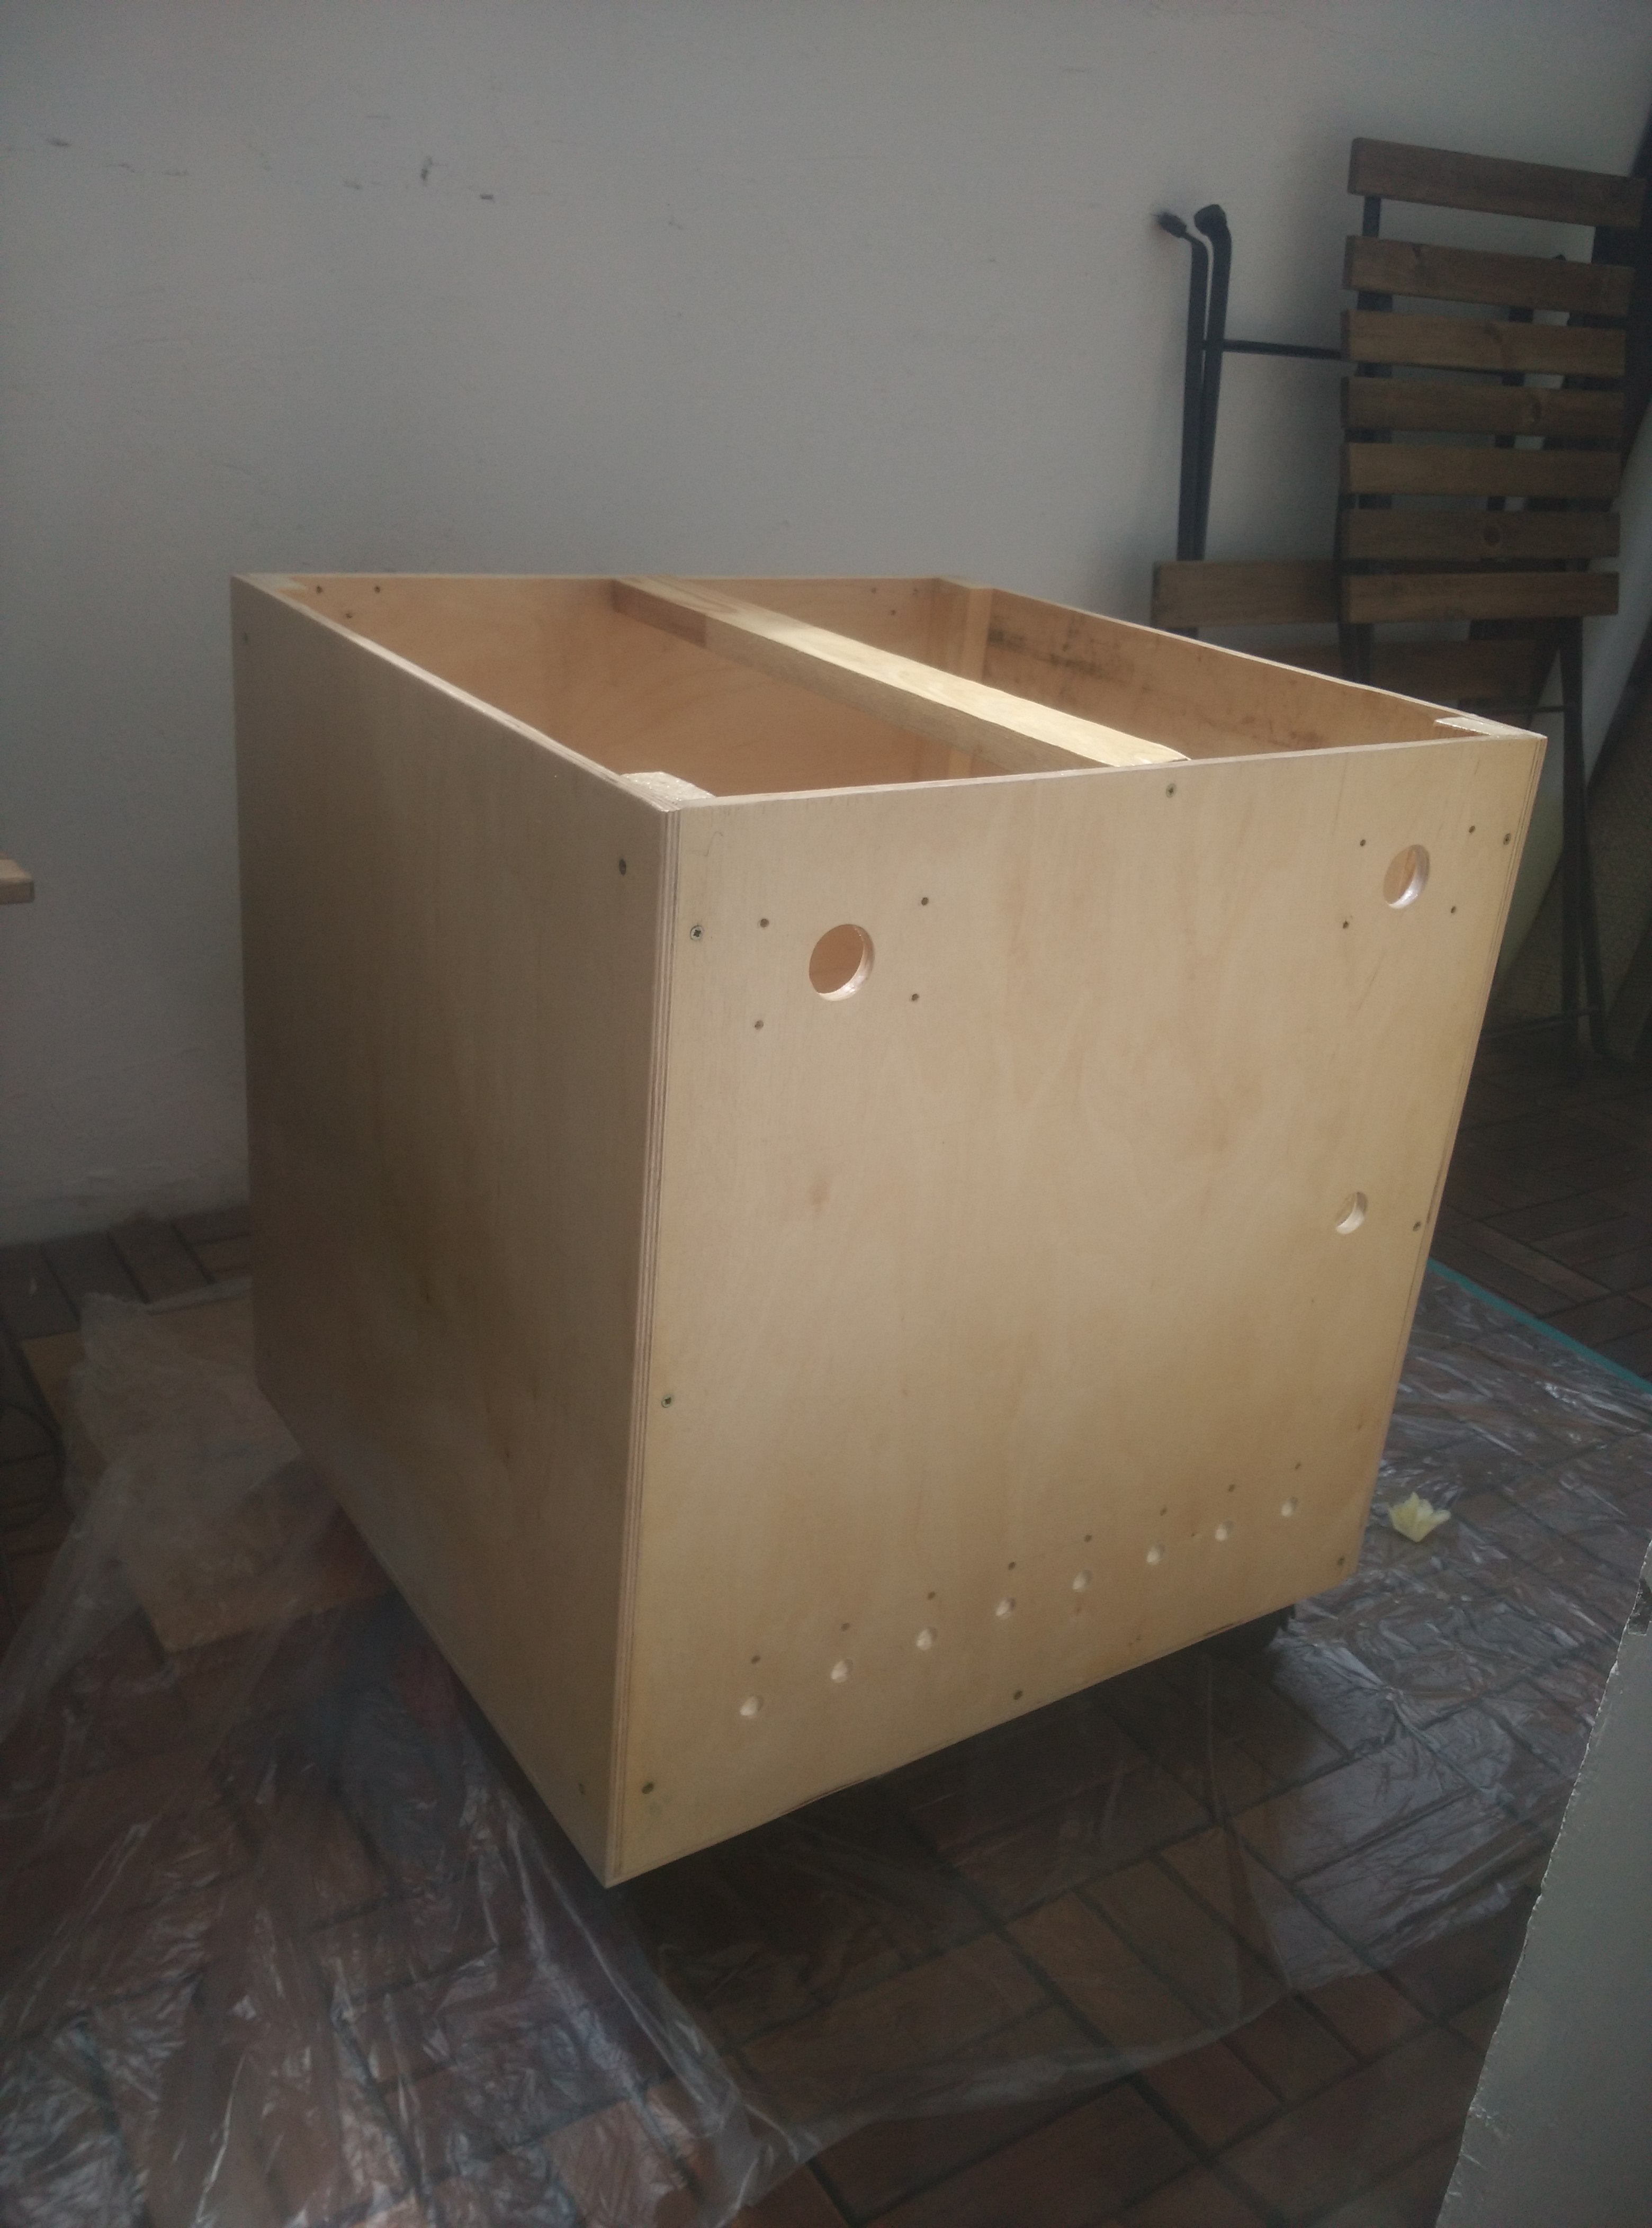 The box has wheels which has ability to be fixed.
The power
My baby will play with this device (I hope ))) so it's very important to design it with uncompromised safety requirements. It 100% will not connect to 220v. I decided to use 12V battery from office UPS.
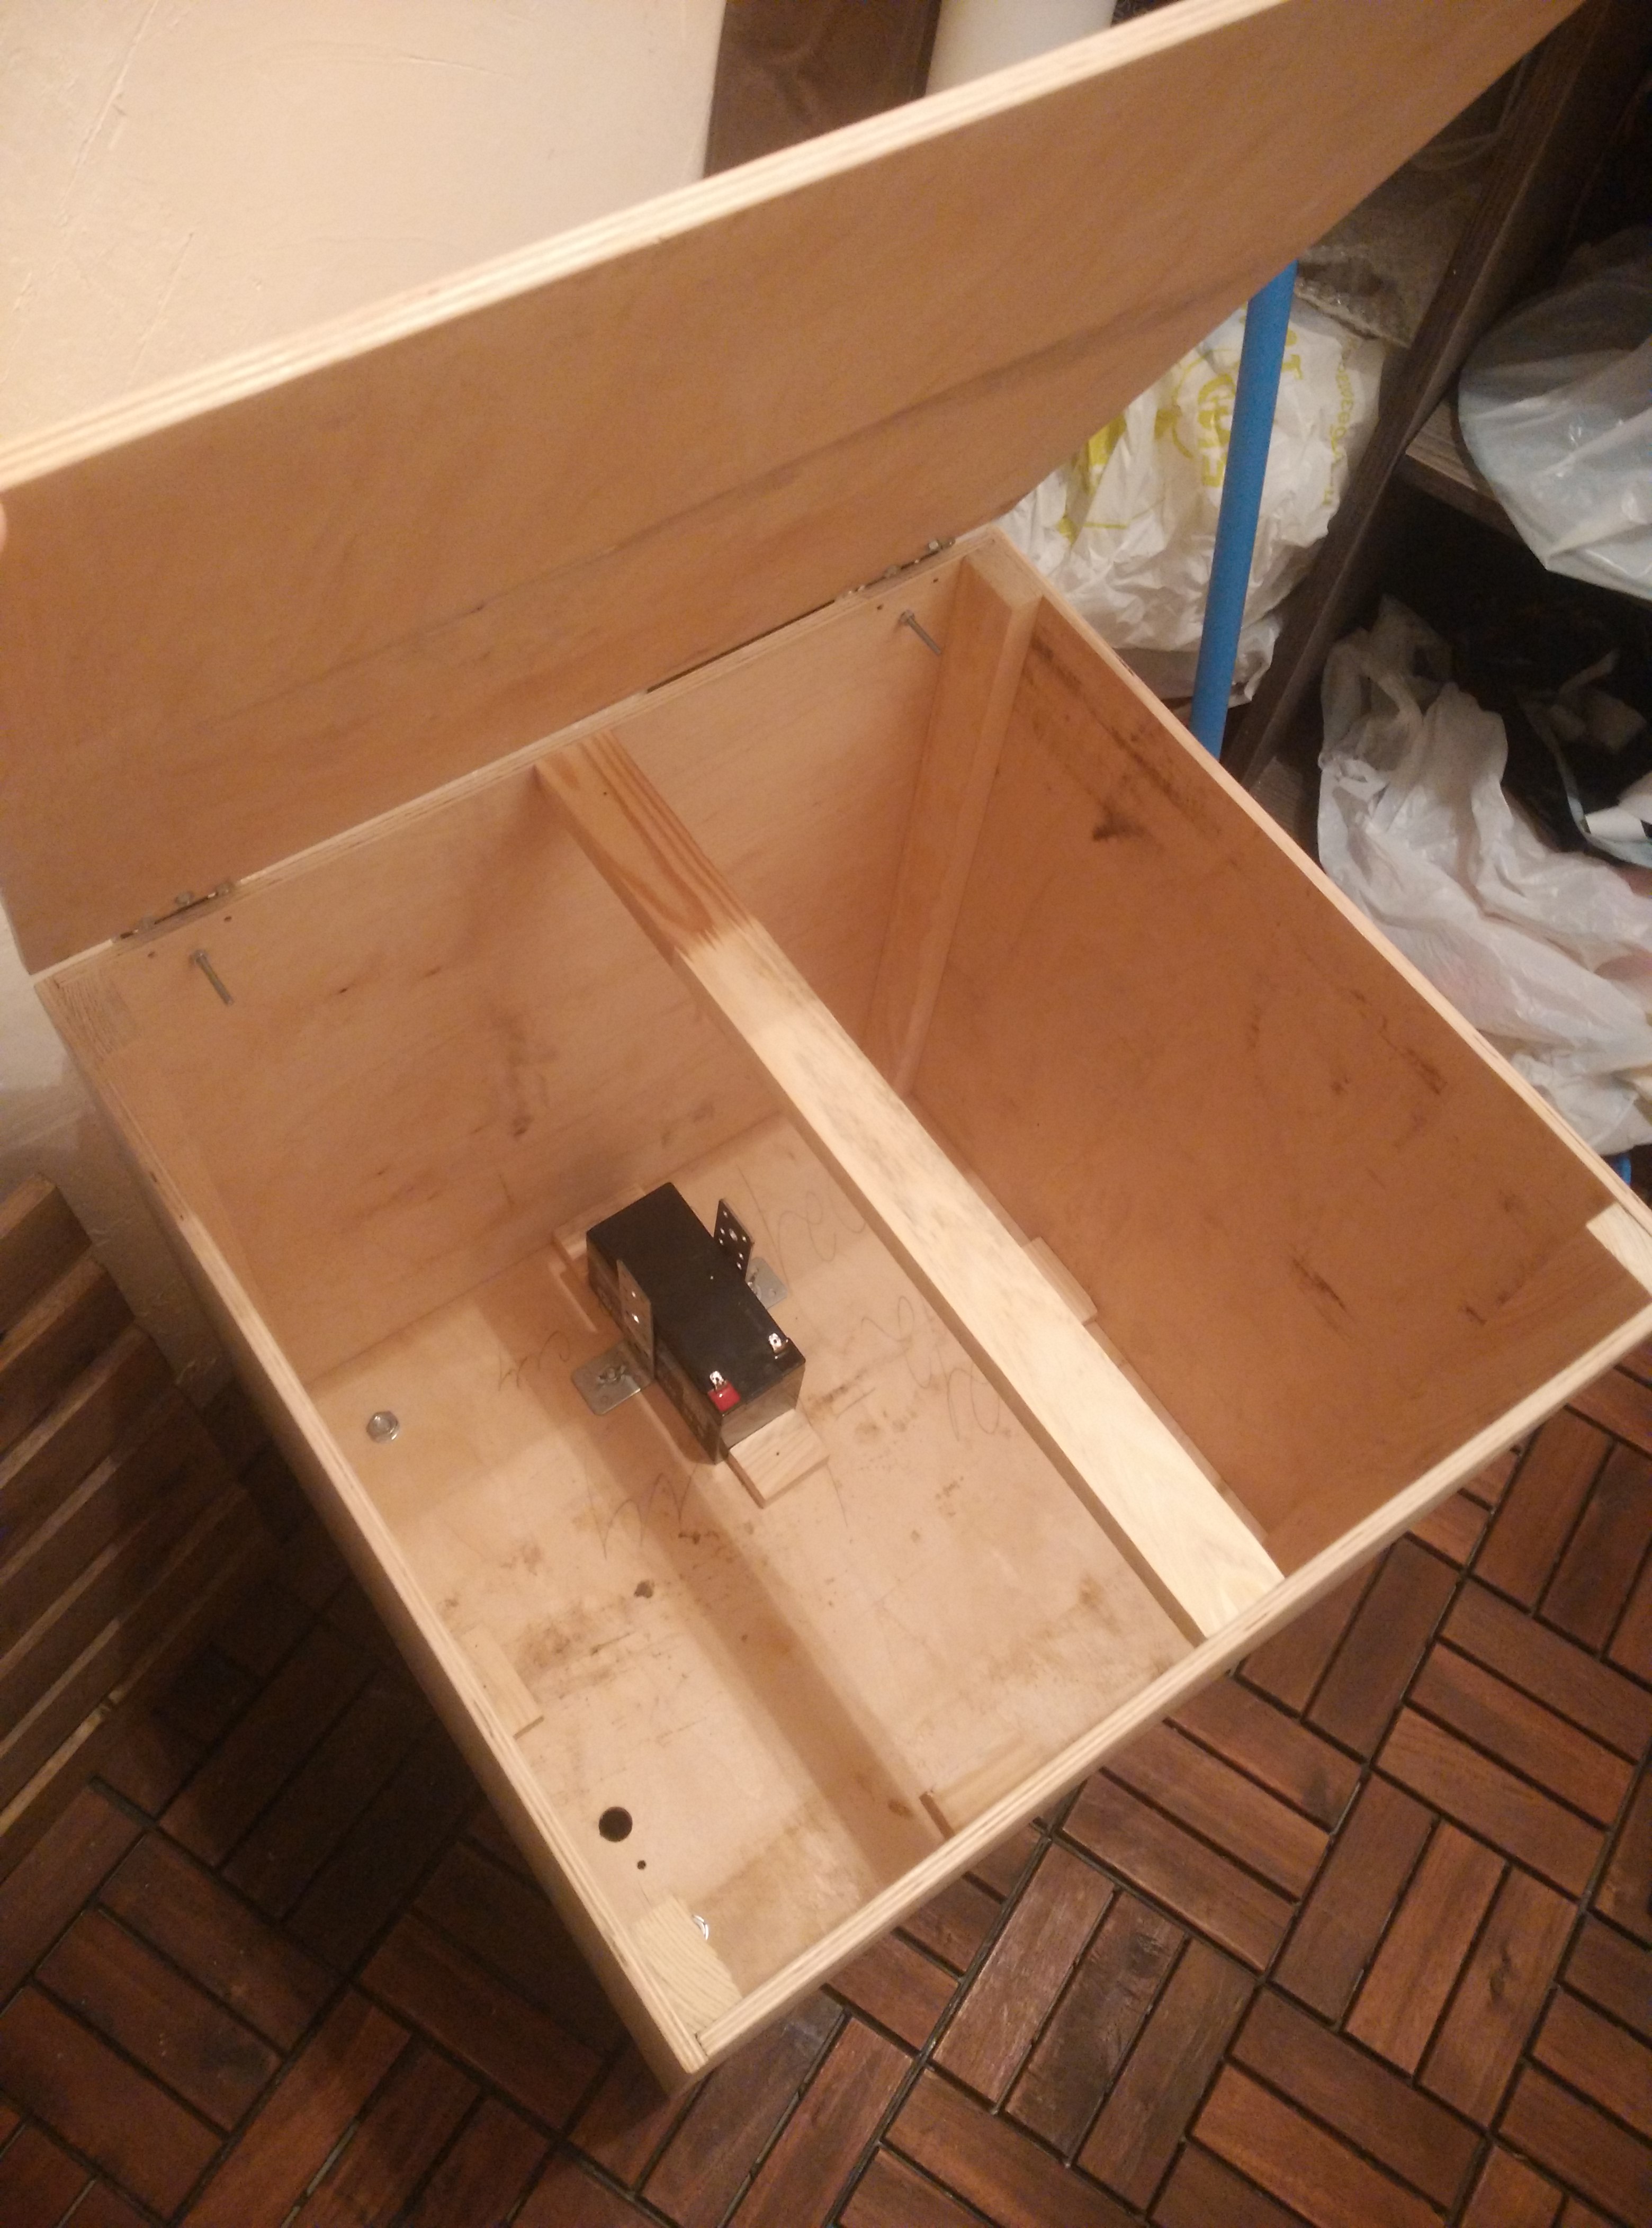 I will add main fuse near battery terminals asap. By now I have one dc-dc converter and two main power switches which are wired in series in the bottom of the cube (from the different bottom corners).
Funny touch buttons
I invented it when my son find xBox360 some months ago. He can't push buttons because he very small but it was very happy to touch the main xbox360 push button.
I decided to use arduino touchpad based on the TP229 chip. I was not sure it will pass calibration with my buttons but it works fine. I found "buttons" in the tool shop.
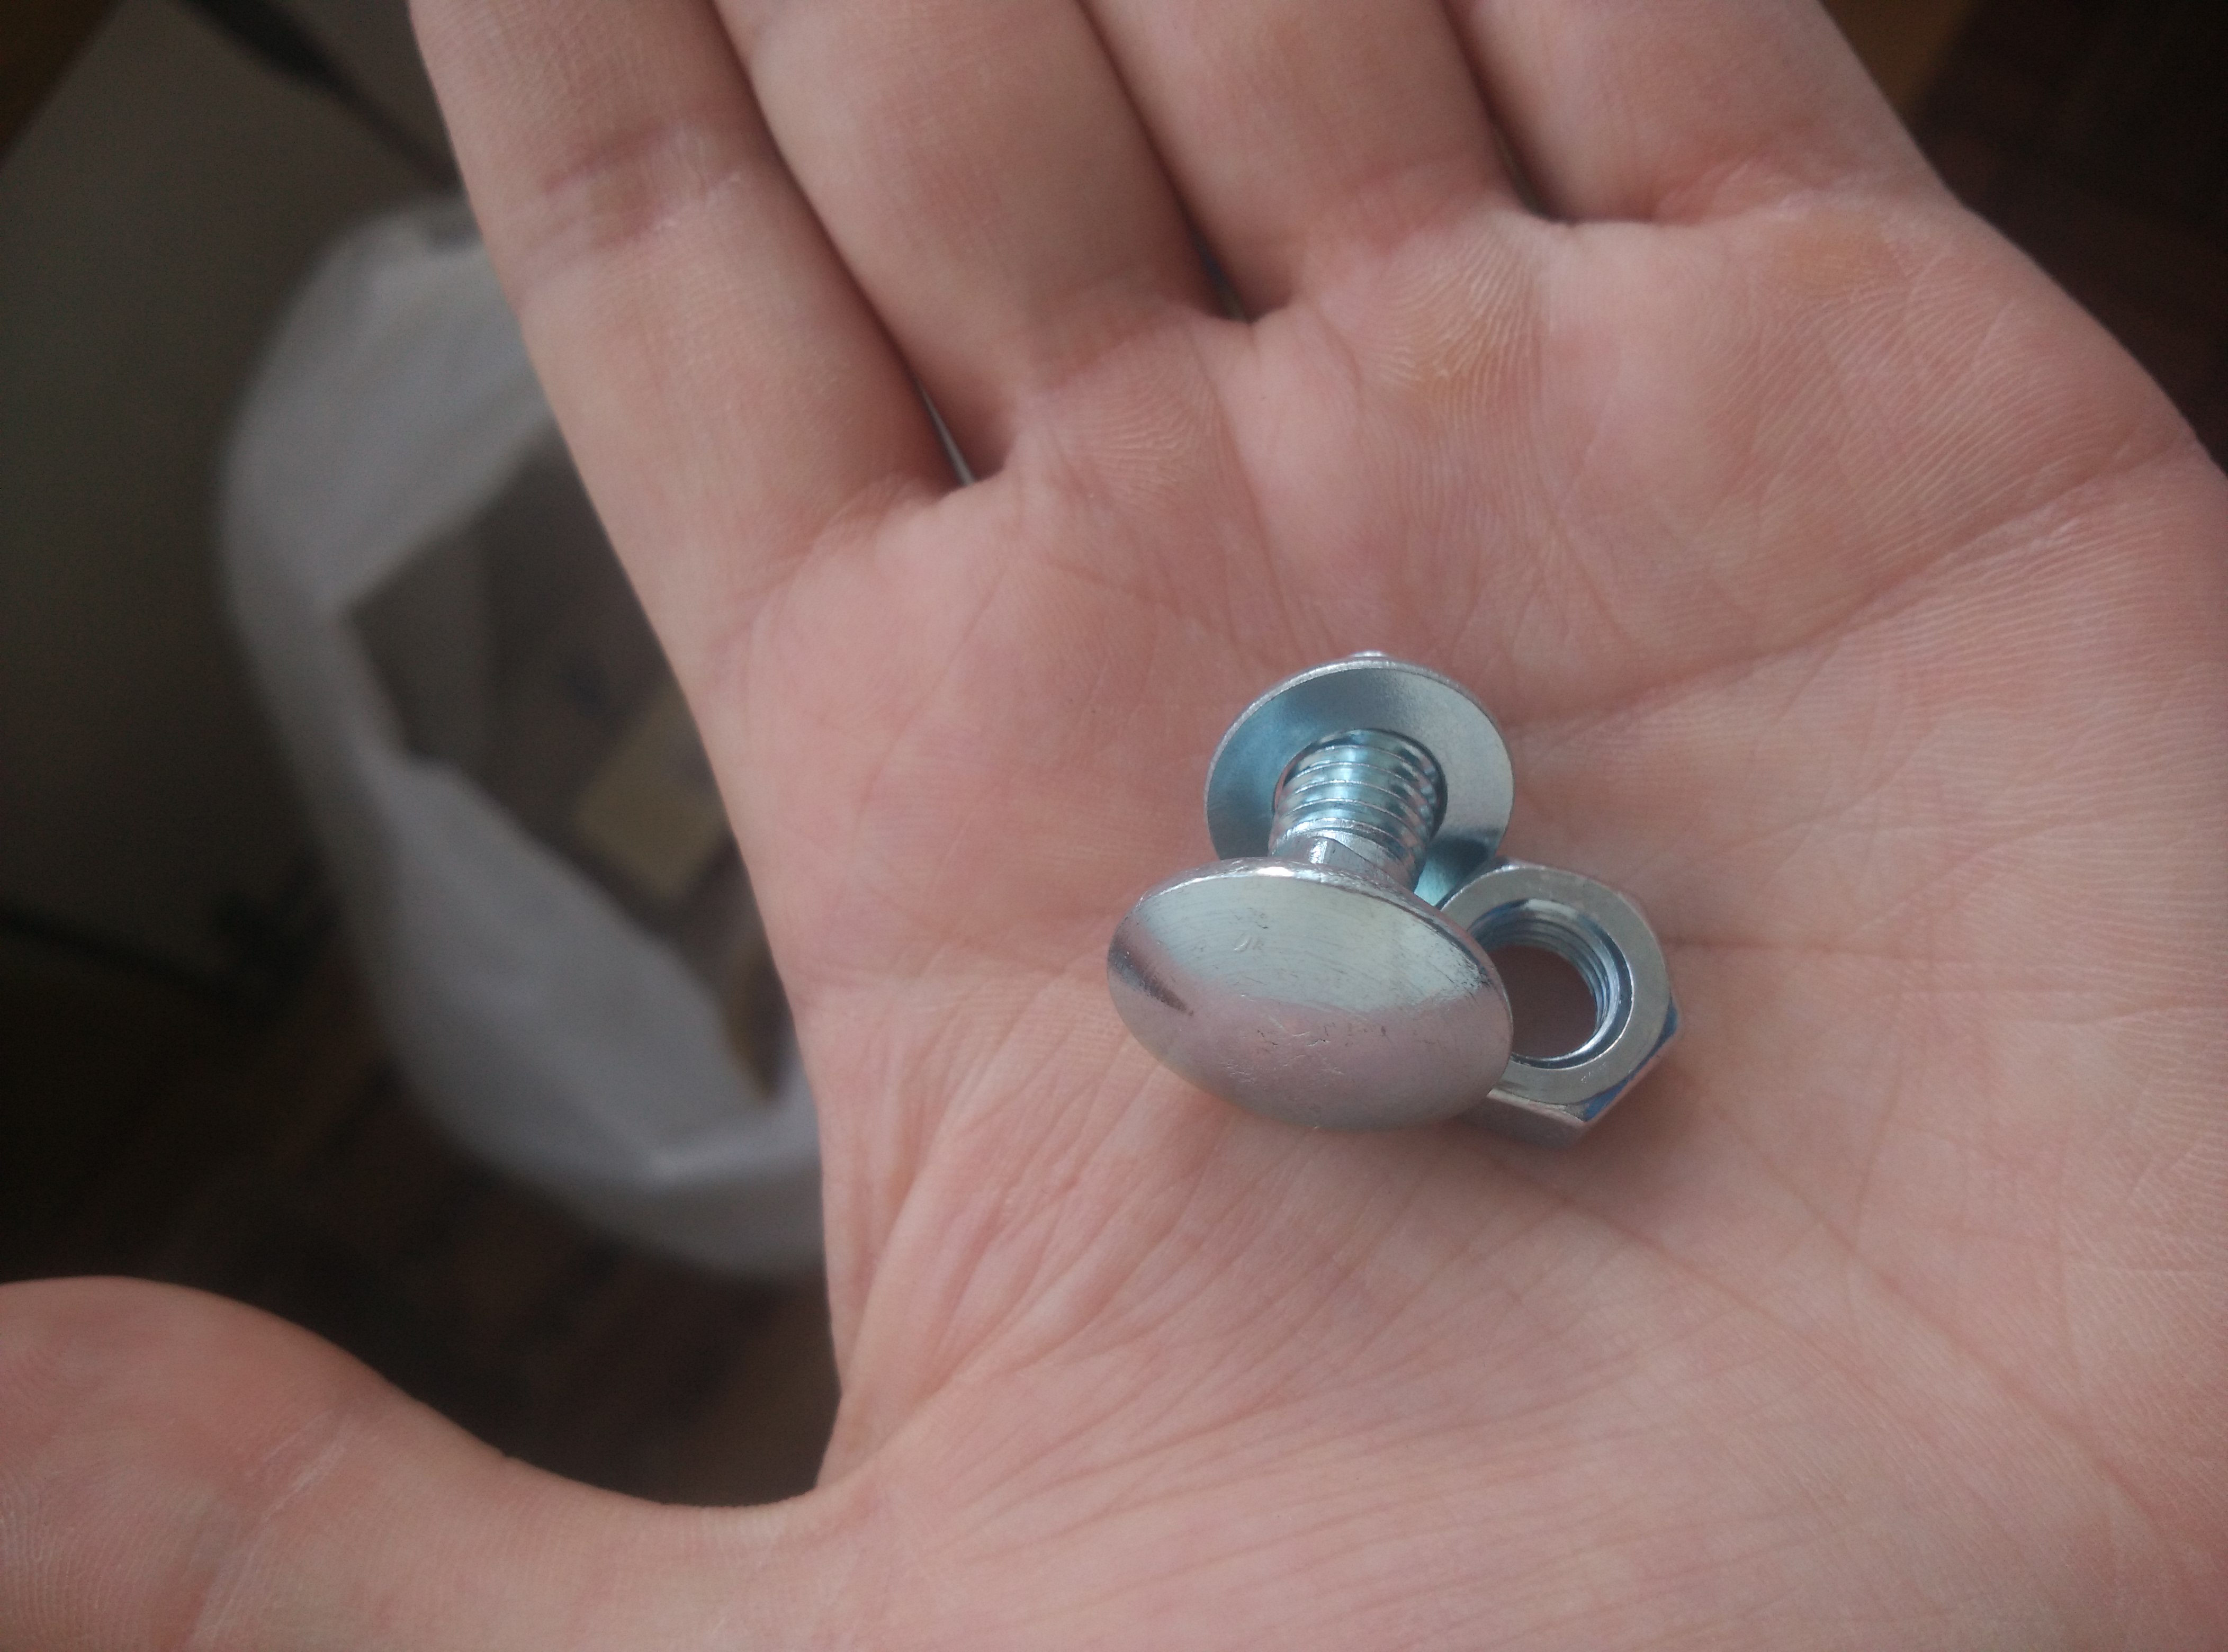 So I connected 8 touch buttons and 8 color leds via shift register (74HC595)
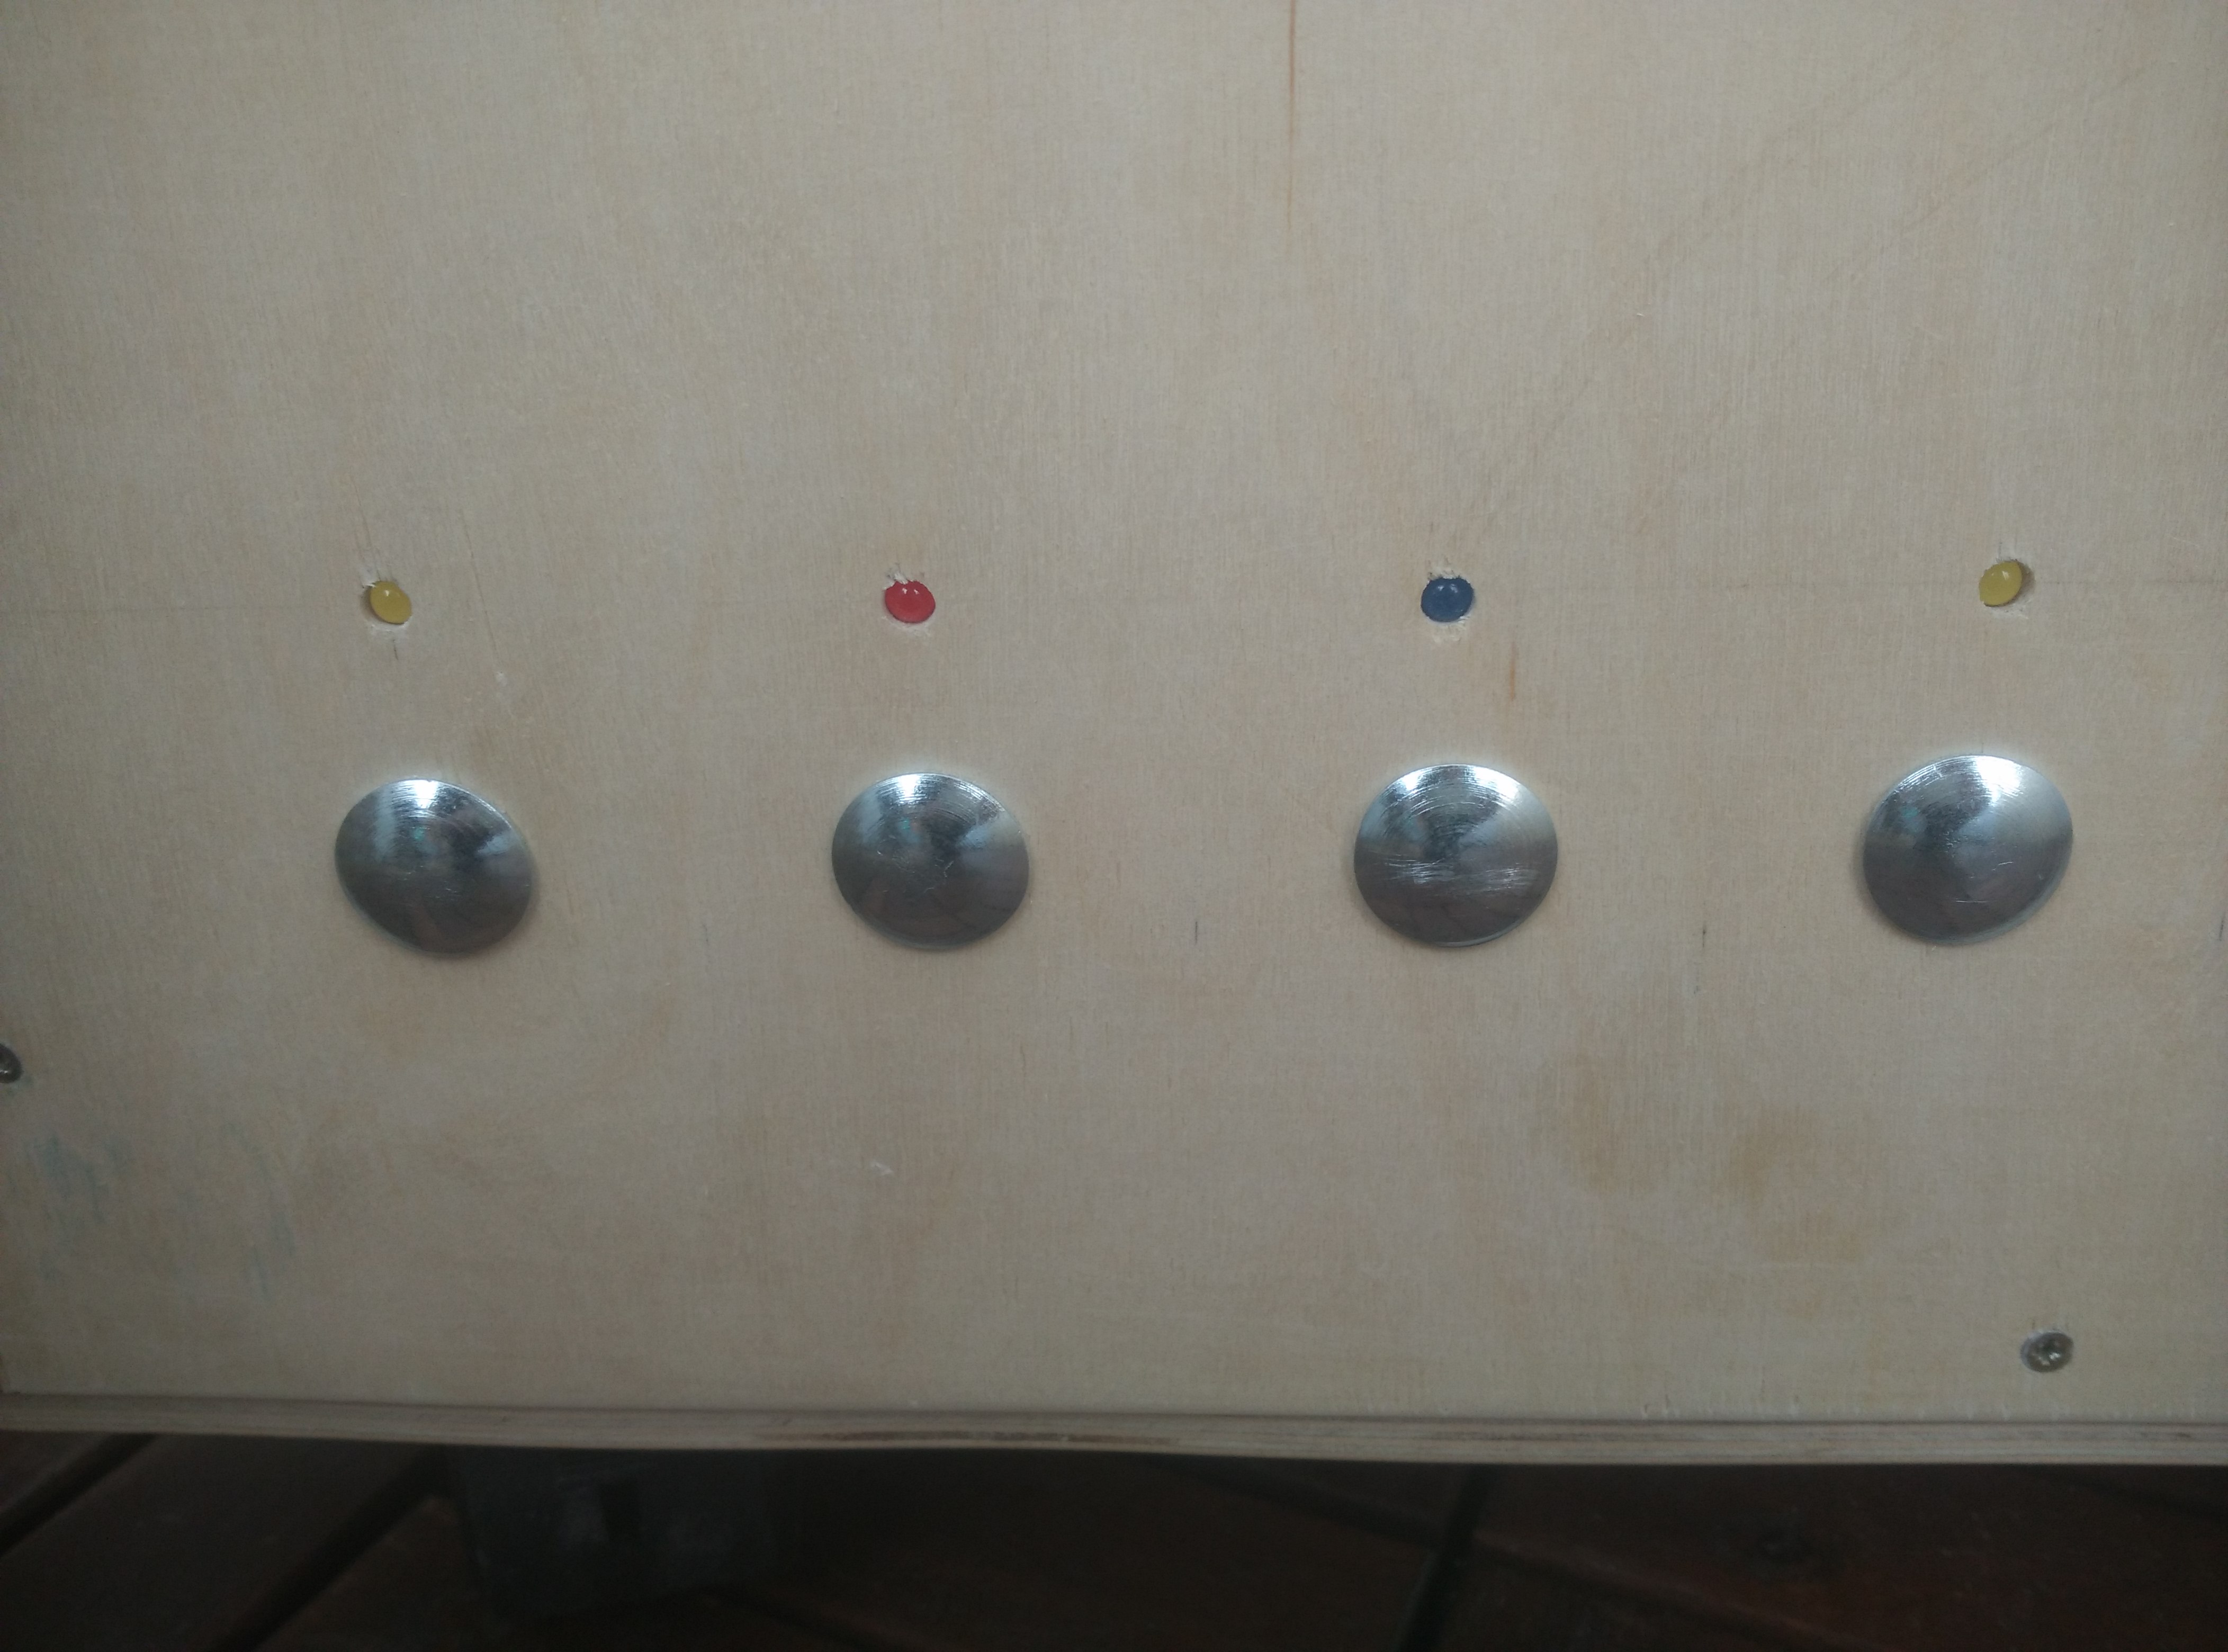
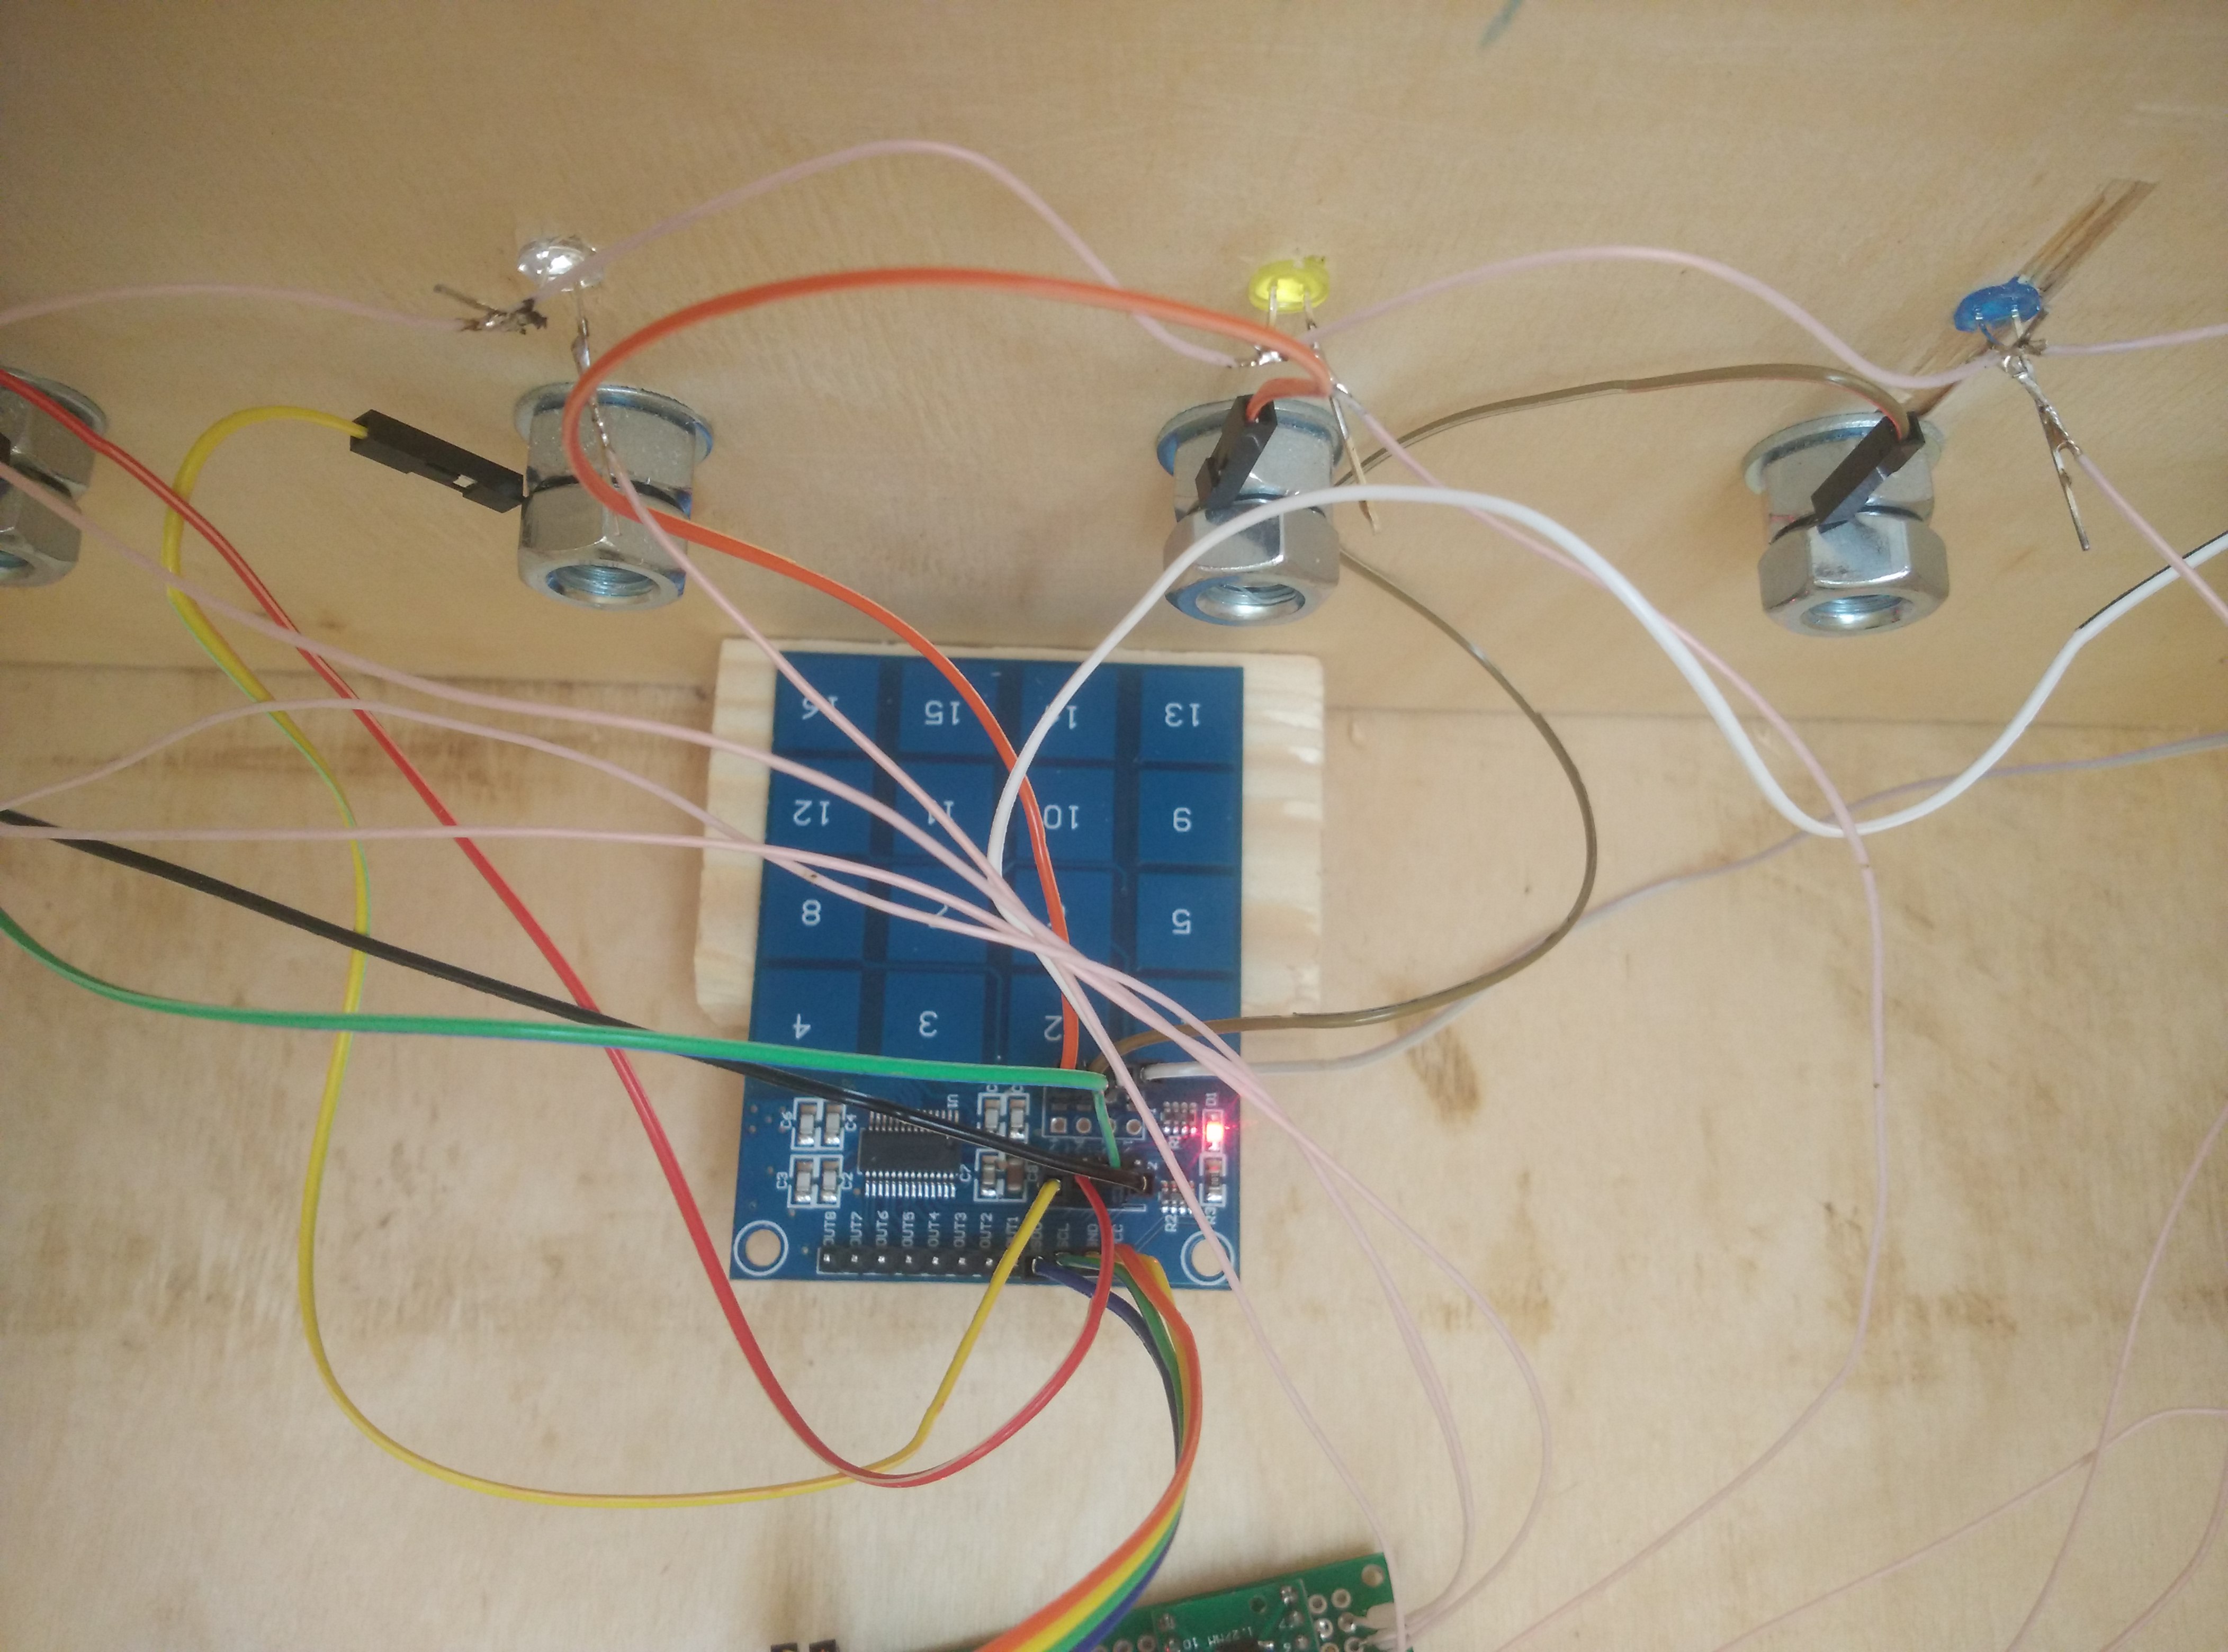
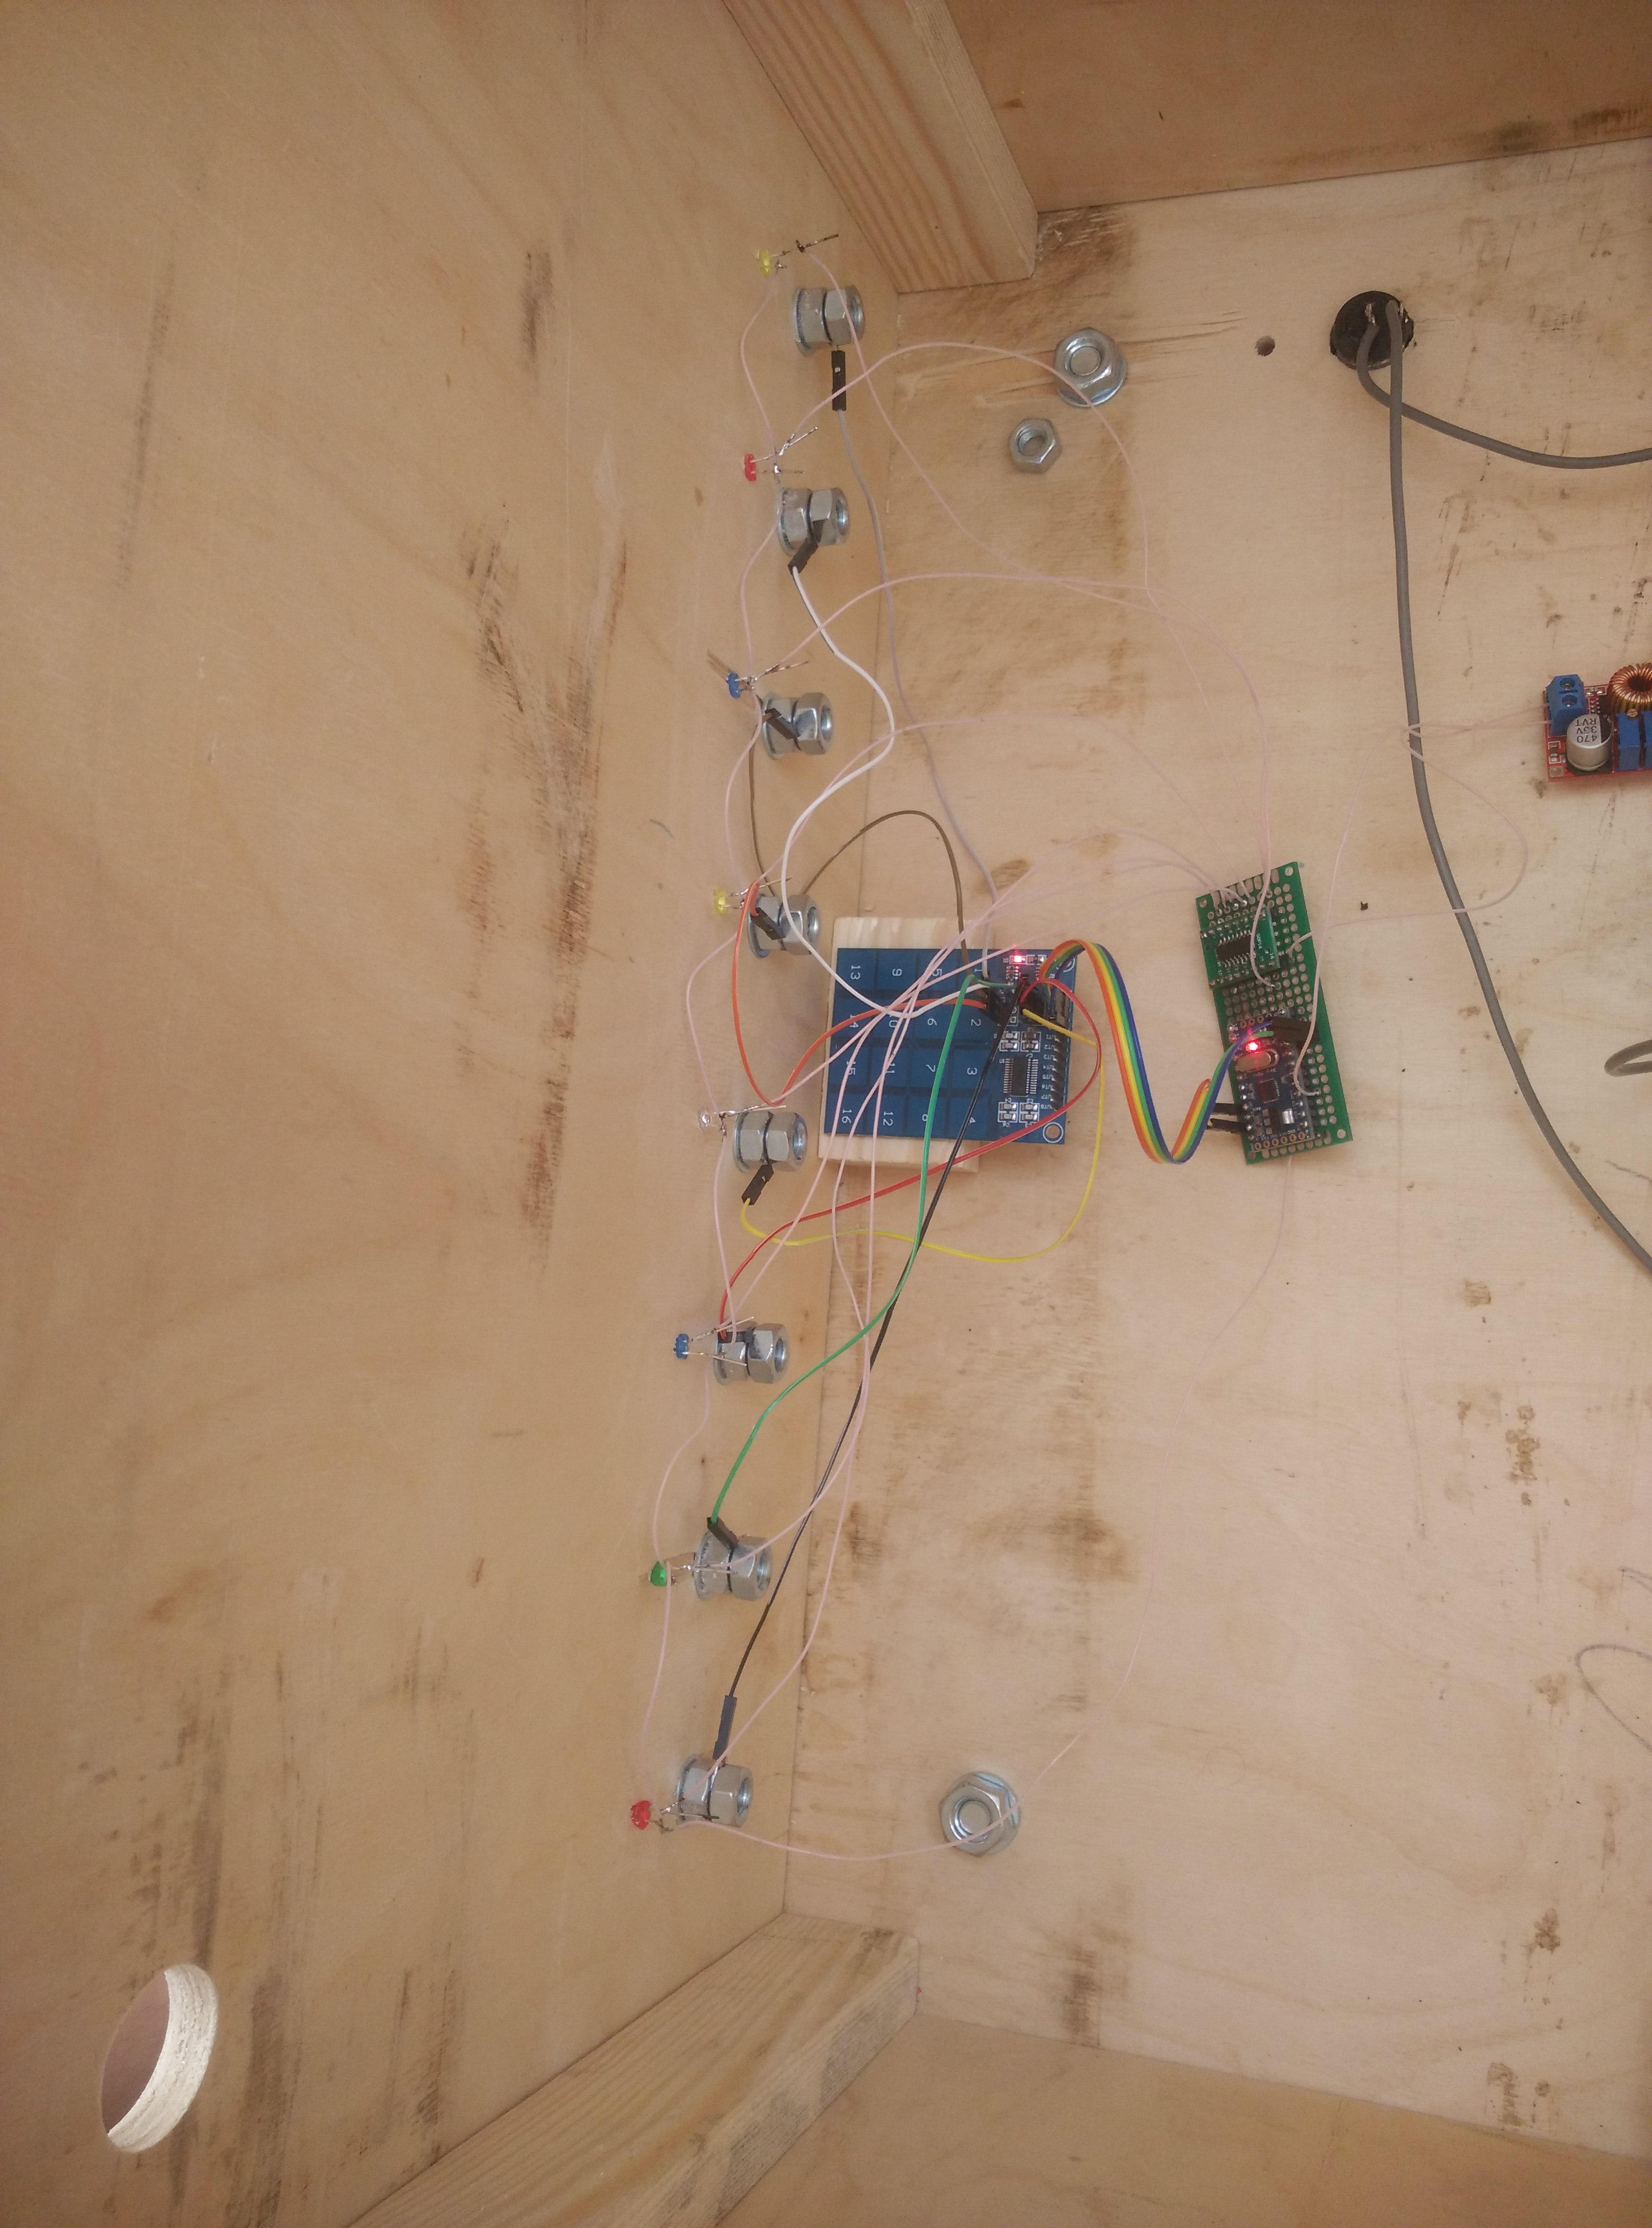
Music box
Some years ago one of my friends give me yamaha YM2149 sound processor. It is really old school chip and finally I decide to use it :)
I connected it to the arduino pro mini with a little trick with timers to eliminate additional crystal oscillator. I also used inexpensive audio amplifier PAM8403 (unfortunatelly I have some troubles with it but I hope I will solved all of them). Music files are read from ordinary arduino SD card reader.
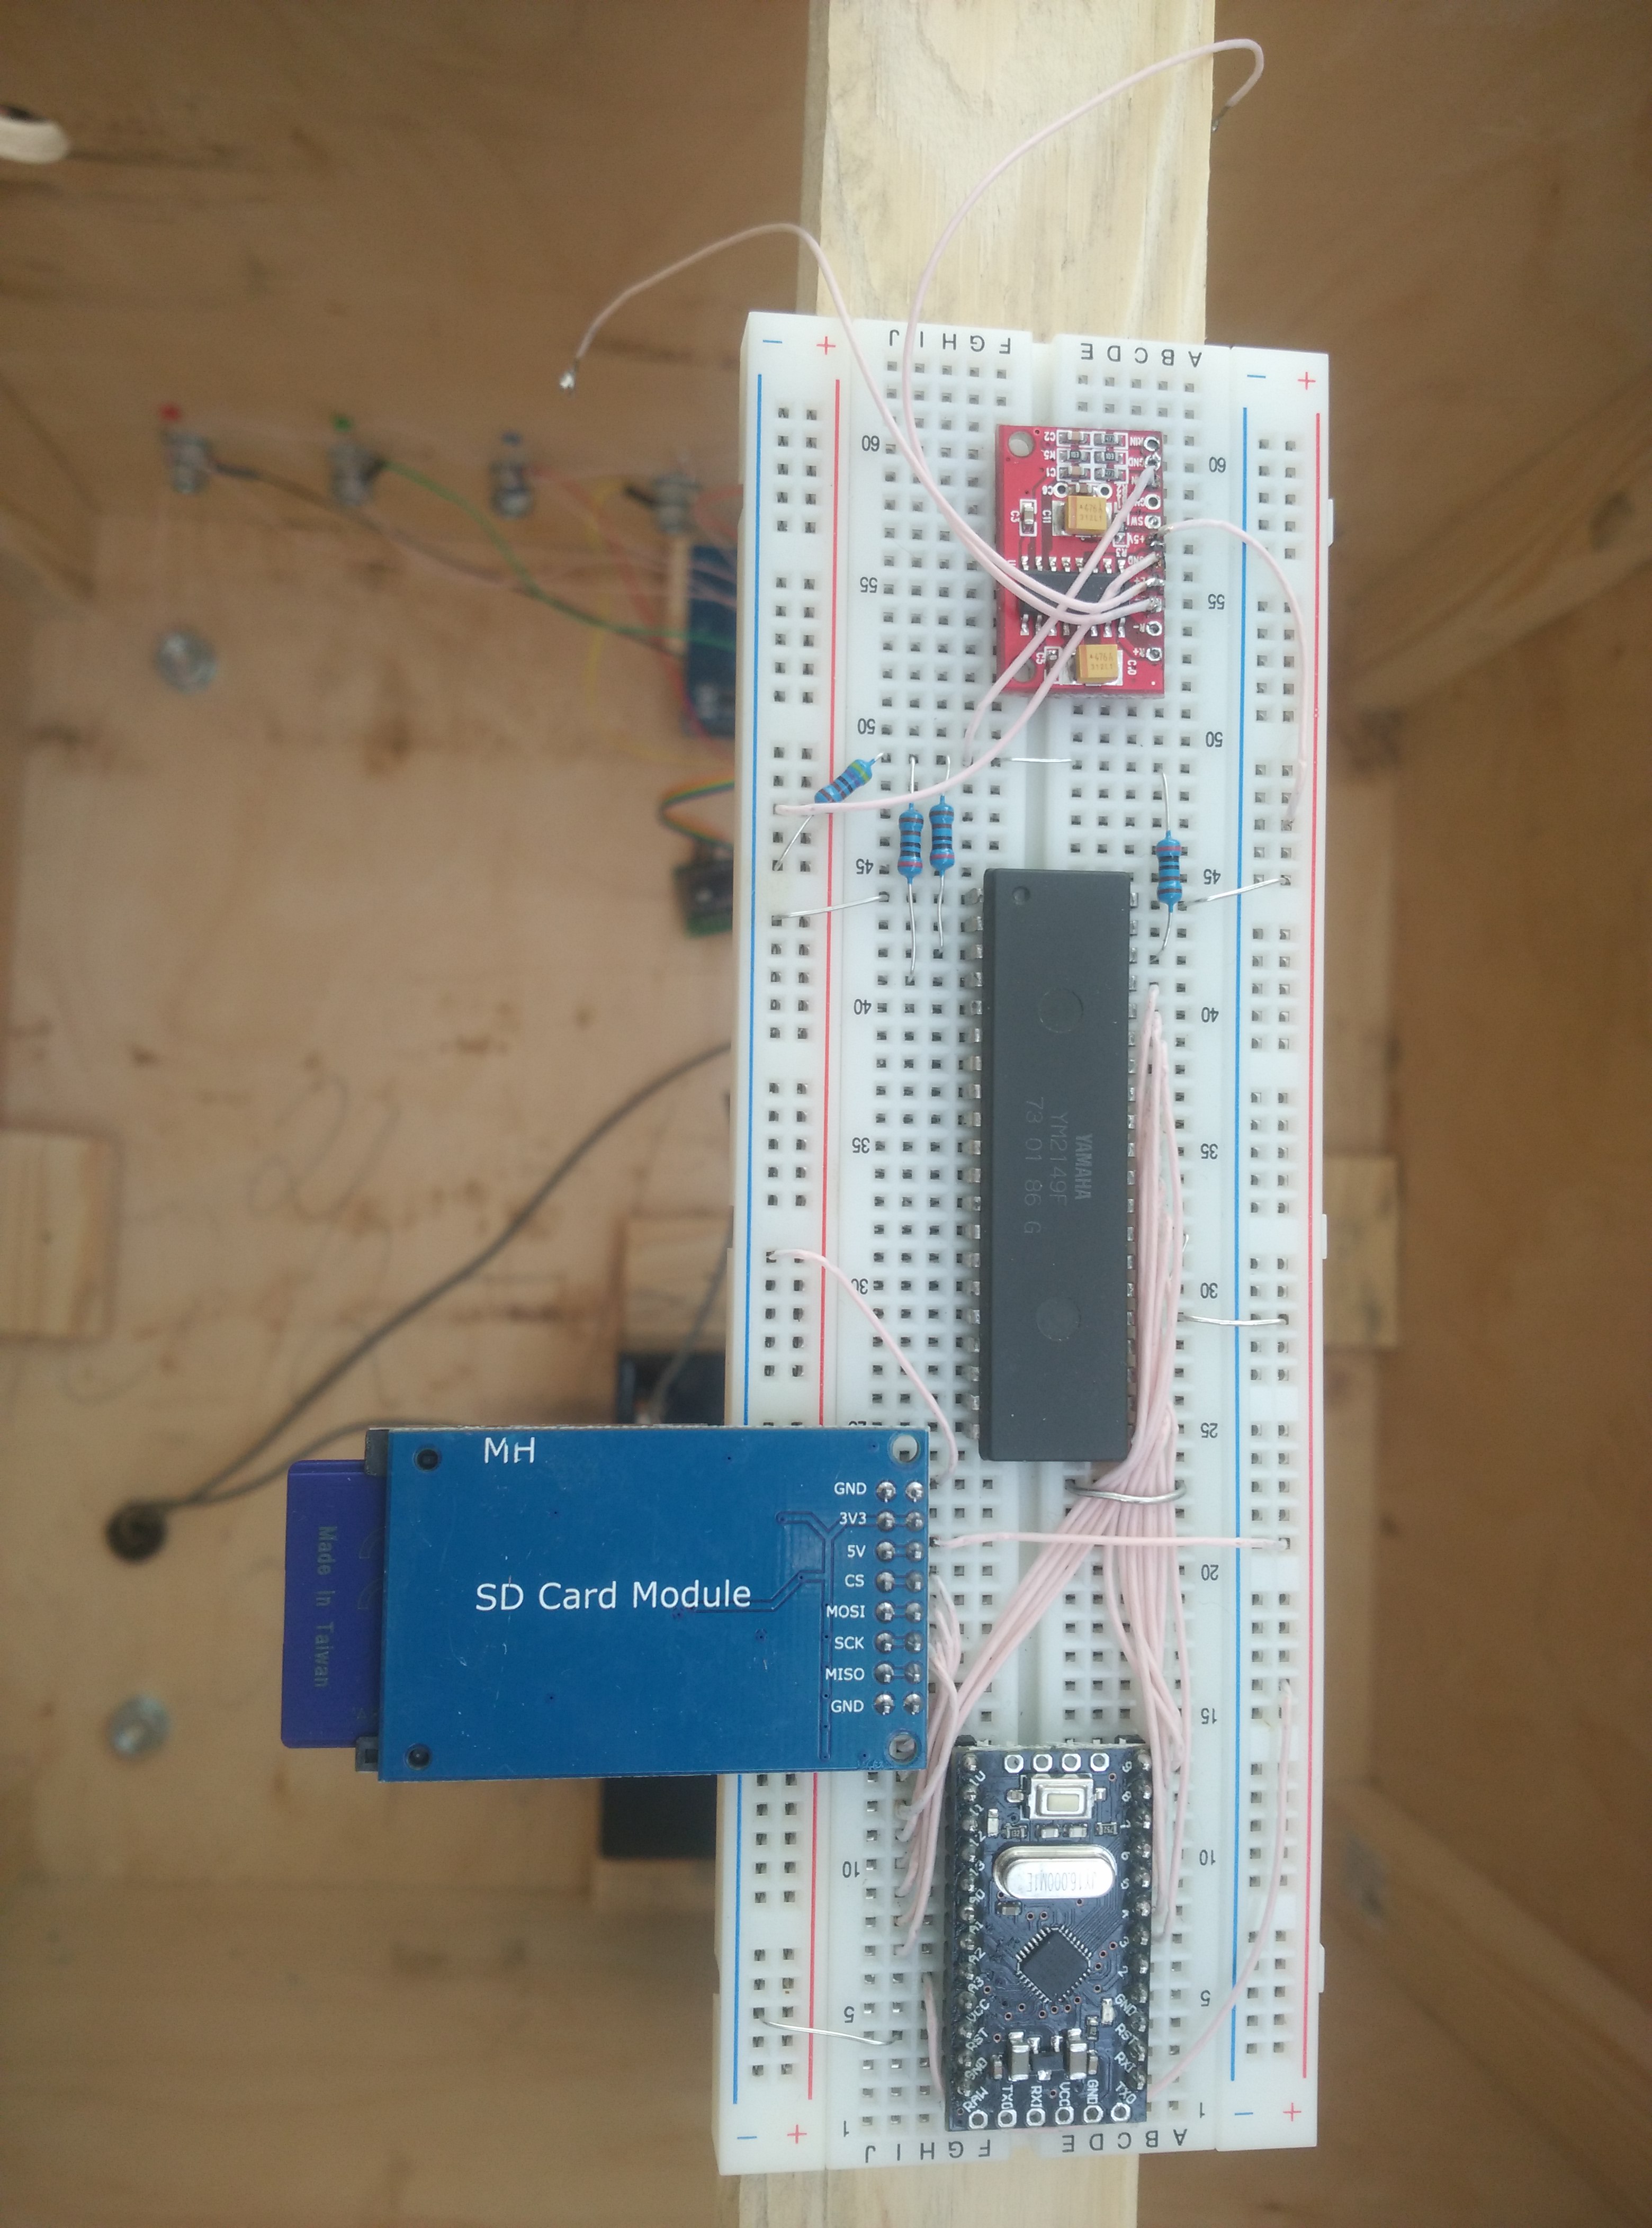 Finally I connected large button to switch music tracks :)
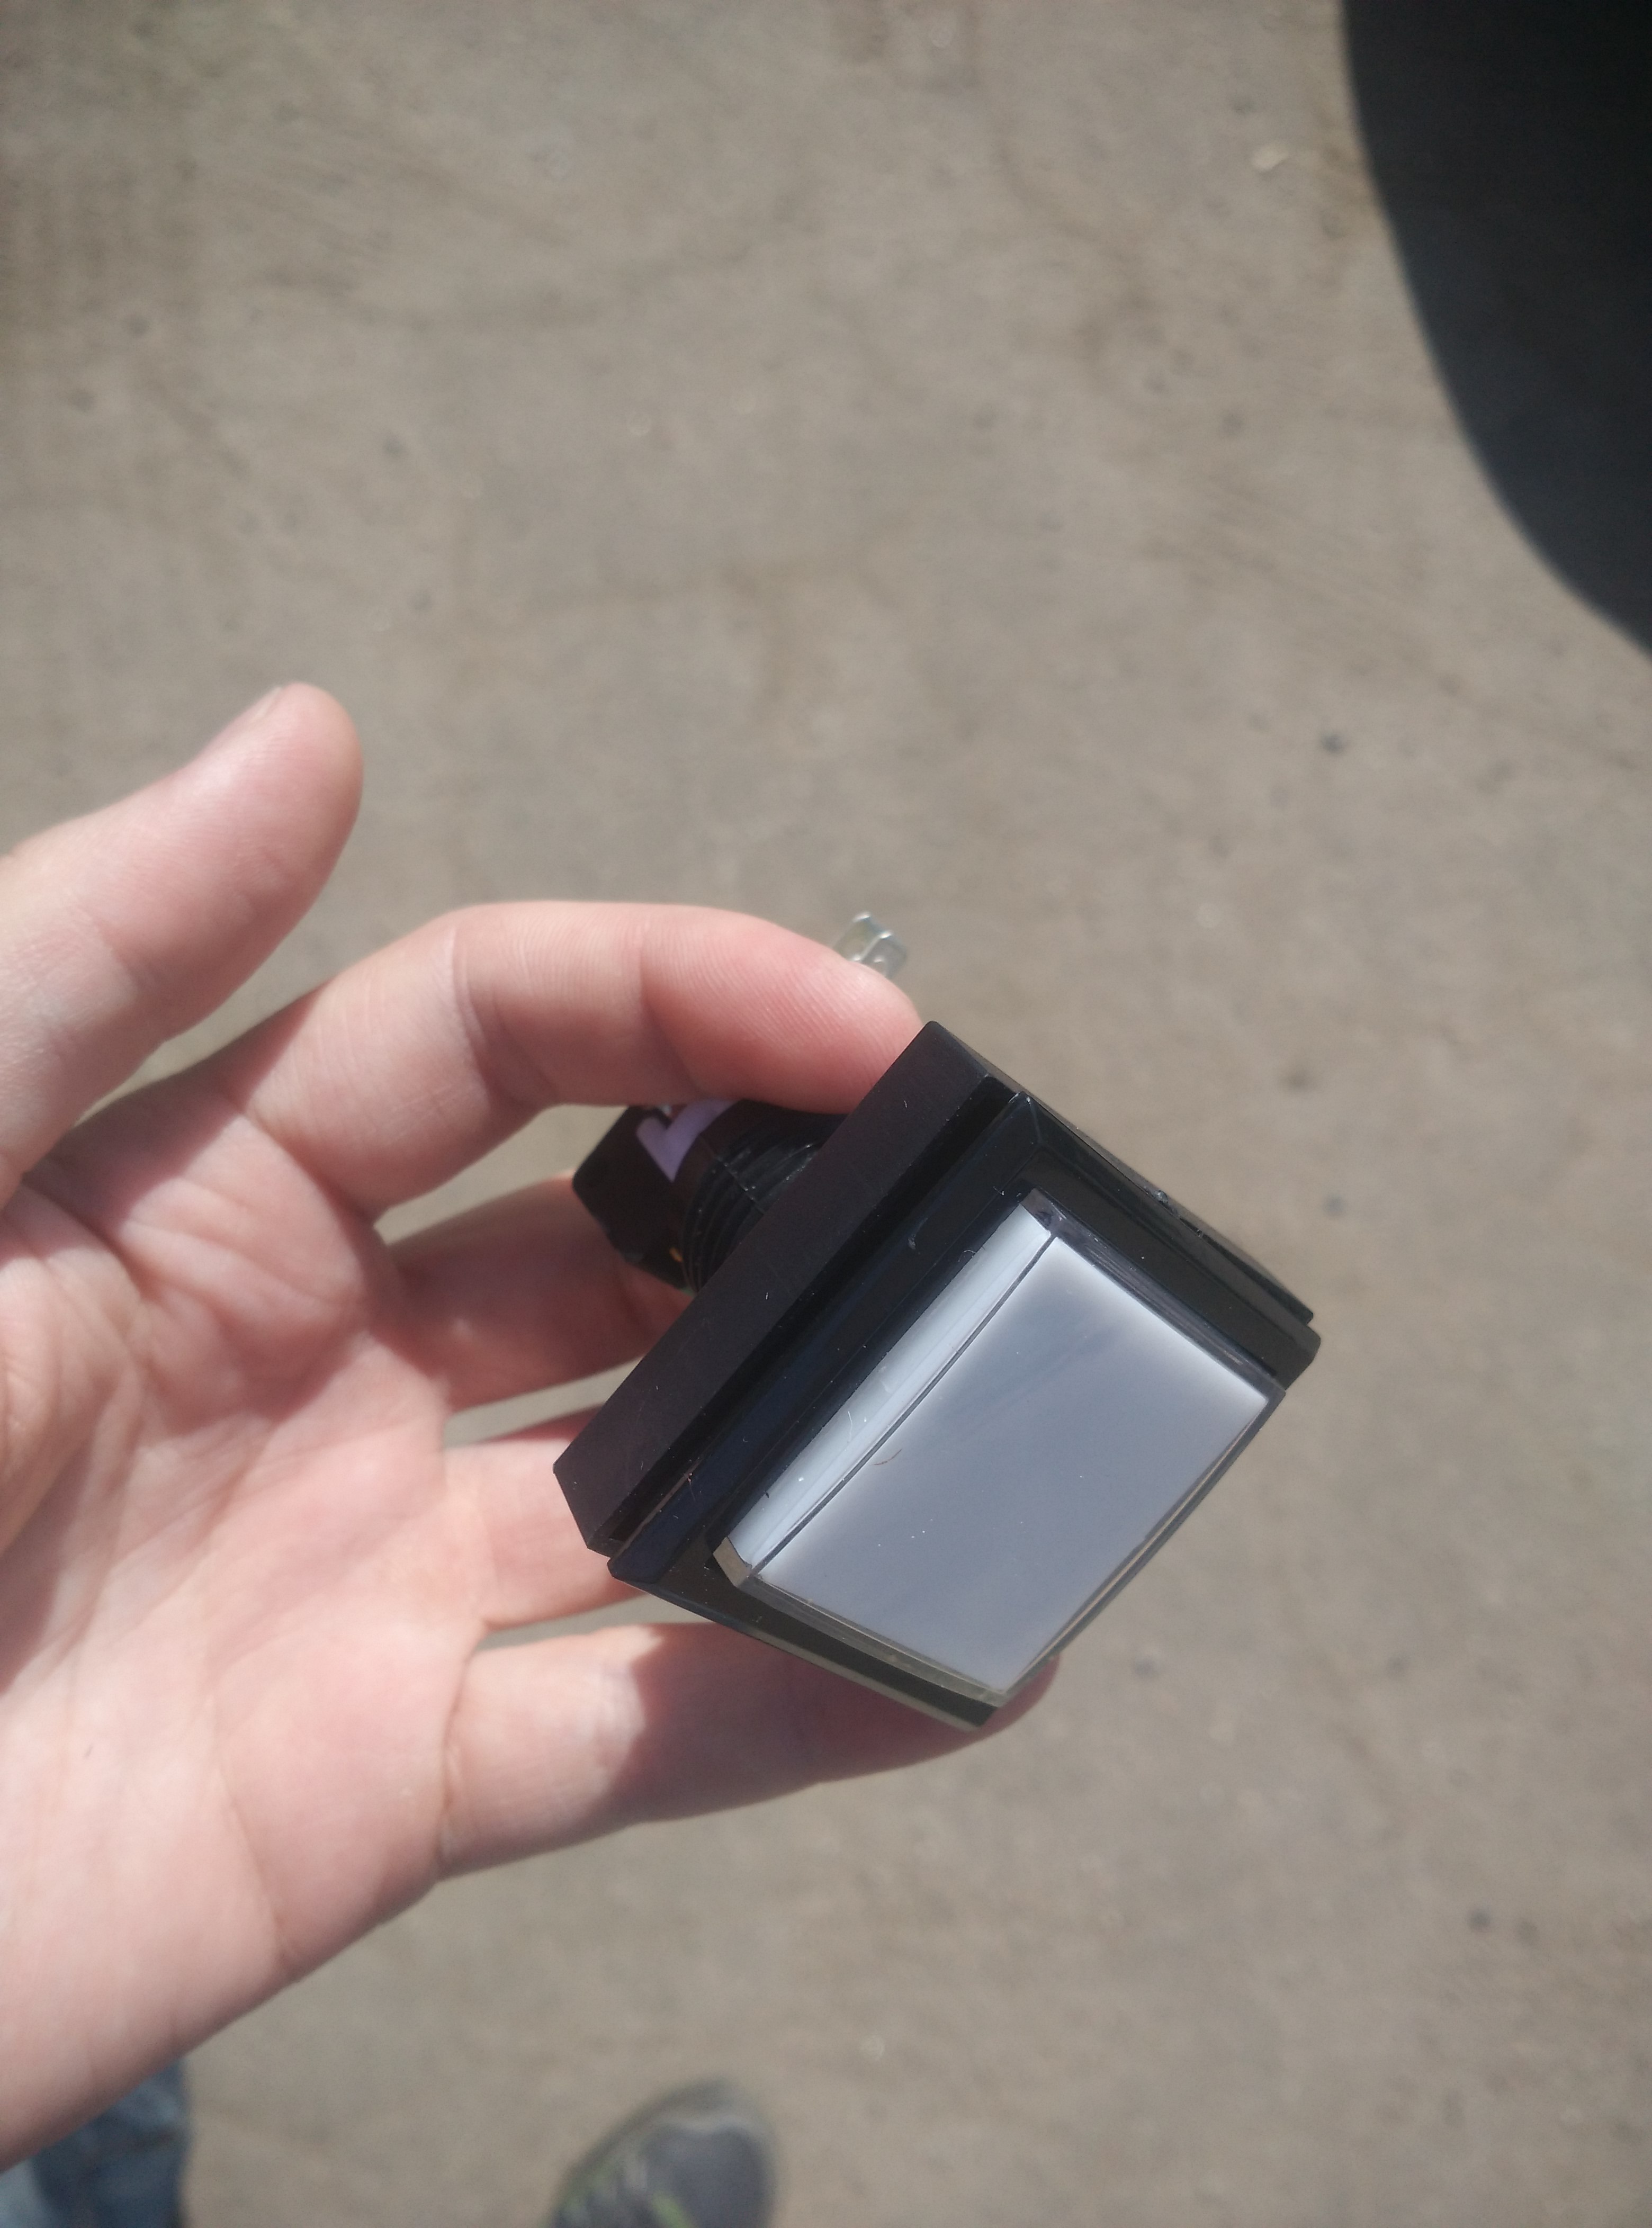
I hope I will show the fully assembled the cube very soon ;)
In some months I plan to add at least some new modules ;)
PS I will share all of schematics soon.

