@andreas-sieber The white circle on the PCB you mean? IMO That's silkscreen indicating the touch area.
NRF51822 Livolo 1 channel 1 way EU switch(VL-C700X-1_Ver_C2)
License:
Attribution-ShareAlike (CC-BY-SA)
Created:
7 years ago
Updated:
7 years ago
Views:
179042
8 Like
4 Collect
10 Comments
81 Download (464.31 kB)
Description:
This is a Mysensors replica of the Livolo EU Switch(1 channel 1 way) front plate for the VL-C702X-2_Ver_C1 Livolo hw revision.
Key Features:
- Capacitive touch sensing using MTCH102 specialized IC(using guard rings also for better noise immunity), touch sensitivity can be adjusted now from code
- MySensors or BLE ready(NRF51822) - PTR5518
- DC-DC Buck converter for powering from the 12V line ( the DC-DC converter can be bypassed and not used at all if desired by soldering the 3V_EN jumper and removing the L1 ferrite bead or by not soldering the dc-dc converter components)
Work progress:
- Test/verify the pcb board correctness(from both electrical and mechanical point of views) - DONE
- Produce the initial PCB's using some external PCB manufacturer - DONE
- Components assembly(soldering) - DONE
- Create Mysensors sketch code - DONE
- Verify the real board with running code - DONE
Firmware programming and testing steps for MySensors:
- Install Arduino IDE
- Install nrf5 arduino core from here: https://github.com/sandeepmistry/arduino-nRF5
- Select the nrf51 generic board (16K ram and 256K flash) variant(or nrf52 generic if you have a nrf52832 device)
- The low frequency oscillator needs to be set to RC oscillator in the Arduino menu
- NO Softdevice needs to be selected
- Use a st-link v2 programmer
- You need to connect only: SWD, SWCLK, Vdd and GND
- Load your MySensors sketch or use the one provided with this project
Firmware programming and testing steps for BLE:
- Install Arduino IDE
- Install nrf5 arduino core from here: https://github.com/sandeepmistry/arduino-nRF5
- install Arduino ble peripheral library from here: https://github.com/sandeepmistry/arduino-BLEPeripheral
- Install the required softdevice as explained here: https://github.com/sandeepmistry/arduino-nRF5#selecting-a-softdevice
- Select the nrf51 generic board (16K ram and 256K flash) variant(or nrf52 generic if you have a nrf52832 device)
- The low frequency oscillator needs to be set to RC oscillator in the Arduino menu
- Select S130 softdevice from menu if you have nrf51(or S132 if you have nrf52)
- Use a st-link v2 programmer
- You need to connect only: SWD, SWCLK, Vdd and GND
- Load my BLE testing sketch, compile and upload
- Use the nrf connect tool for Android: https://play.google.com/store/apps/details?id=no.nordicsemi.android.mcp&hl=en
- Scan for available devices - you should see a "Livolo" device
- Connect to it
- After connecting and characteristics discovery -> expand one of the "unknown characteristic"(there's one for each livolo channel or relay)
- Use the button with an UP arrow on it to send values - select UINT8 - send 1 for turning ON the light, send 0 for turning OFF the light for the selected channel
Extra steps needed for the Livolo power supply/relays board!!!
- The R3 resistor(marked with 104 - 100Kohm) near the bridge rectifier needs to be replaced with a 1Kohm one(1206 package)
- The R13 SMD resistor needs to be replaced with a solder bridge
- Mount a X2 capacitor of 1uF - 2.2uF rated at a minimum of 275Vac directly on the light bulb(in parallel)
Notes:
- If using BLE based firmware with this board the current consumption on average is only 5mA **for the **WHOLE BOARD(including leds) and this is constant over time
- If using MySensors firmware instead the current consumption on average increases to **18-20mA **which is 4 times bigger than BLE
- What I noticed is that the original Livolo power supply(the one used in stand-by mode) is designed to work with currents of 1mA or even below so that's why the above hardware modifications(the extra steps) need to be performed - otherwise the switch won't start
- It's not advised to replace the R3 resistor with a bridge only as the stand-by power supply may be damaged over time and it's required that the custom top board(for which the current project was made for) to draw a lower current as much as possible(ideally would be several milliamps and even lower but it works with 10-20mA also)
Practical usage ideas:
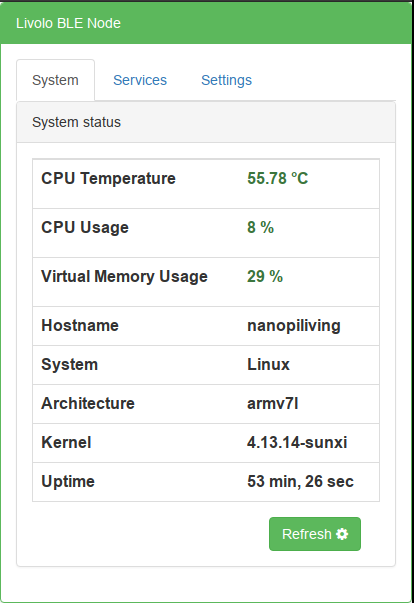
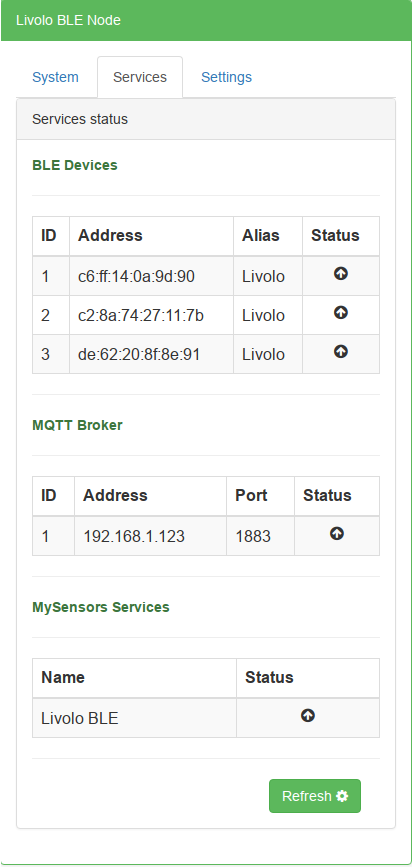
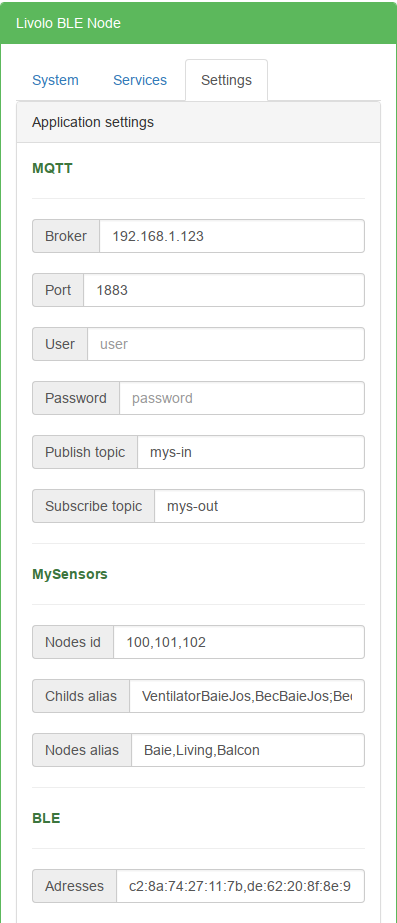
- Currently(and based on my previous experience with this kind of project) I will use all the Livolo switches preloaded with BLE firmware because of the lower current consumption AND in each room there will be a BLE Central node(based on Raspberry PI Zero W) - see this project: RFM69W Raspberry PI Zero(W) Shield(HAT) which will route messages to/from the Livolo switches BLE Peripherals to the MySensors network.
HW Revisions:
- 0.1 - initial hw design
- 0.2 - switched to MTCH102 touch sensor
- 0.3 - added 3V line jumper
Credits: All credits go to MySensors team for the great work and to the opensource community


