I want to share my self made MySensors ceiling light, because for my newborn daughter and her future housing I needed a lamp. This is not the typical OpenHardware.io project, but because it is open and hardware I would like to share it.
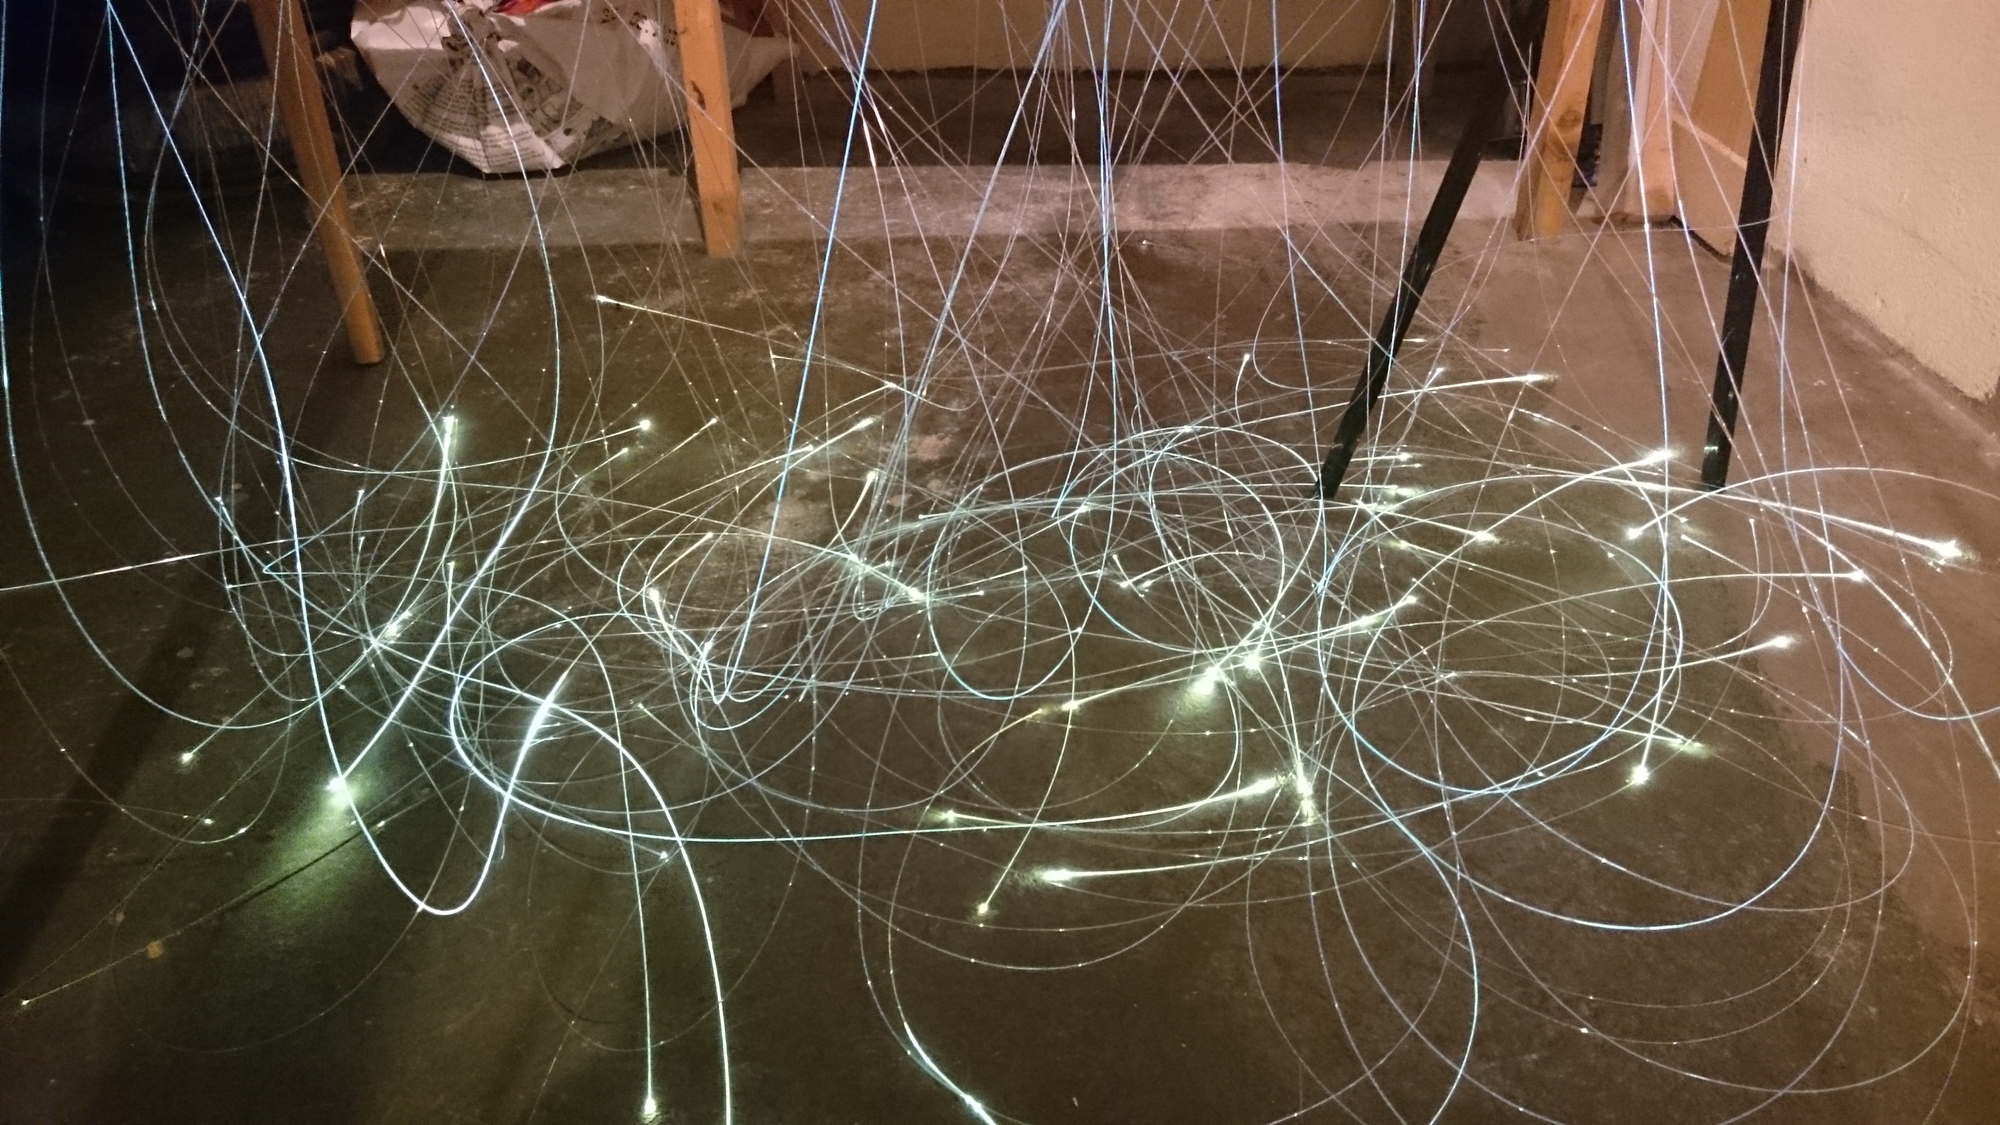
Please be aware that it is hard to take a photo from a dark background with little lights on it, so it looks better in reality. You are only able to see the bulbs (LEDs) itself from specific positions in the room, for example the one I've taken the photo from. You normally don't stand in this position and I'm 1.93m tall, so under normal circumstances you won't get dazzled by the light (indirect lighting).
Since I was really fascinated with images and videos about starry skies I decided to build one by myself.
The most important requirements were:
- It is a light, so it has to be failsafe, no dependencies on a running controller, gateway, RF-Link.
- A high WAF (Wife Acceptance Factor) is a absolute must-have and everybody should be able to use it. (That was a success, my wife, my newborn and all visitors love it! ;-))
- At minimum two light levels should be supported
So I decided to use a switch from Gira with three Buttons:
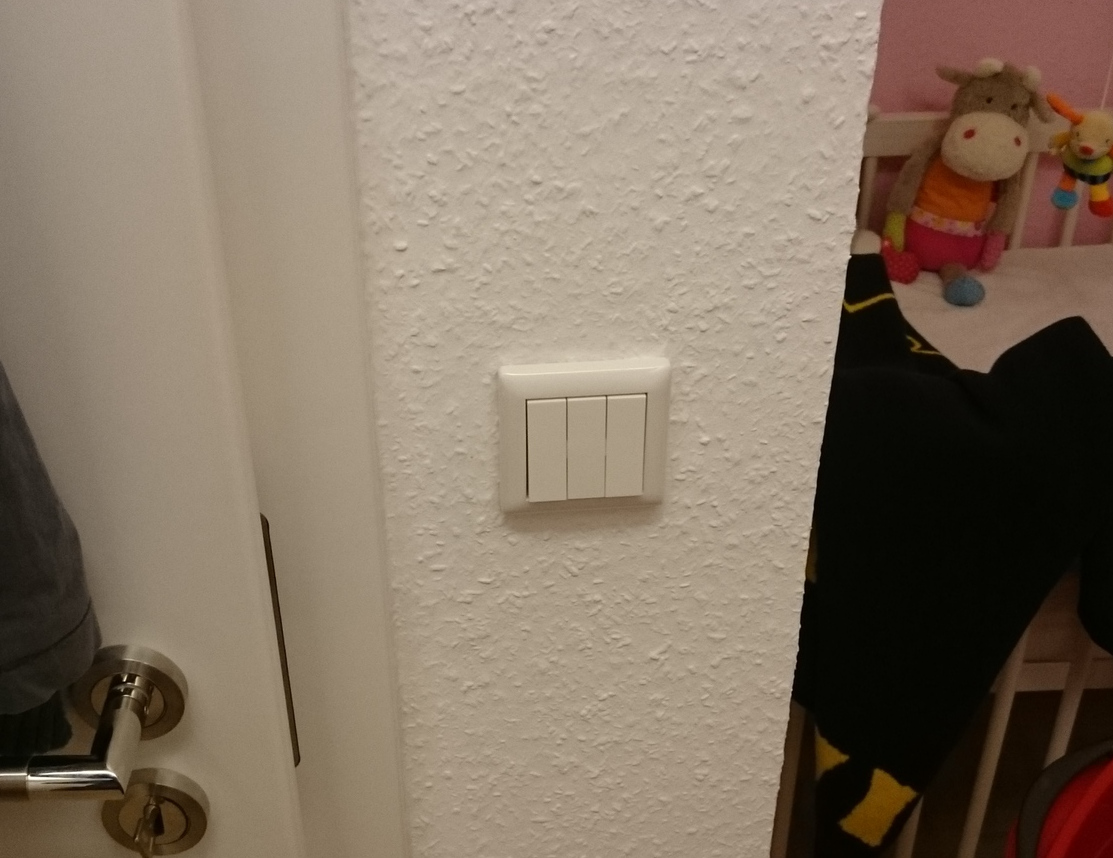
- Left Button: LED Light on/off (24 W)
- Middle Button: LED Light on/off (20 W)
- Right Button: Starry Sky on/off (6 W)
The lamp is build upon a 1200 x 1200 x 12 mm Multiplex wood plank. I've used a white grounding and a RAL 5022 night blue. Between the layers of painting I've sanded the surface.
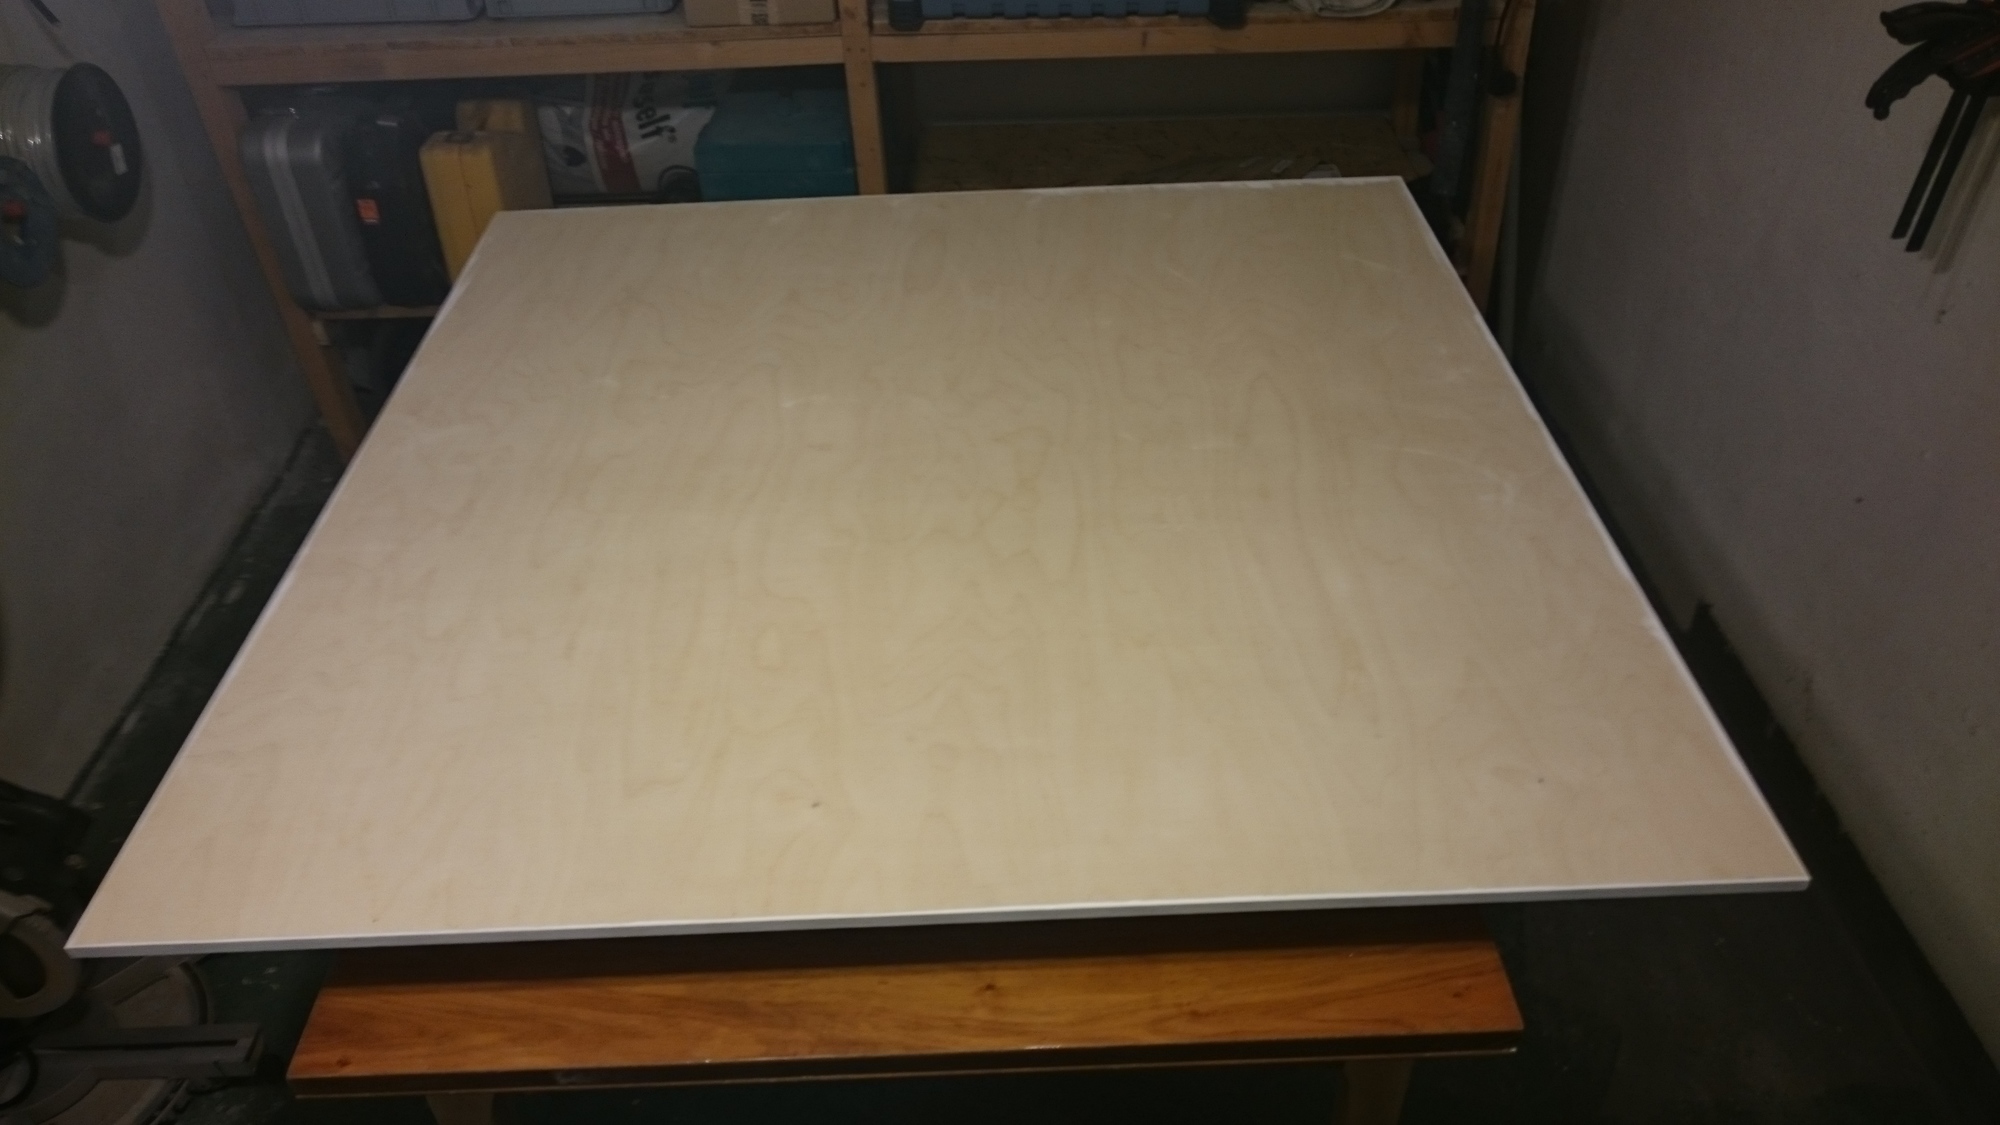
After the painting I installed the mount for the ceiling and found out that the 12 mm wood plank is not stable enough because of the high weight. It got bend. So I installed some aluminium profiles for more stability.
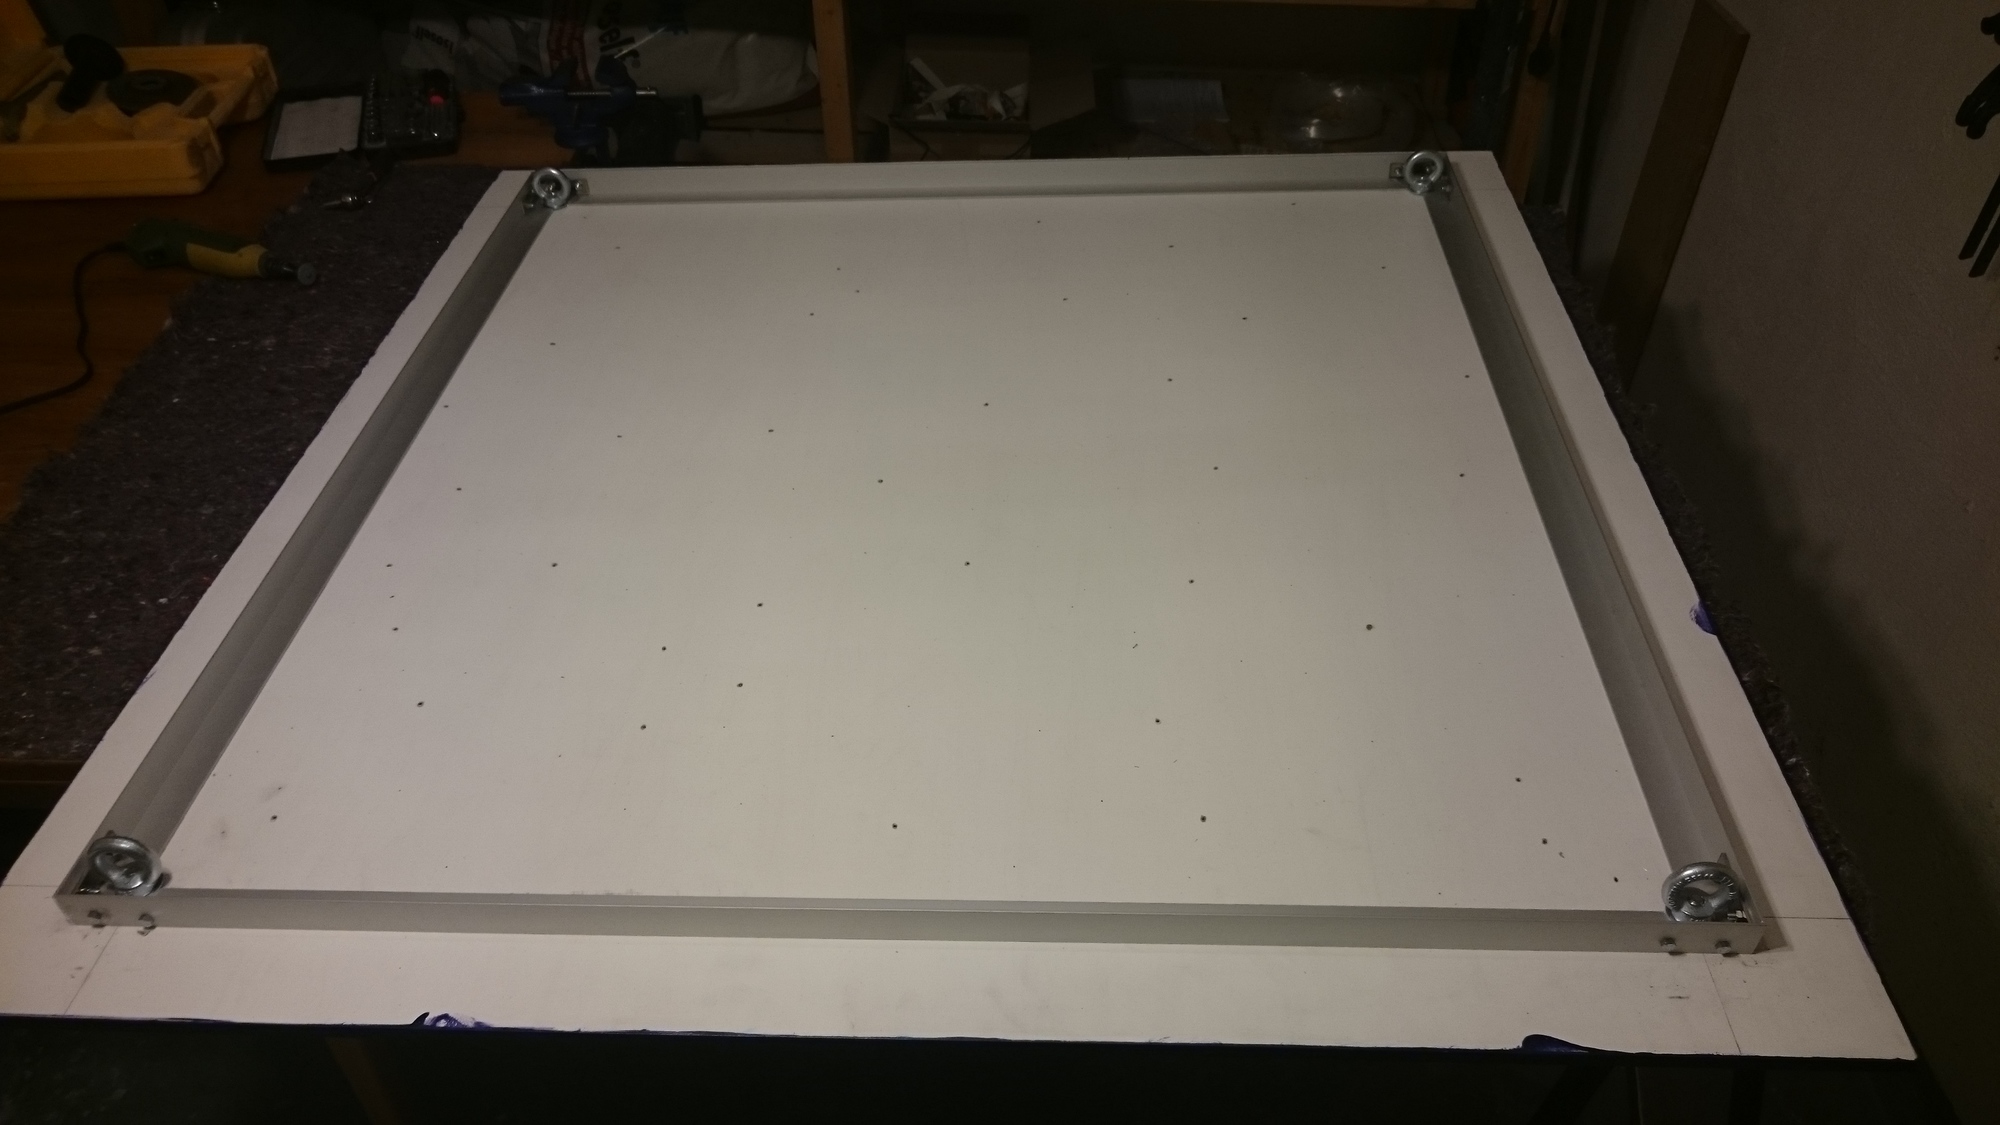
Now we need to drill some holes. I've ordered a LED Starry Sky with 240 glass fibers (http://sternenhimmelshop.de/crbst_175.html). I've drilled 40 holes with 2 mm and 120 holes with 1 mm. Three glass fibers fit in 2 mmm and one fiber in 1 mm. Use good (new) drill or it will drive you crazy!
After drilling the holes I mounted the LED Starry Sky.
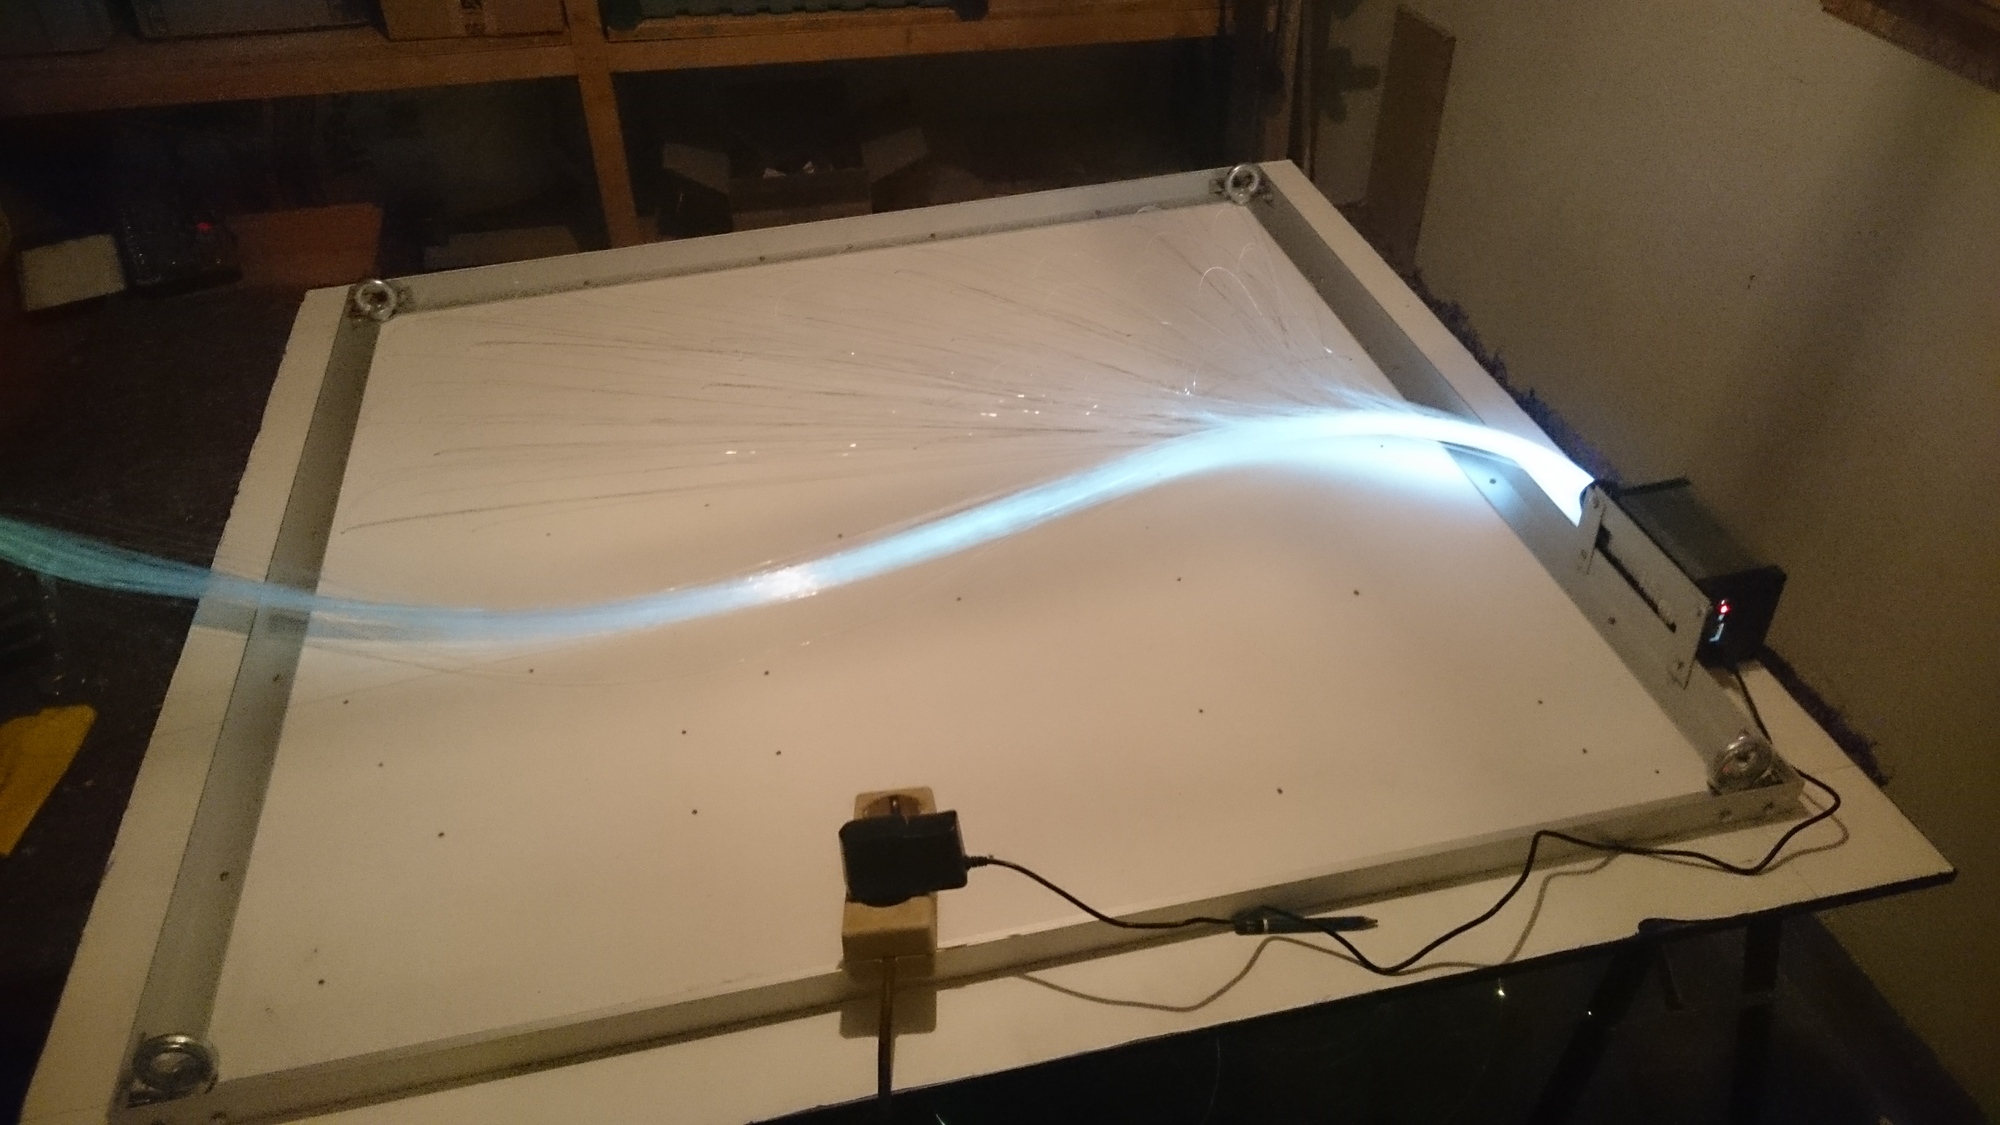
View from the downside:
Now we need to fix the fibers with glue spray (must be solvent free!!).
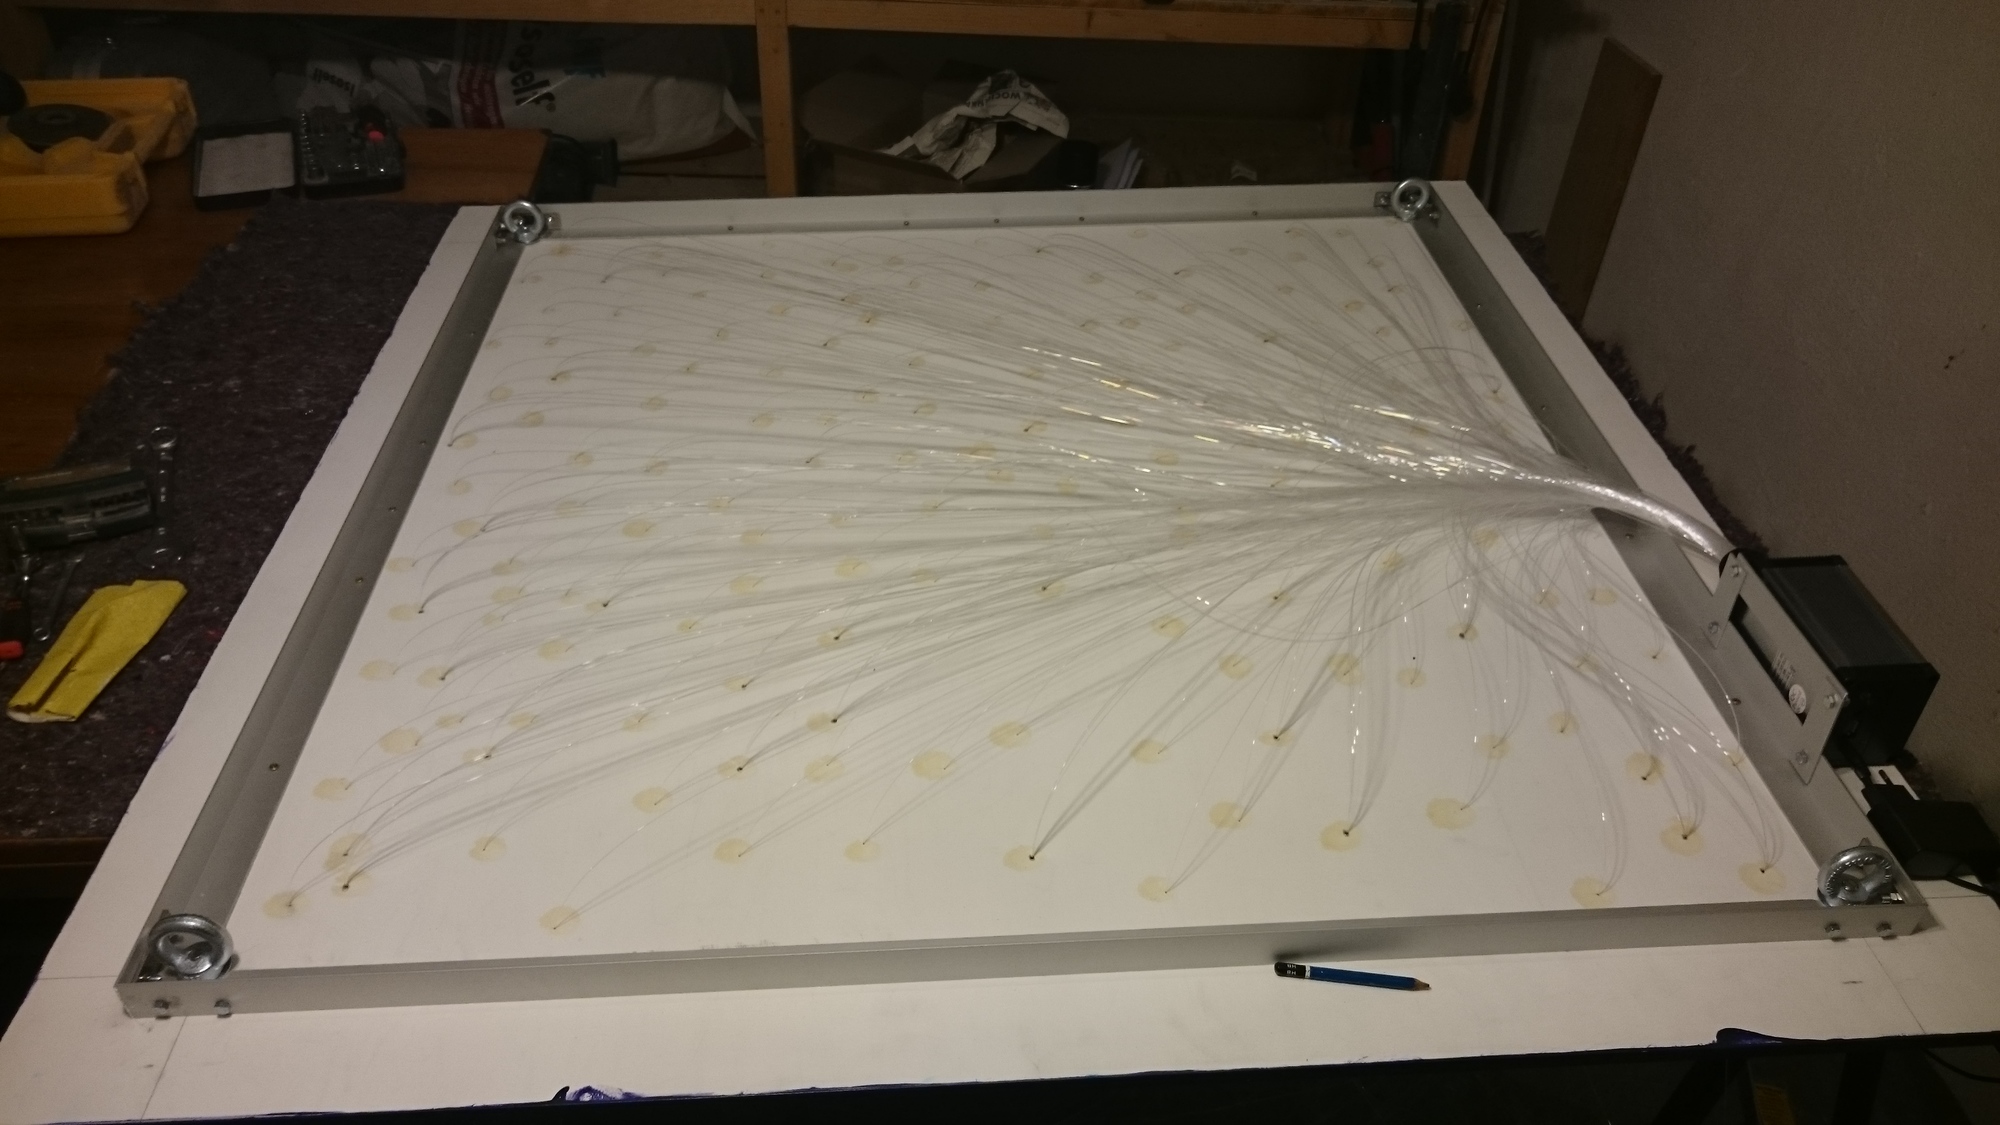
The fibers are now cut with scissors or a knife.
That was the hardest part!
I decided to use three Logic-Level-MosFET IRLIZ44N because I wanted to have the opportunity to add a dimming function in the future. Therefore the MosFETs are connected to PWM Pins.
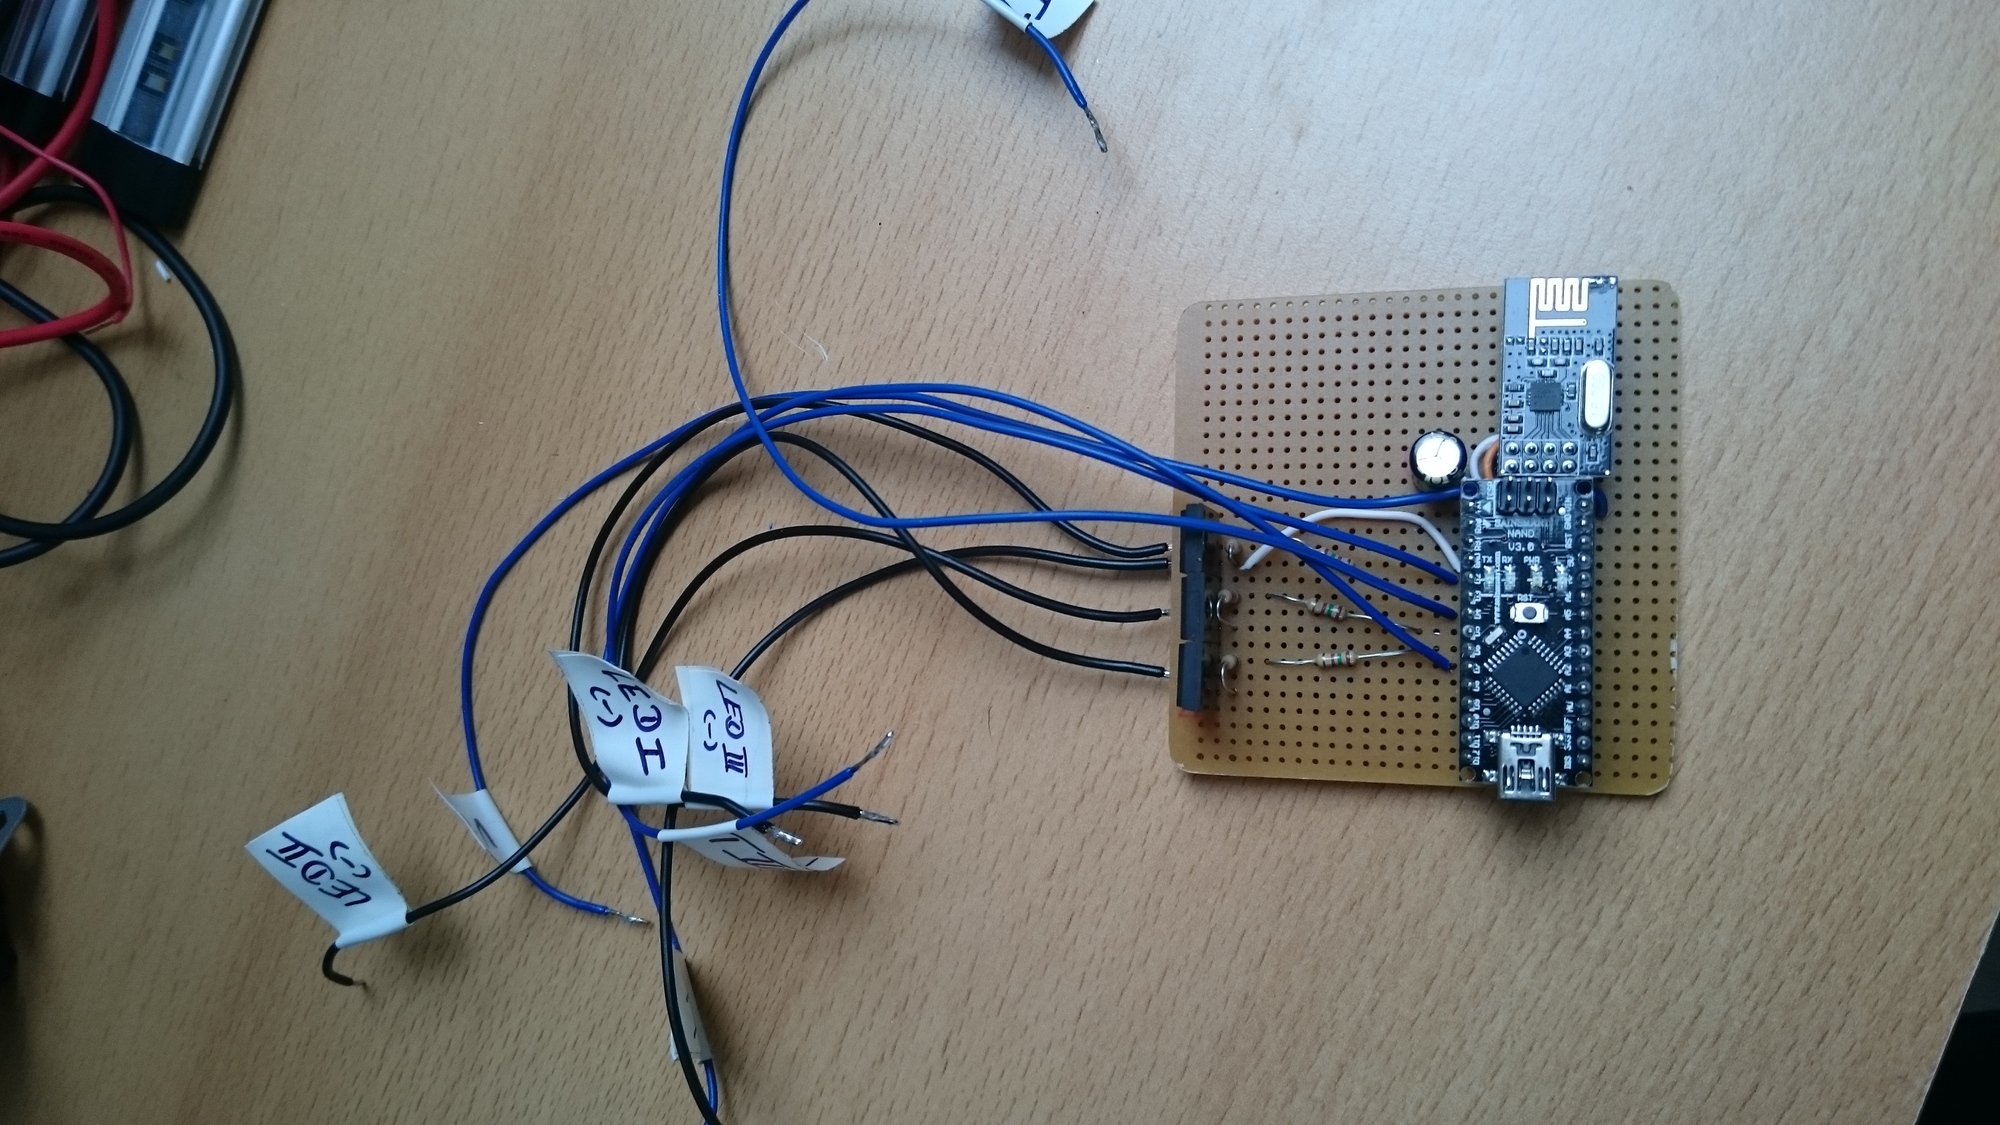
I'm using a Arduino Nano because it is able to deliver 5V (MosFET) and 3.3V (NRF24L01+) and I'm allowed to power it with 12 V (20V peak).
A fritzing of the Nano, NRF24L01+ and the MosFETs is attached.
For the main light I use:
- 6 Dimmable LED Strips with 4 W (24 W in sum)
- 10 G4 LED with 2 W (20 W in sum)
All working with 12 V.
To power all devices I use a LED driver with 200 W. I wasn't sure if 44 W LED light is enough for the room and I don't want to drive the transformer to the limit.
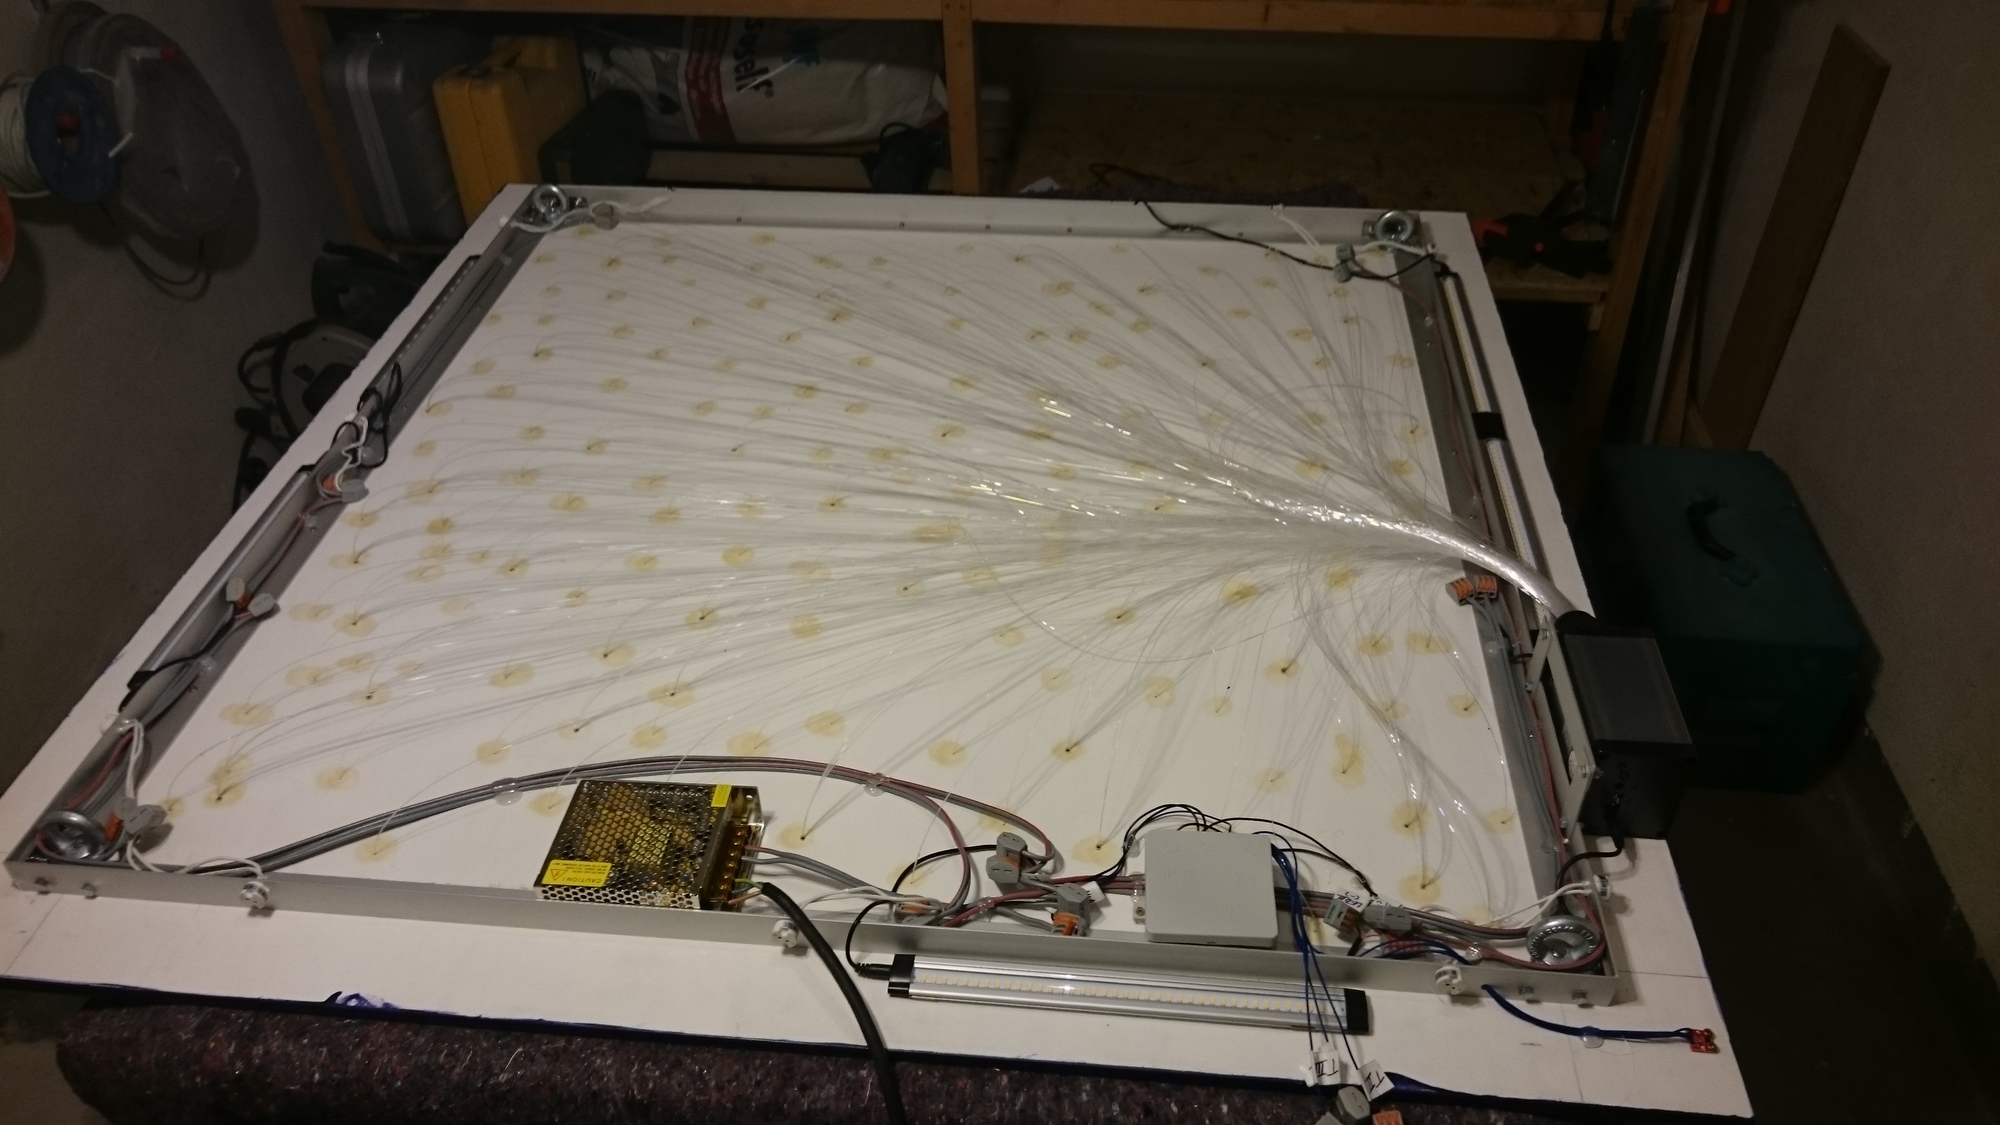
All these parts installed it looks like this:
At last burn the software on the Arduino and install the light on the ceiling!