@MiKa
Hi.
oki, in case i'll add some explanation.. I'll be busy for this week but you can simply use the serial gw example from MySensors for getting started, this should work. I didn't need to create a special board in arduino for this board, so if you're using it, you'll need to install&use the mattairtech SAMD21 board definition for the pin mapping.
https://github.com/mattairtech/ArduinoCore-samd
My simple RFM dongle for Serial GW
GitHub:
License:
CERN Open Hardware License
Created:
9 years ago
Updated:
8 years ago
Views:
325368
14 Like
8 Collect
37 Comments
103 Download (769.28 kB)
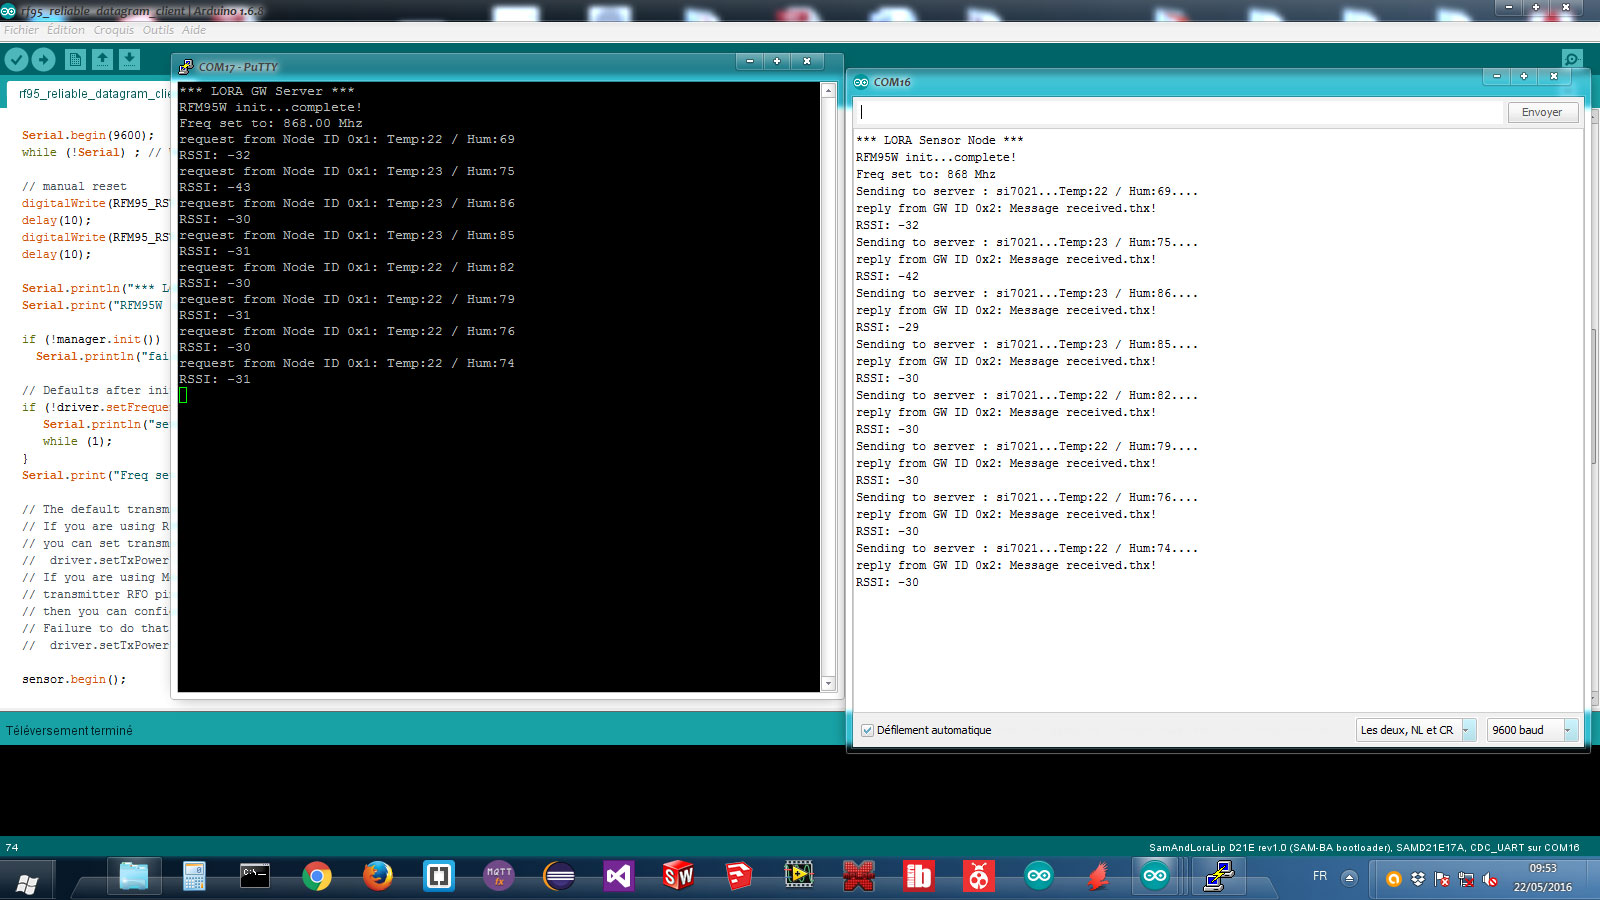
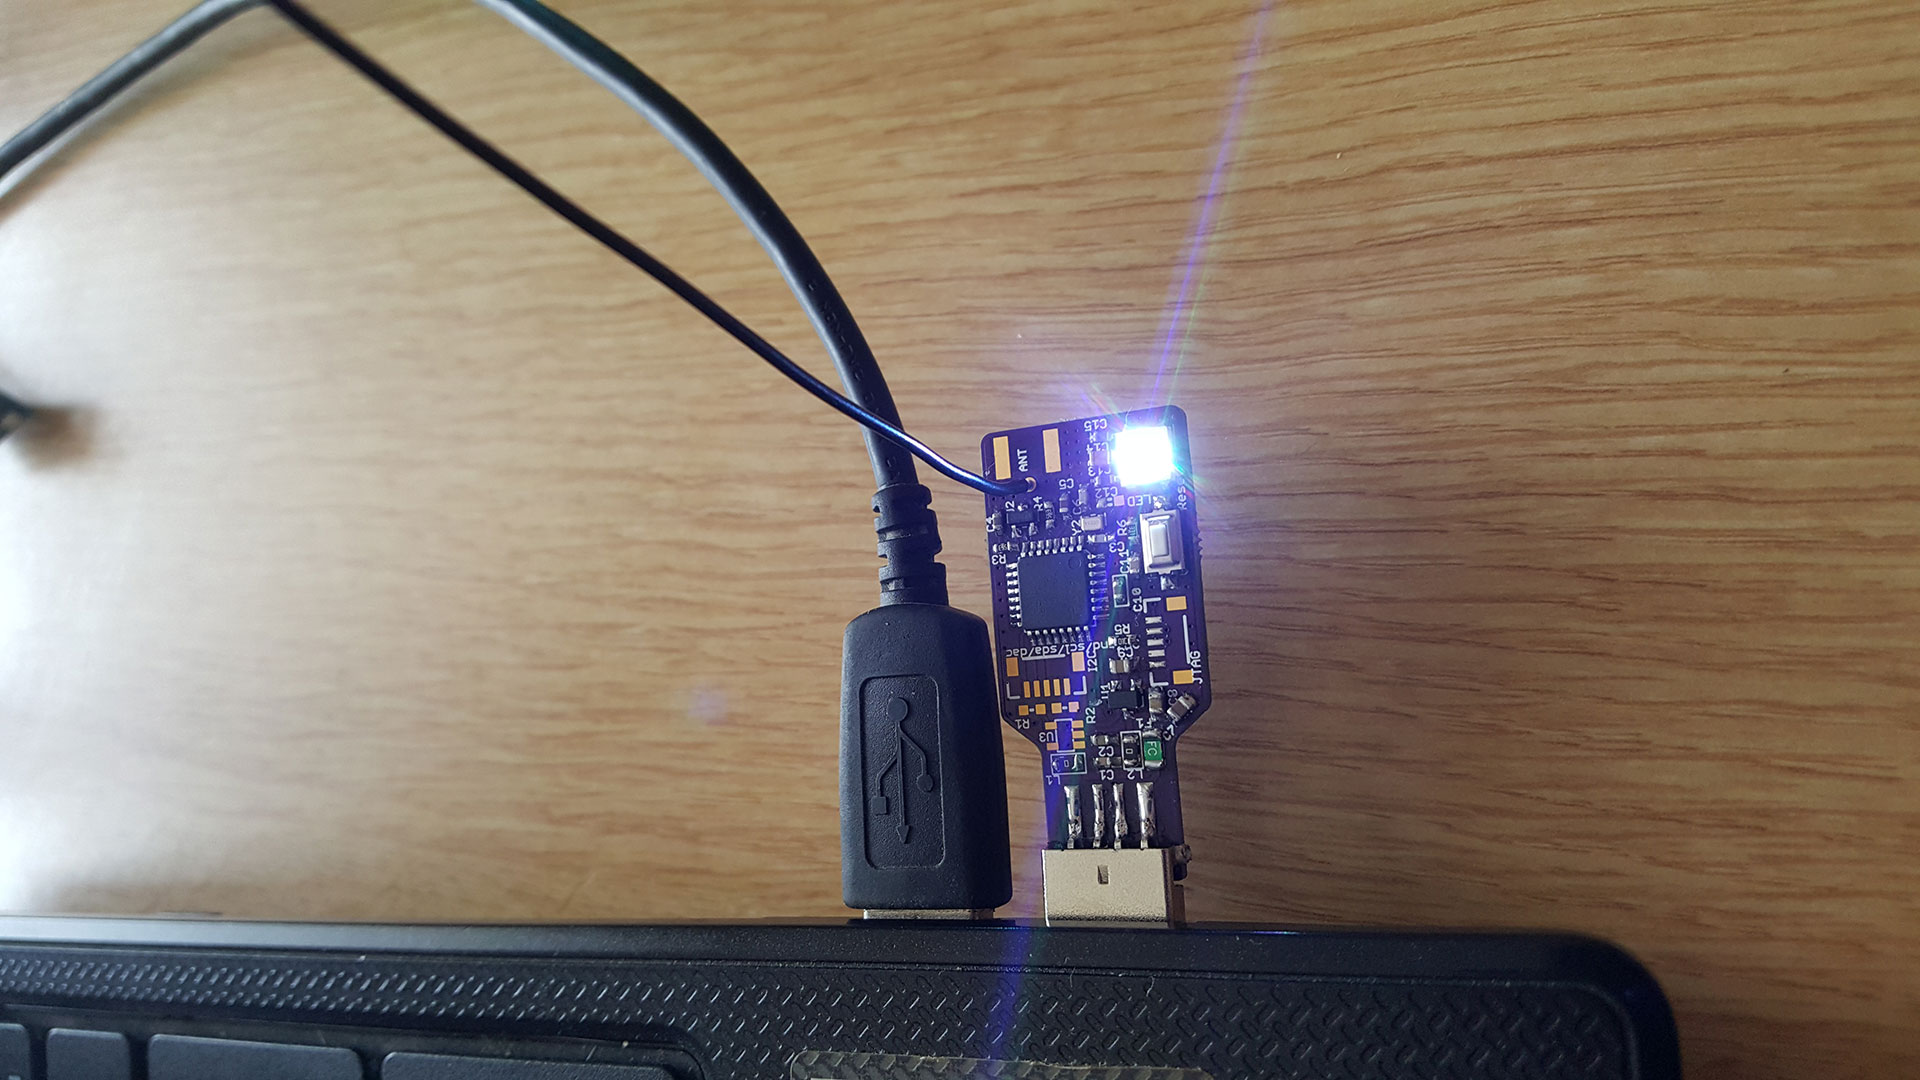
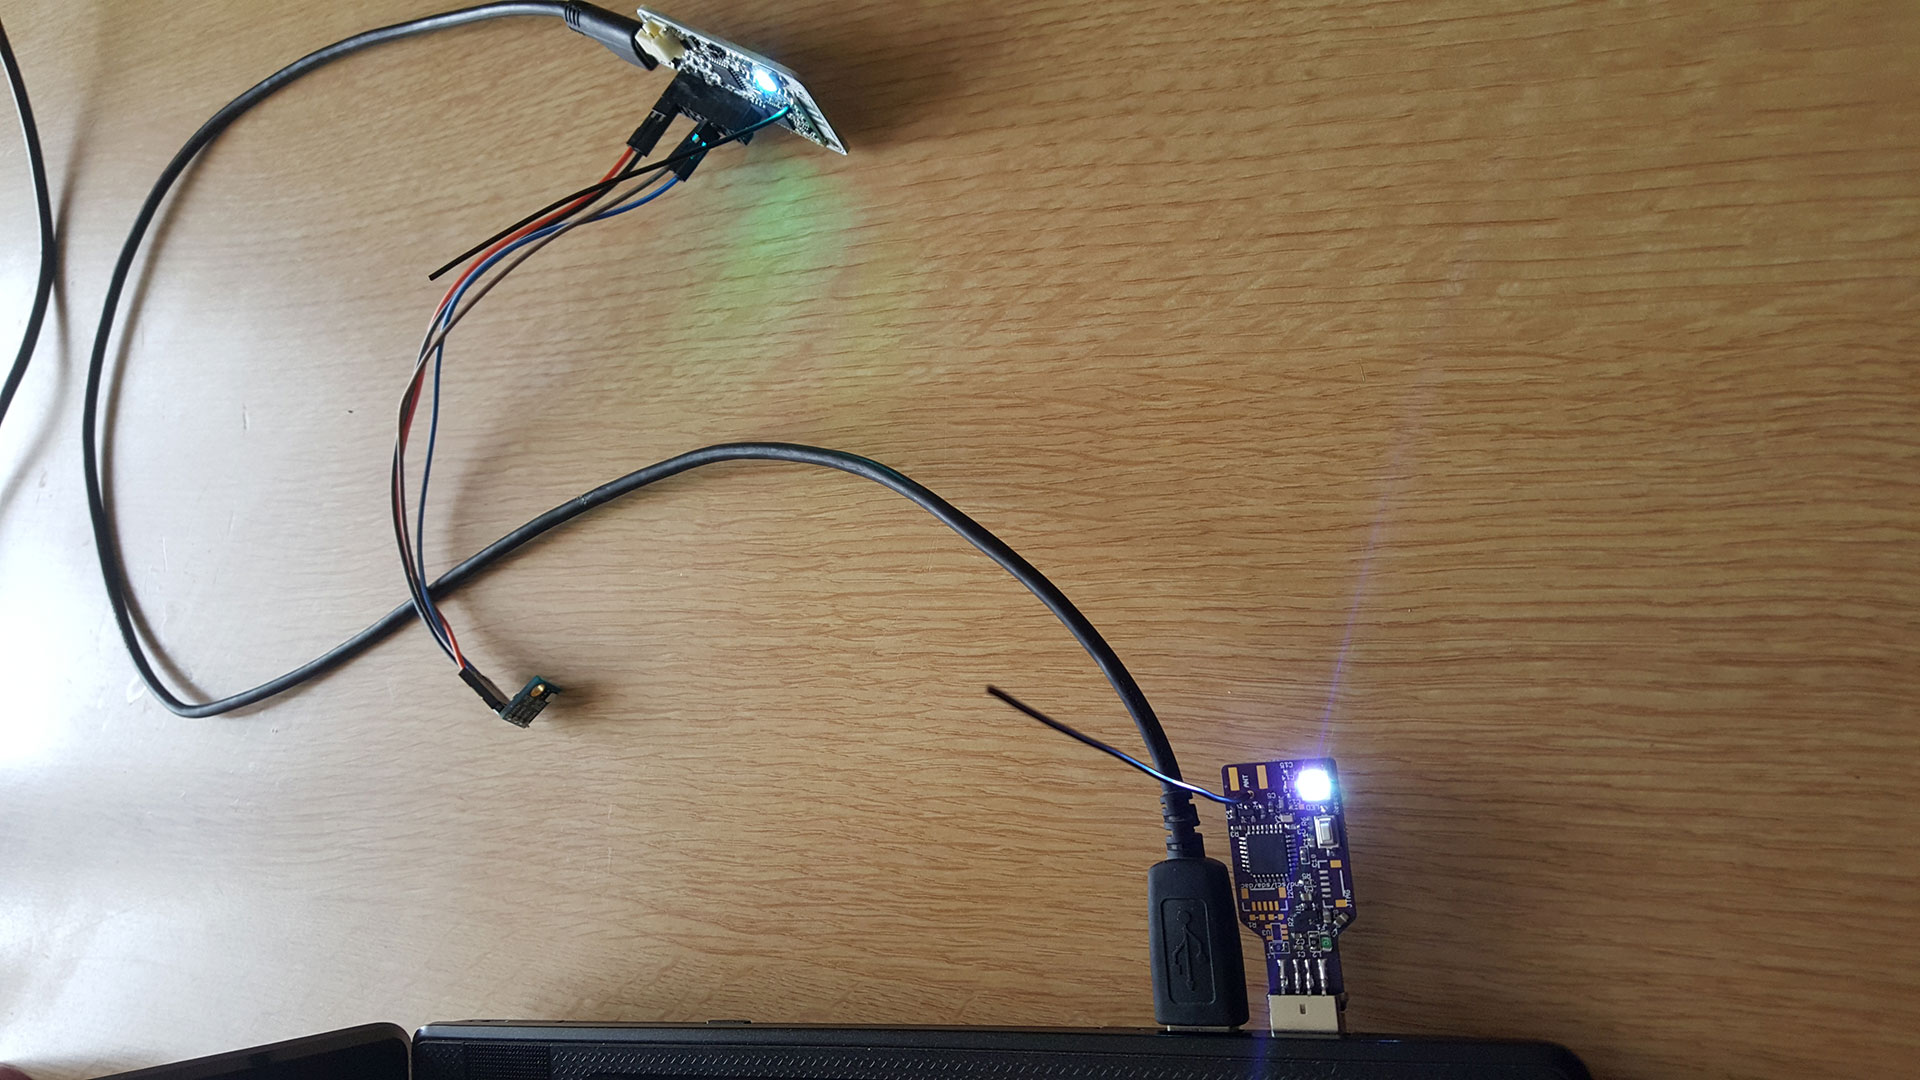
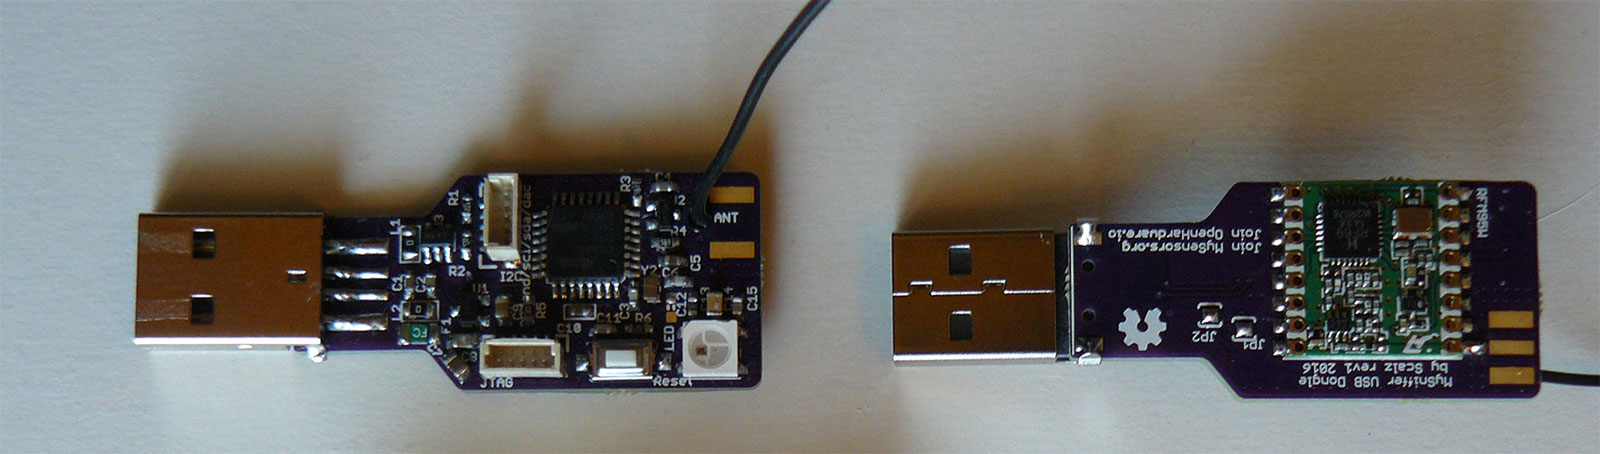
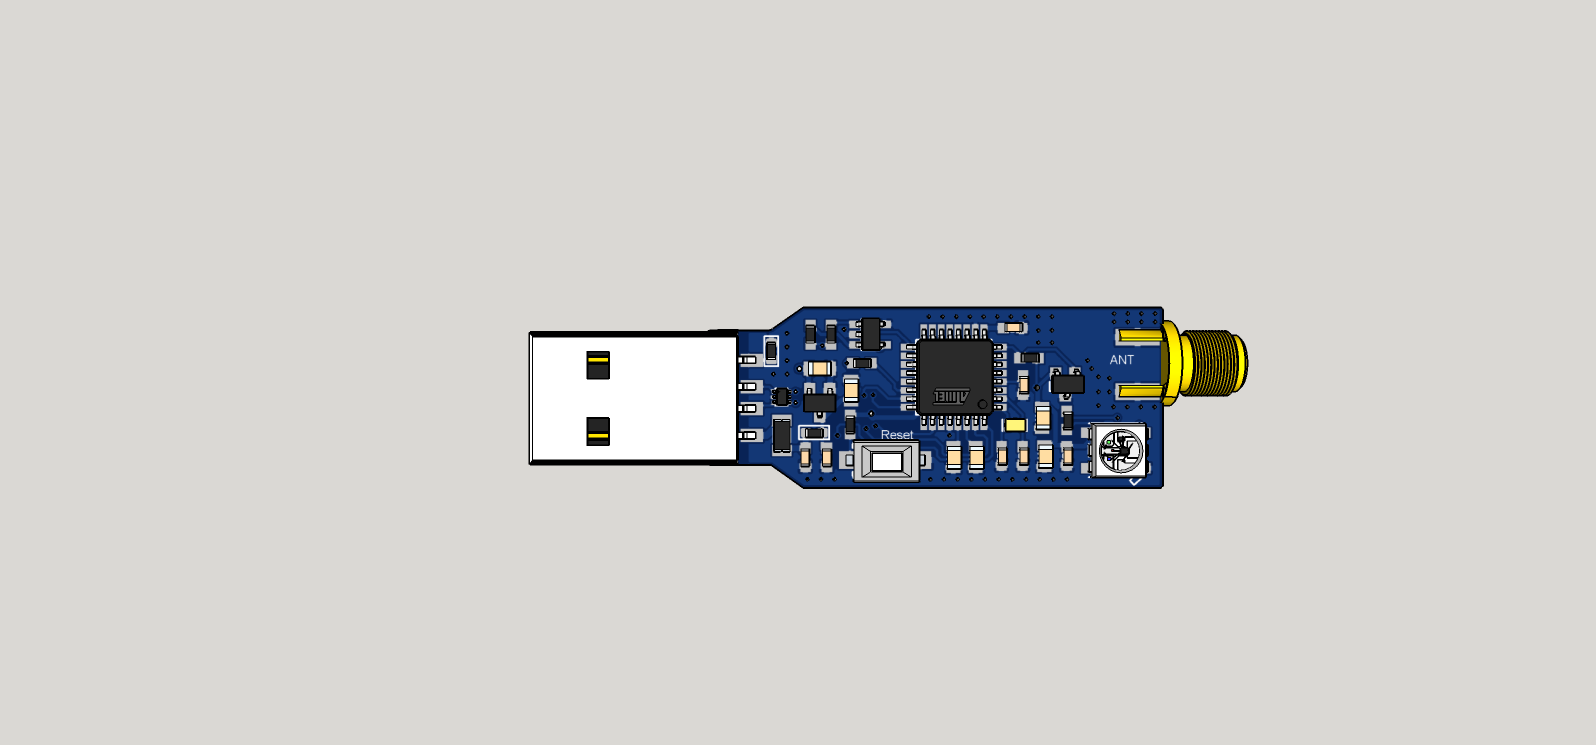
This is my ARM M0+ ATSAM USB dongle with radio footprint for RFM69 or Lora Long range RFM95.
My main use is mini Serial Mysensors GW, and sniffer/debug tool with MYSController. etc. Not a fancy thing, but I use it, and it didn't take lot of space on a panel when i ordered it so, why not :)
Tested with RFM69 and RFM95. Just plug it, no usb cable!
Revision 1
Revision 2
 Not assembled yet
General
|General spec.| | |---|---|---| |Size |42.5*16.9 (mm) | | MCU |ARM M0+ ATSAMD21E16/17/18 (same family as Arduino Zero but with 32pins) | | Eeprom | EUI64 Eeprom | | Authentication security | ATSHA204A chip footprint | | Onboard led | WS2812B RGB | | USB | USB A male connector. Sketch can be uploaded by native usb (like Arduino Zero) | | Radio | RFM69HCW or RFM95W. SMA connector | | Misc | Reset button |
Onboard safety
- Fuse + ESD protection for USB
- USB filtering
Extension Connectors description
- Pogo pins for Cortex SWD programming
- USB for uploading sketch
Arduino Pin description
| Arduino Pin | Description | |---|---|---| | 5 | Radio Interrupt Pin | | 7 | ATSHA204A datapin | | 9 | Radio Reset Pin | | 18 | Radio MOSI | | 19 | Radio SCK | | 22 | Radio MISO | | 23 | Radio SS | | 28 | WS2818B RGB led pin | | 30 | SWCLK to Pogopins | | 31 | SWDIO to Pogopins |
Burning USB-CDC bootloader and Arduino
I'm using Mattairtech variant board. To find, bootloaders files and get all infos, please read : https://github.com/mattairtech/ArduinoCore-samd
Personally, I have no Atmel Ice. I use a Segger Jlink OB. It also exists cheap JTAG-SWD programmer which should work but I have not tried yet.
Simplified steps for burning bootloader with Segger Jlink OB (for more details, see links above):
- Get a JTAG-SWD programmer. There are some cheap.
- Download, install, and launch Atmel Studio
- Connect your programmer to the JTAG port of the dongle
- In Atmel Studio, go to Tools\Device Programming\ and Select your tools (the programmer), Device for MCU, Interface and apply.
- Try to read Id of MCU. It should be ok.
- Then, still in the same dialog, click on Memories. Select the .hex of the bootloader you want to burn, and click Program. Then you can read, verify etc..
Then you have to install mattairtech usb driver, and boards in Arduino Ide through Boards Manager (Arduino ATSAM, and mattairtech ATSAM D21). For more details, see link above.
** Sketch**
You can use Mysensors Serial GW sketch and add Neopixel lib for playing with the rgb led and Mysensors Indication API. For this you will need Mysensors libs > 2.0.
TODO
- upload STL
Contributors
Always special thanks to:
- Mysensors Team for its great work
- Mattairtech, Adafruit, Sparkfun, TI, Atmel etc.. for all educational infos they share
Donations
I'm trying to make opensource projects. I do this for free and sharing spirit. I don't do ads etc.. But if you think information here is worth of some money, or want to reward me, feel free to send any amount through paypal.

Or you can also order pcb through openhardware.io and pcbway. I will earn a little percentage that will allow me to order proto pcb and share more fun design.
Or pay me a protein smoothie if you see me! oh well, a beer is great too :)
Links, reference and license
Copyright Scalz (2016). released under the CERN Open Hardware Licence v1.2

")

") I will try to add the docs. In code it's always useful, but like doxygen does is the next step I was searching for. I was pretty sure there was something like this: doxygen lol! I will sleep less dumb tonight
I will try to add the docs. In code it's always useful, but like doxygen does is the next step I was searching for. I was pretty sure there was something like this: doxygen lol! I will sleep less dumb tonight